Green Screen TVs
This template was developed using Effect House 2.7.0.
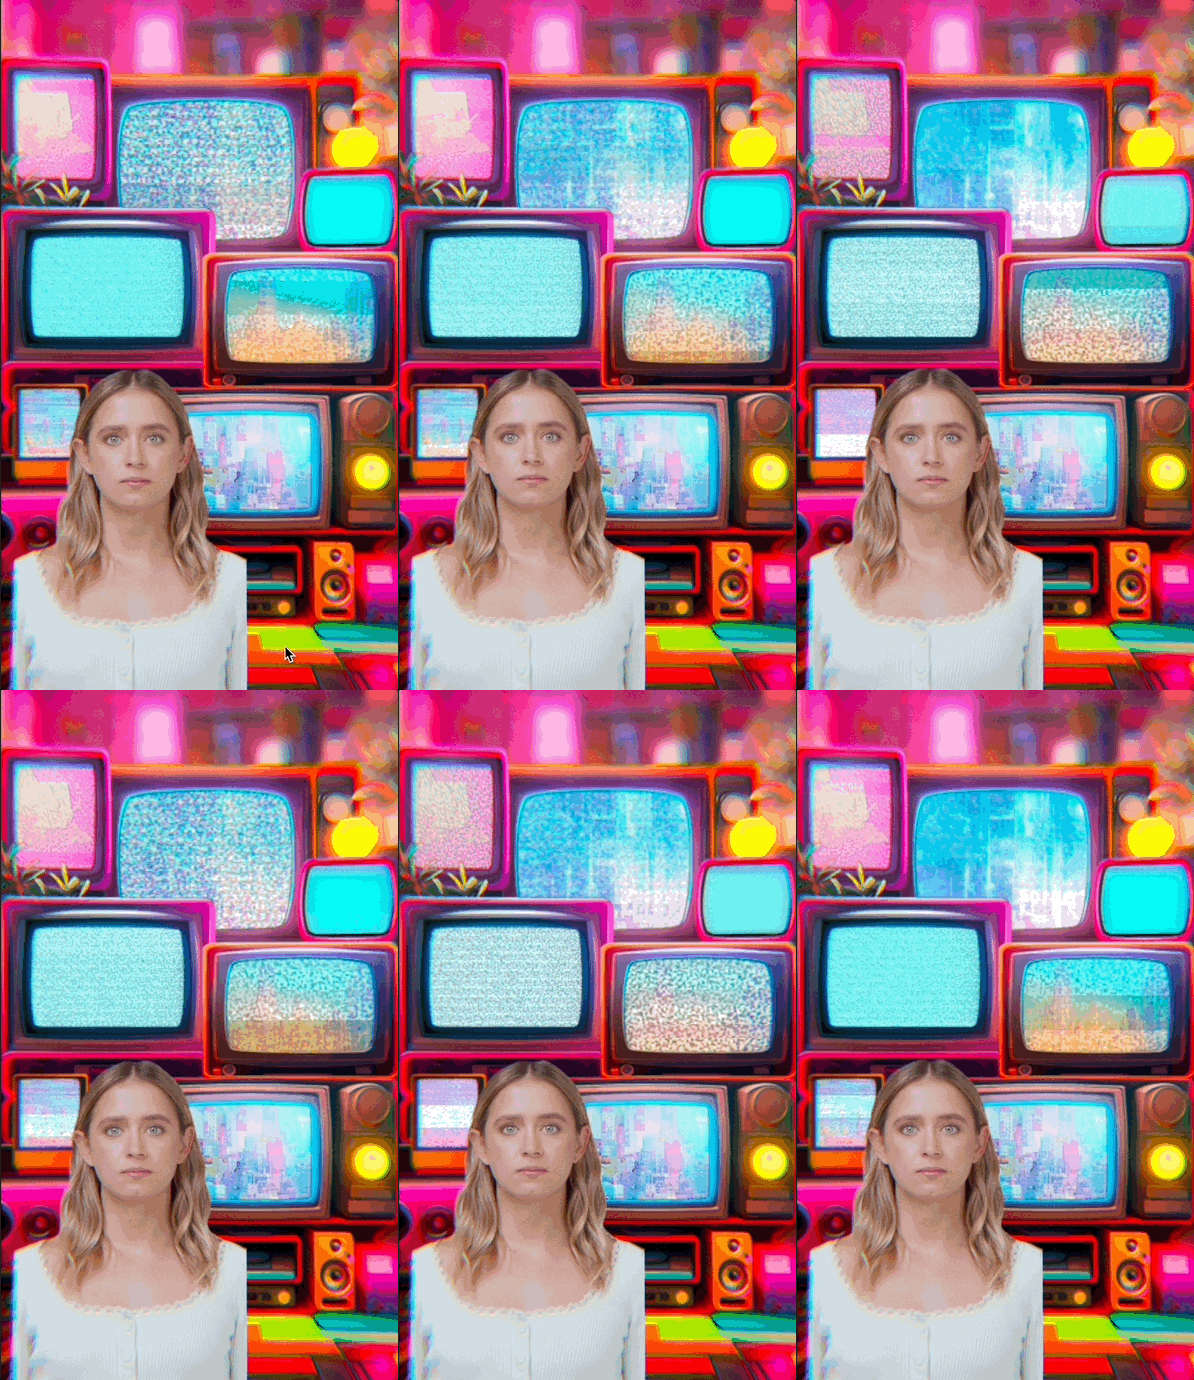
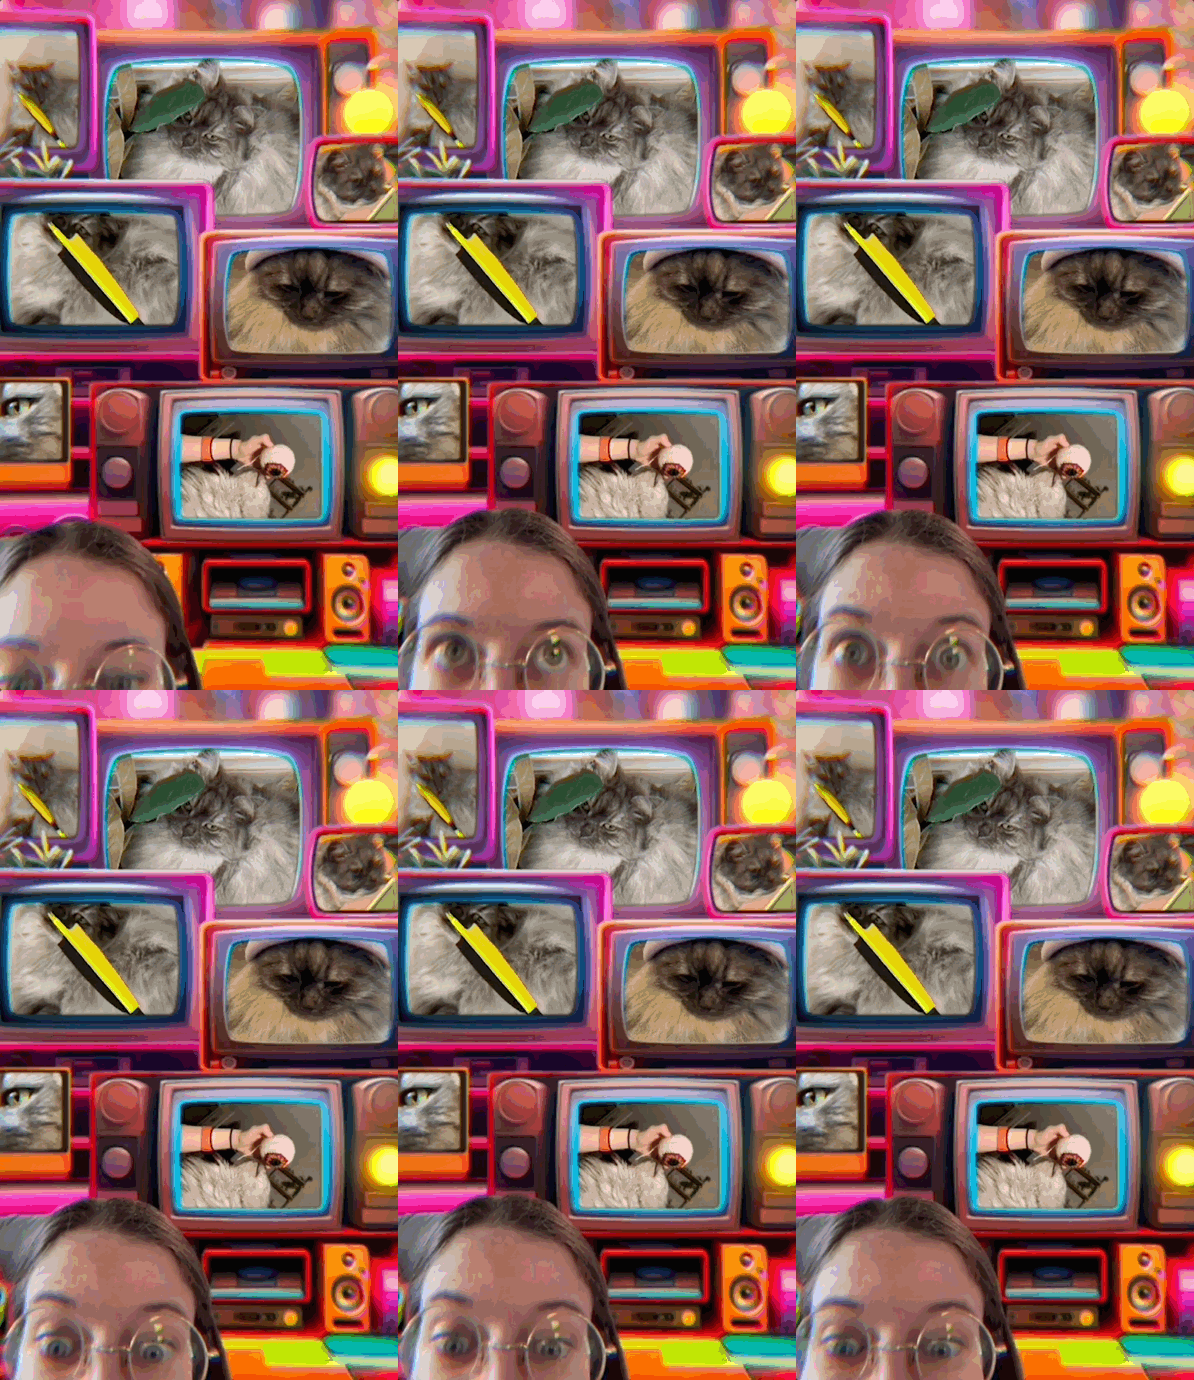
The Green Screen TVs template allows you to work with multiple User Media Textures. Placeholder textures are displayed until the images are uploaded from the TikTok effect user's camera roll.
How to Use This Template
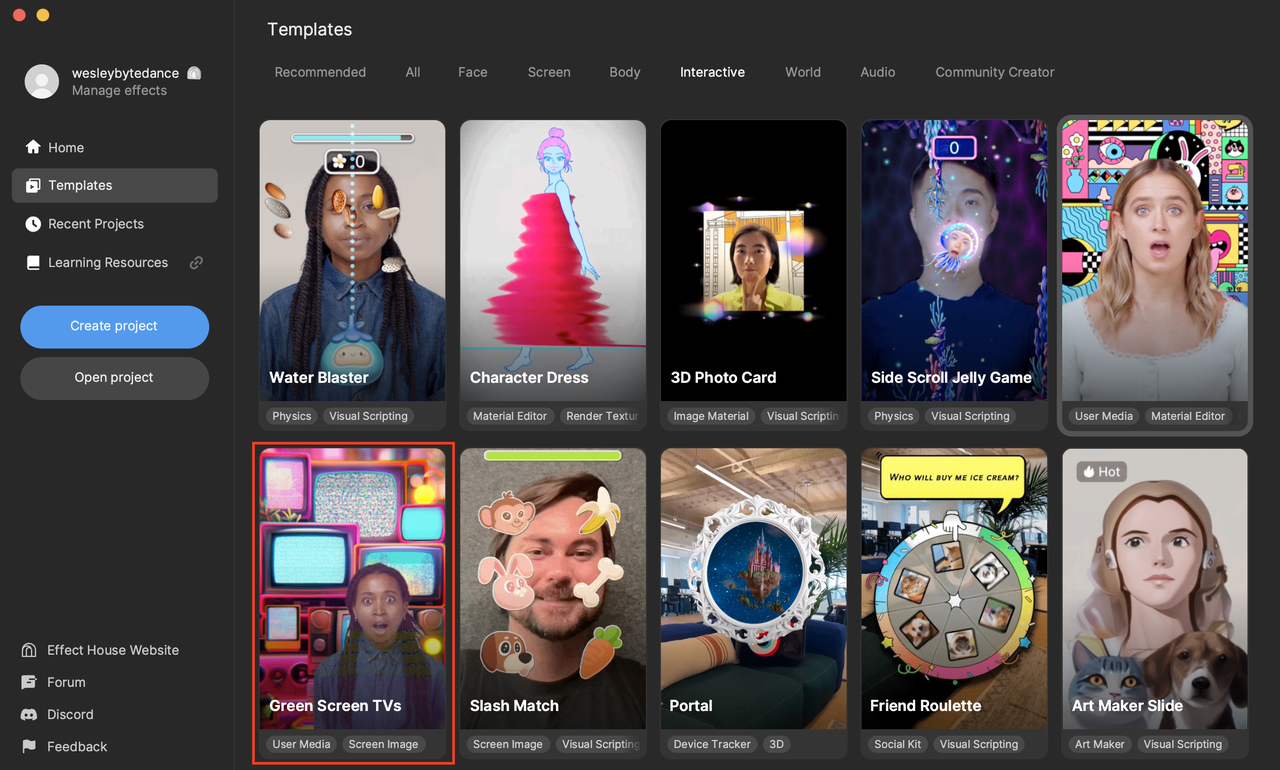
Open Effect House, go to Templates, click the Interactive tab, and select the Green Screen TVs template.
Hierarchy
The Hierarchy panel contains two main render groups: Green Screen TV Effects and Post Effects. There is also a render group that provides tips on how to incorporate an additional green screen.
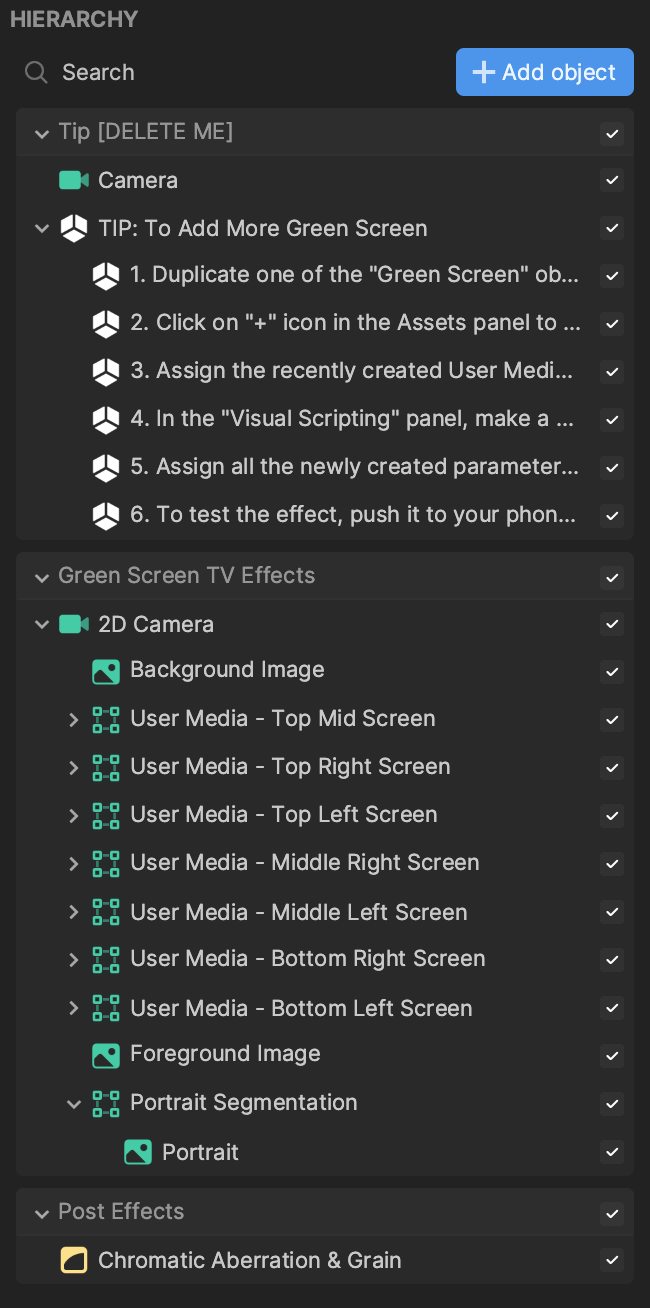
Within the Green Screen TV Effects render group, the Background Image object provides a black backing to the effect that is not readily visible. The Foreground Image object contains the texture that shows the different TVs. There are seven user media objects that correspond to the seven green screens in the TV cutouts.
Expand one of the user media objects in the Hierarchy panel to view its child objects, Static - On Pending and User Media - On Complete.
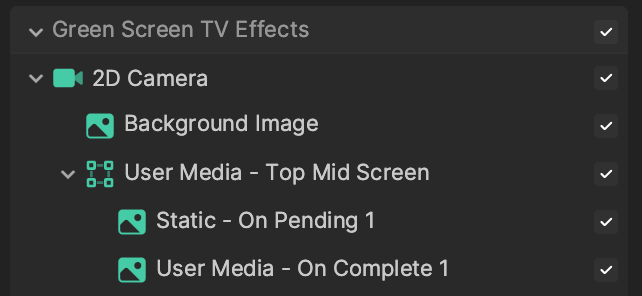
The Static - On Pending object is responsible for showing the placeholder TV static, visible in the preview. The static plays until an image is uploaded from the effect user's camera roll. The User Media - On Complete object contains the user media texture that allows the effect user to upload an image from their camera roll.
The Portrait Segmentation object displays the effect user's portrait in the lower corner of the effect.
The Post Effects render group contains Chromatic Aberration & Grain that contributes to the effect's final look.
Assets
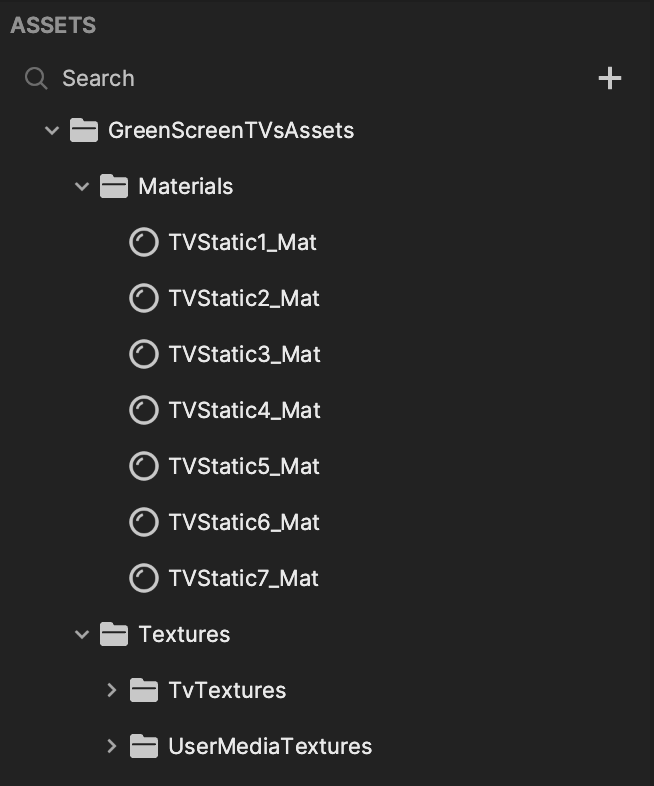
In the Assets panel, the GreenScreenTVsAssets folder contains Materials and Textures. The Materials folder contains unique TV static materials for each of the screens, while the Textures folder contains the background and user media textures for each of the screens.
Add Another Green Screen
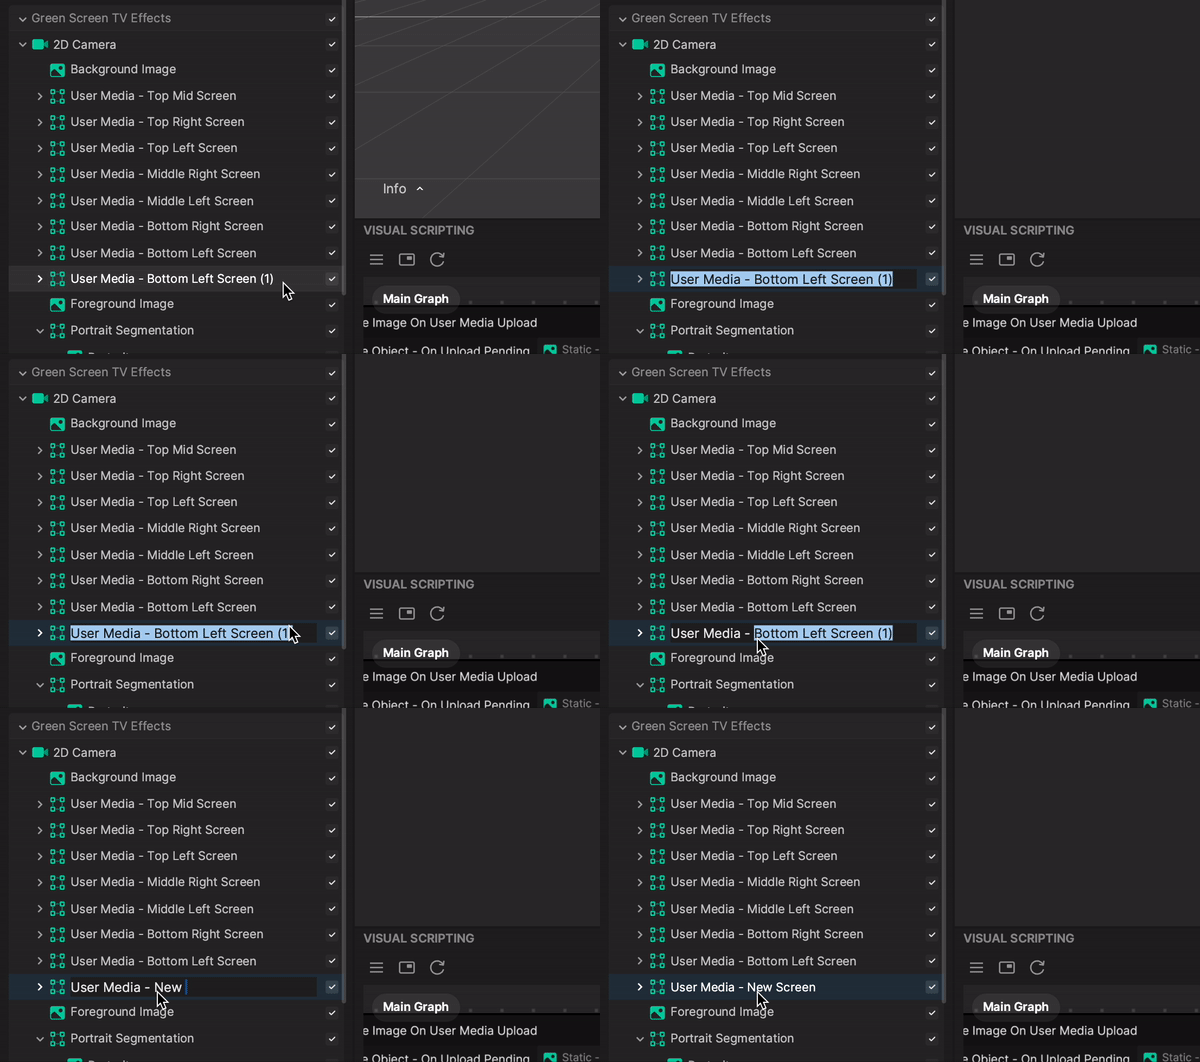
Duplicate a User Media Object
To add another green screen, first duplicate one of the existing user media objects in the Hierarchy panel.
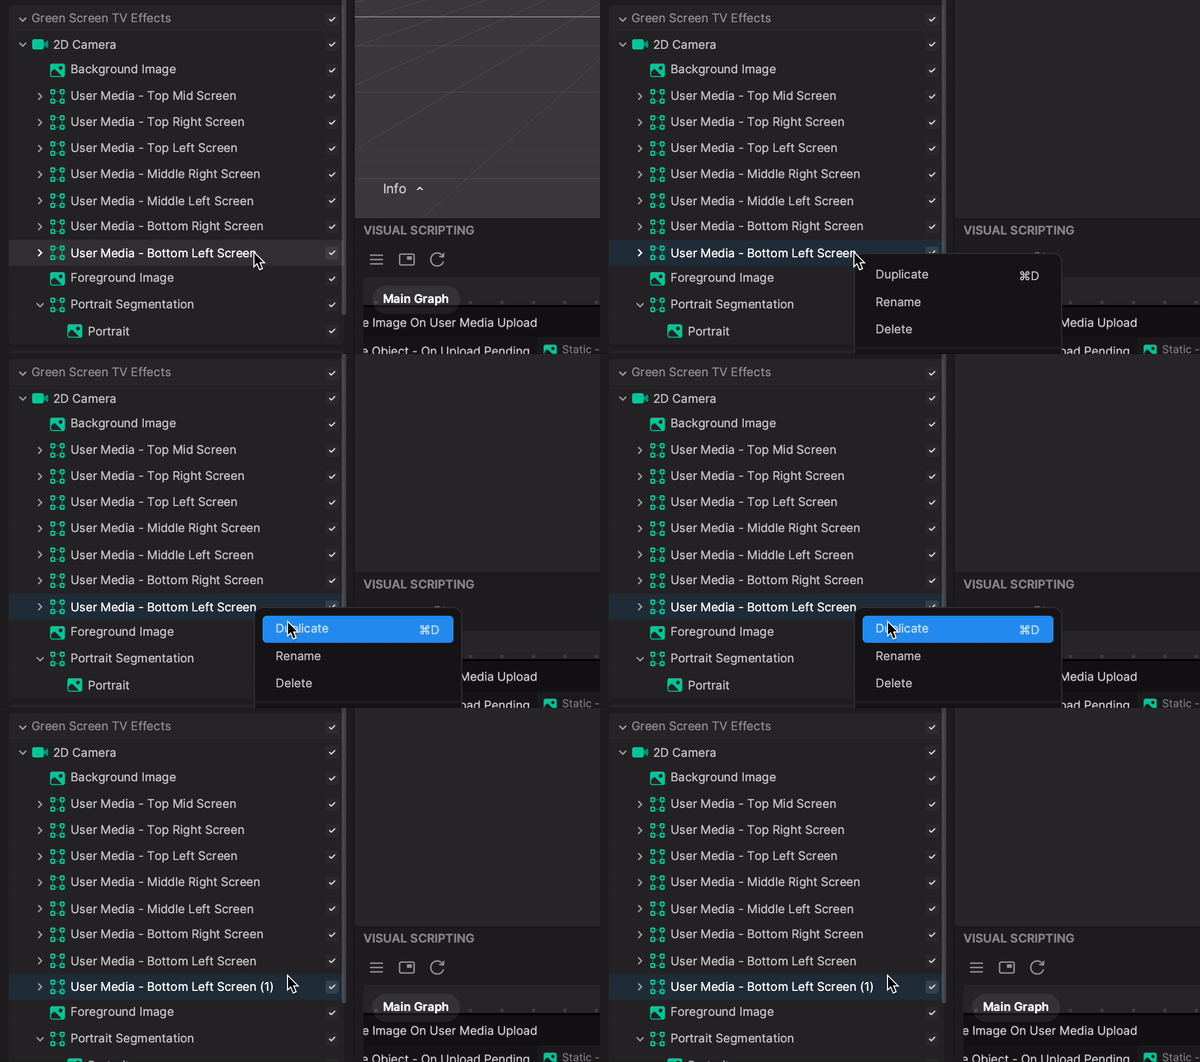
Rename the new user media object as desired. In this example, the object is renamed to User Media - New Screen. To keep track, be sure to renumber the child objects: for example, Static - On Pending 8 and User Media - On Complete 8.
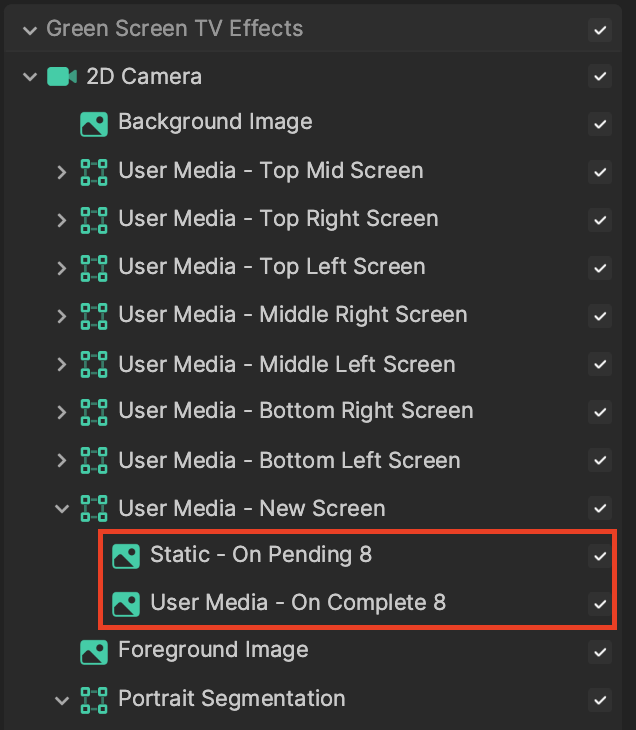
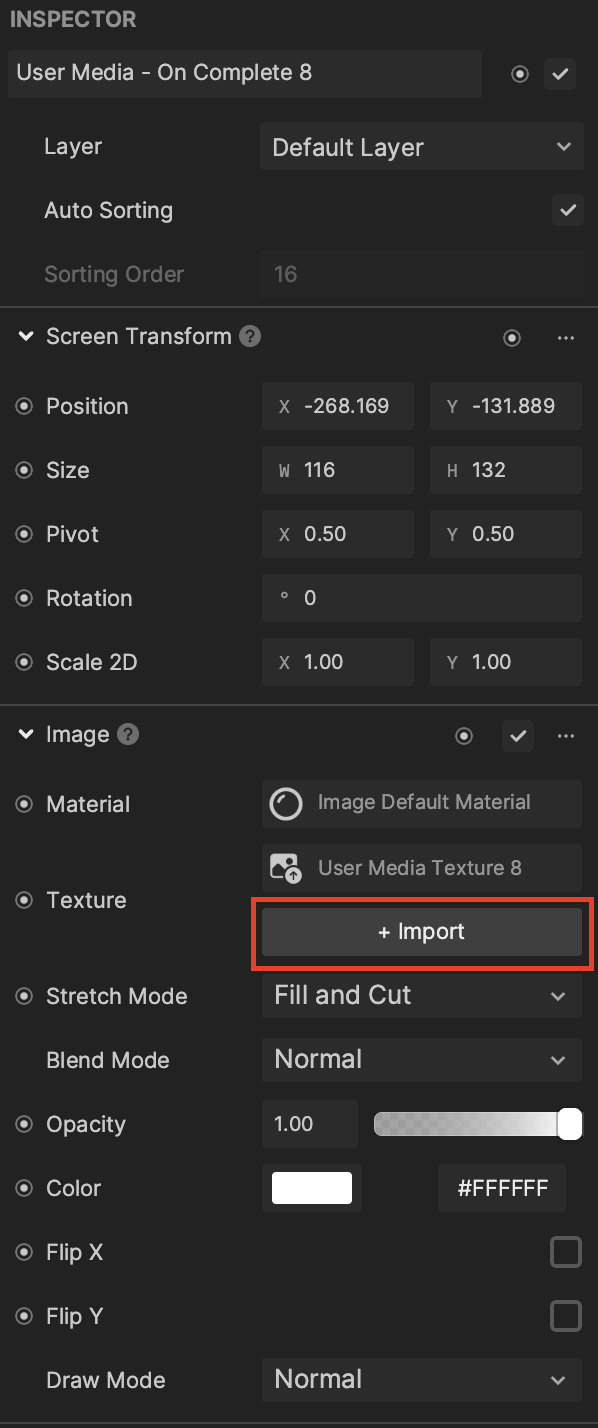
Click the new User Media - On Complete 8 object in the Hierarchy panel, then go to the Inspector panel. Click the + Import button next to the Image component's Texture property, and select User Media Texture. This creates and assigns a new User Media Texture to the Texture property. You may rename this to User Media Texture 8 in the Assets panel.
Copy the Visual Scripting Subgraph
There are seven subgraphs in the Visual Scripting panel that correspond to each of the seven existing user media objects. Each subgraph contains the following parameters:
- Enable Object - On Upload Pending: The placeholder object to show while waiting for a user media texture
- Enable Object - On Upload Complete: The object that will hold the user media texture when it uploads
- User Media Texture: The user media texture that is uploaded
Duplicate one of the subgraphs to control your new green screen by copying, then pasting it in the Visual Scripting panel.
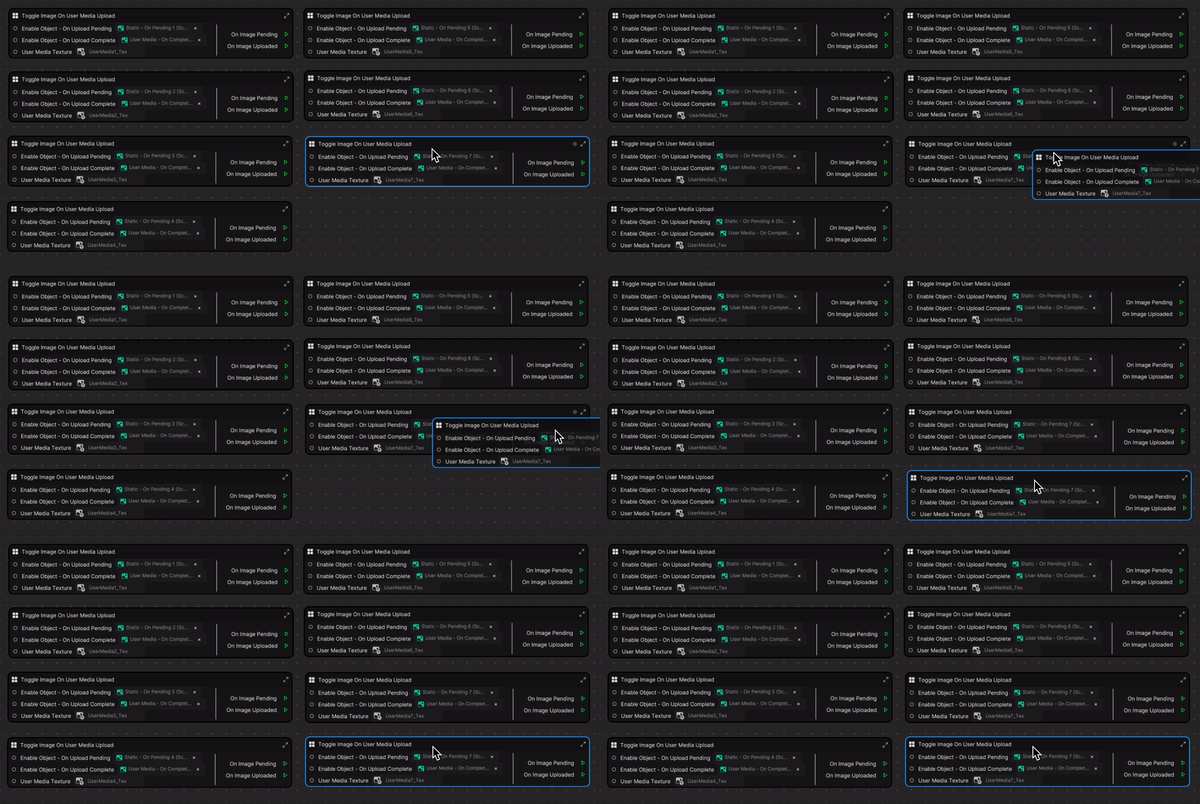
Change the subgraph's parameters to control your new user media object in the Hierarchy panel. For example, change the Enable Object - On Upload Pending parameter to Static - On Pending 8, the Enable Object - On Upload Complete parameter to User Media - On Complete 8, and the User Media Texture parameter to User Media Texture 8.

Test the Effect
Try out the effect on your mobile device to upload images from your camera roll. Learn more about how to preview your effect.
