Sky Castle
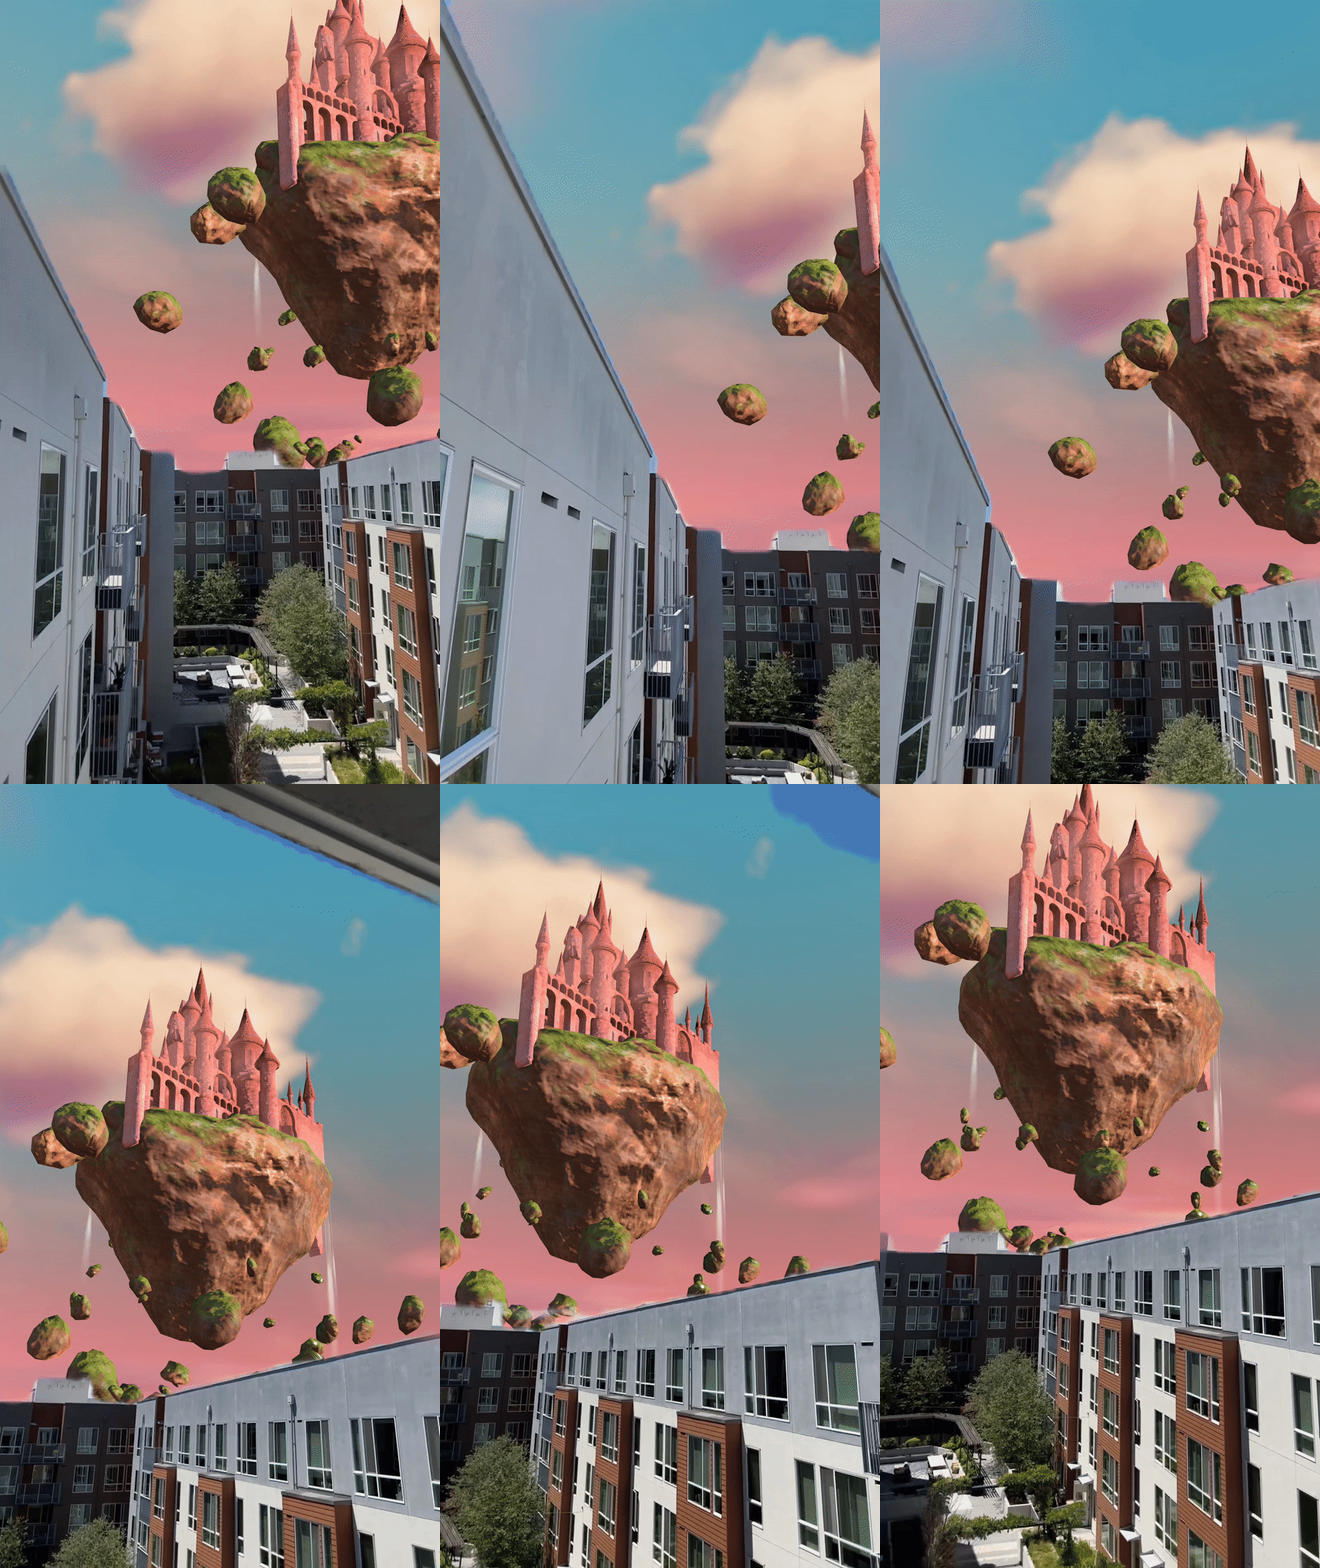
The Sky Castle template demonstrates how to set the environment of a classic sky AR effect with the addition of your own AR objects.
How to Use This Template
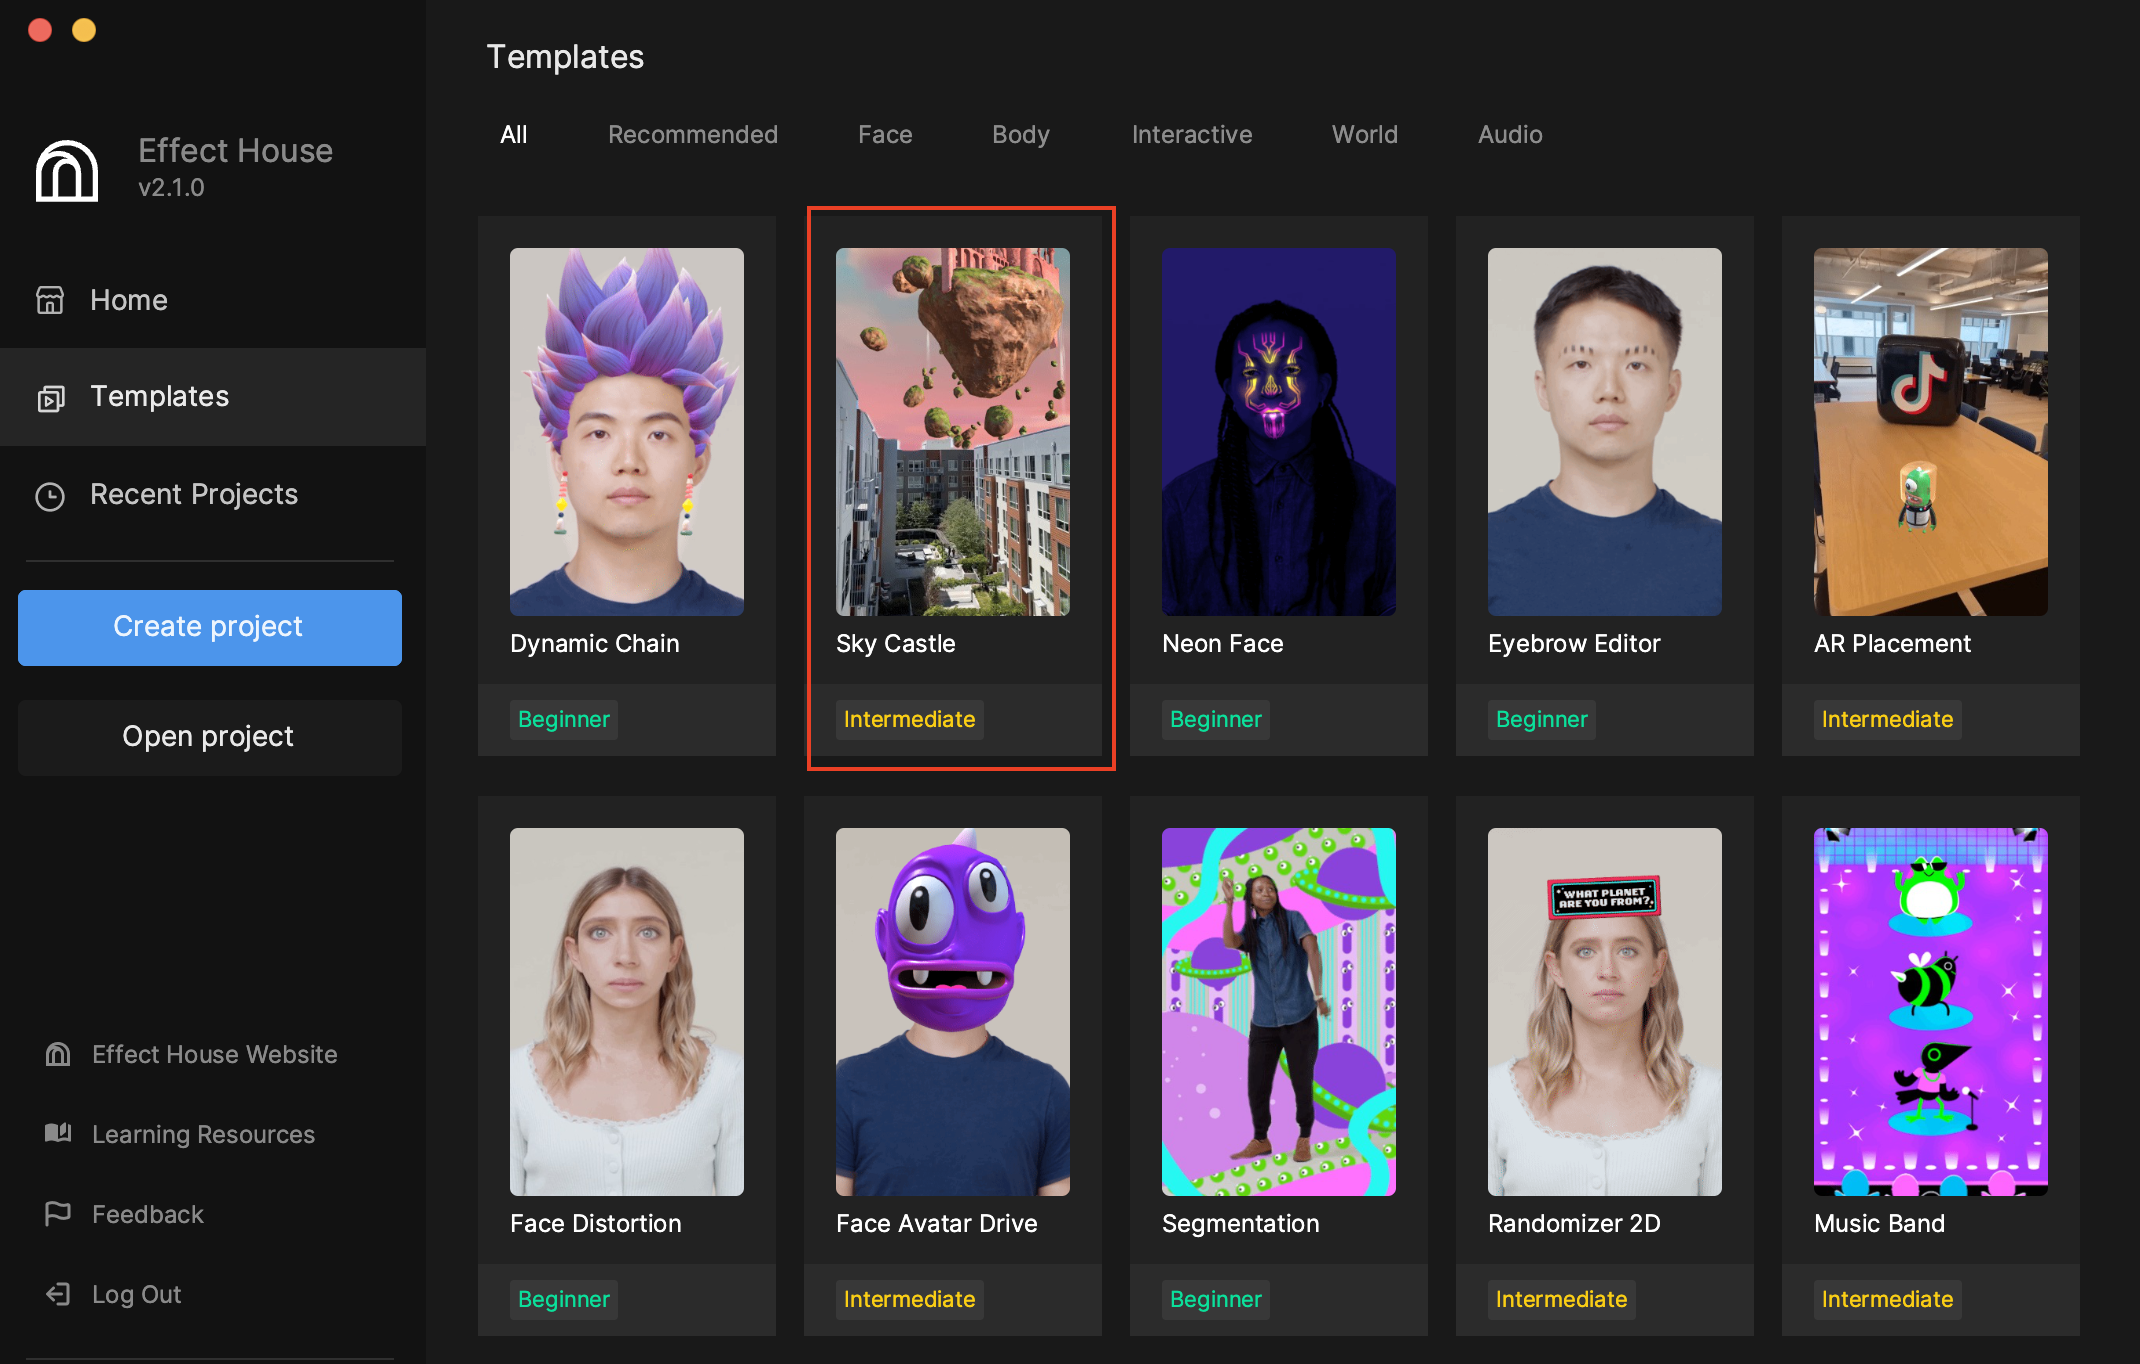
Open Effect House, go to Templates, and select the Sky Castle template.
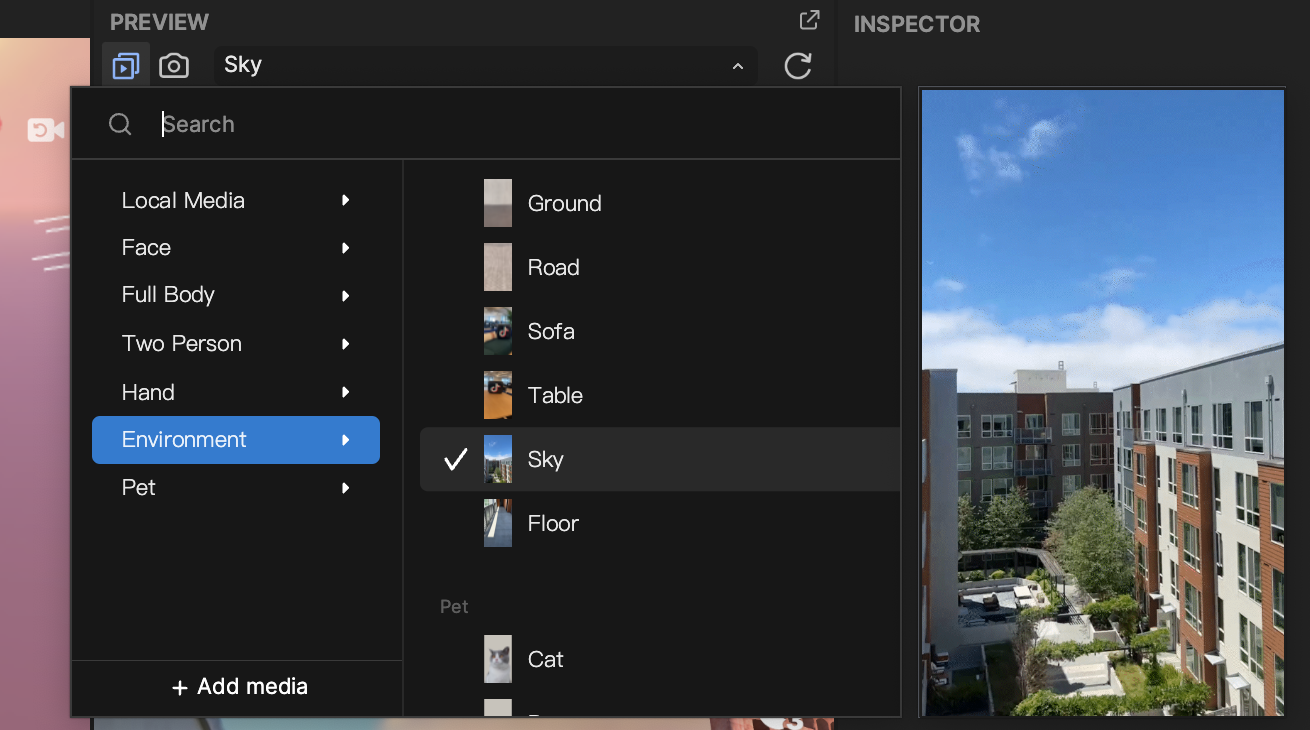
First, the appropriate preview media must be selected. The Sky Castle environment is activated when you point your device into the sky, so you should change your preview media by clicking the Preview menu, hovering over Environment, and selecting Sky.
In the Hierarchy panel, you can see two render groups—General and 2D Foreground Effects.
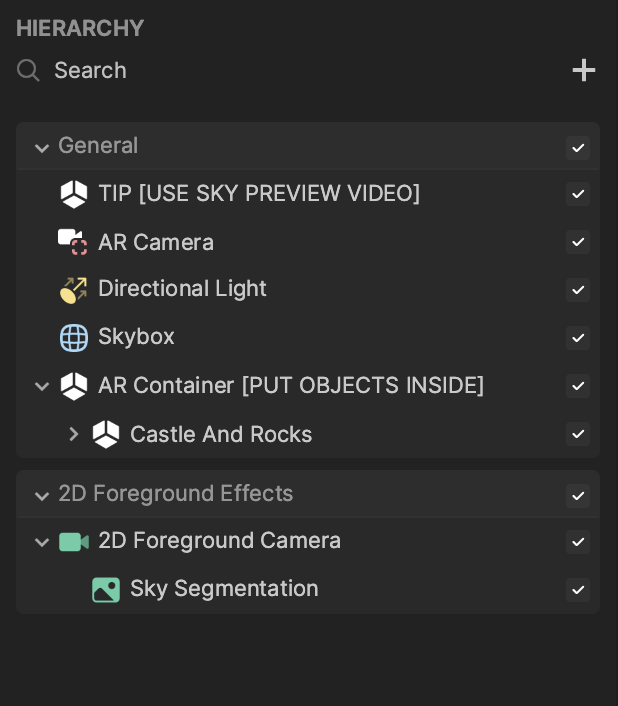
This project consists of three parts—the Skybox, AR Container, and 2D Foreground Effects.
Skybox
Skybox is essentially a cube with a skybox material that is applied to the environment. Try disabling and enabling Skybox in the Hierarchy panel to see the effect in action. Having it enabled makes the sky a gradient pink and disabling it will display the original sky environment.
AR Container
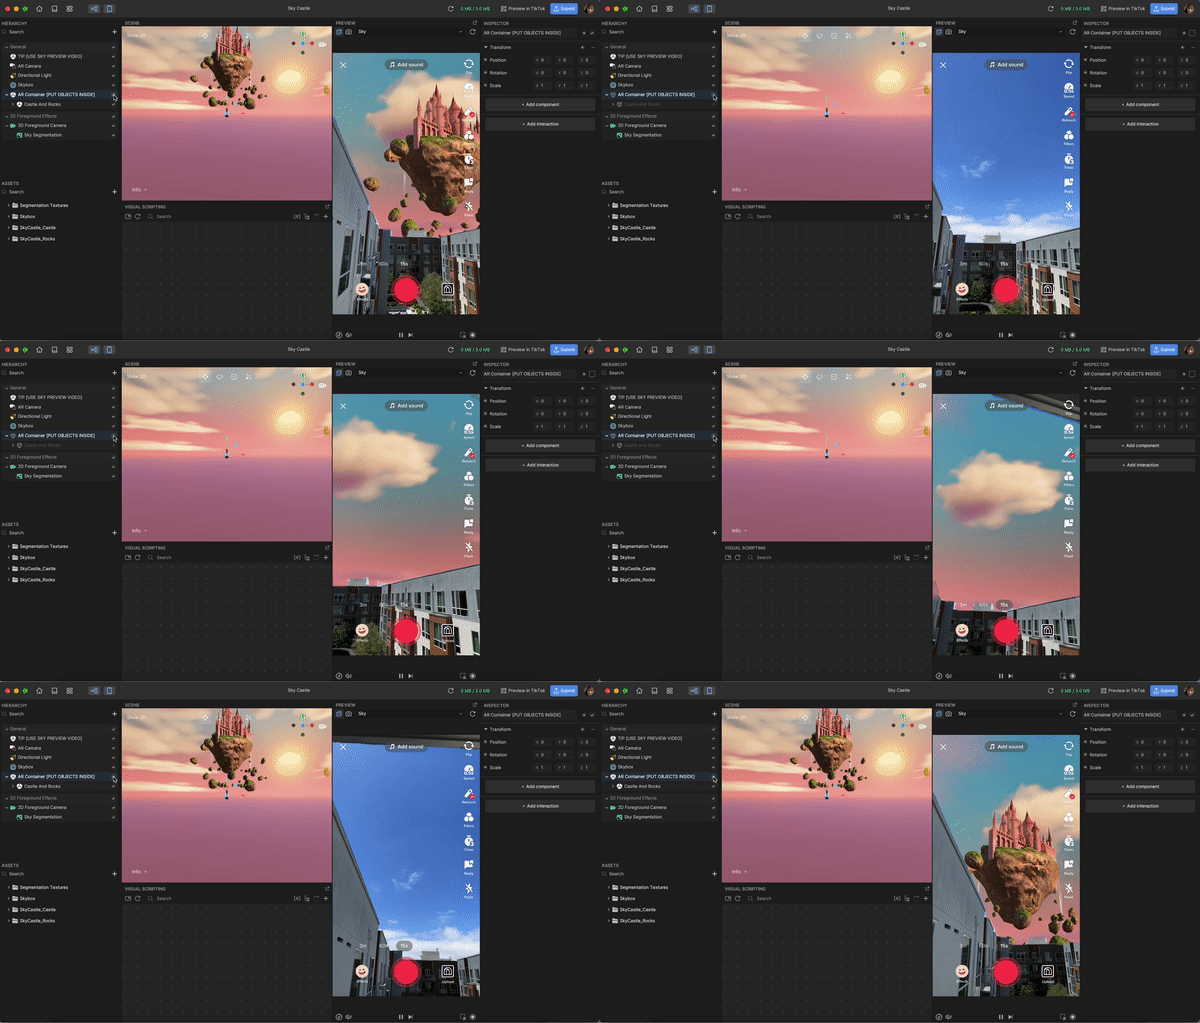
The second part of the environment is AR Container. AR Container is the scene object that contains the AR objects. In this case, the castle and rocks. All objects nested under AR Container are included in the environment as floating objects. If you disable AR Container in the Hierarchy panel, the castle and rocks disappear.
2D Foreground Effects
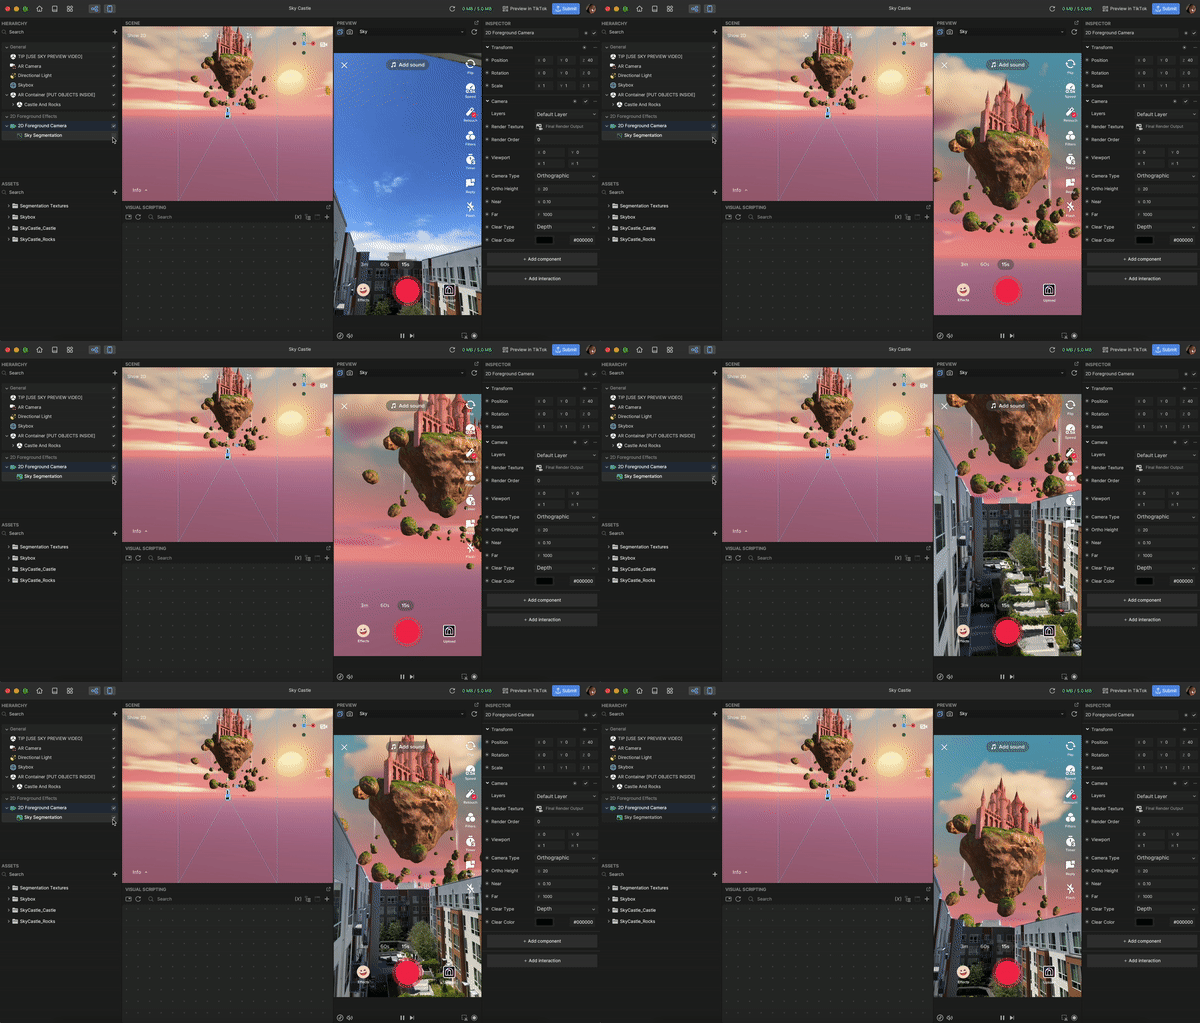
If you take a look at the preview, Skybox and AR Container fill the sky seamlessly behind the buildings in the environment. This is because of Sky Segmentation, which allows for realistic integration with your virtual effect. The Sky Segmentation Texture must be rendered after all other objects for the buildings to appear. That means the 2D Foreground Effects render group must be at the bottom of the Hierarchy panel.
Disabling Sky Segmentation will cause the buildings to be hidden by Skybox and the object in AR Container.

Customize Your Skybox
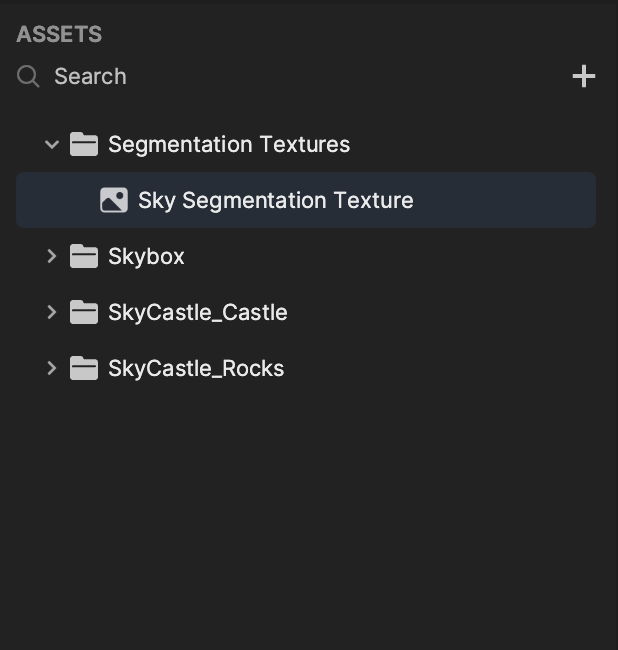
While this template already provides a sky AR environment for you to use, you can customize your own skybox and upload it in the Assets panel. Click the Add button [+], go to Import, and select Cubemap. Locate and select your cubemap texture file and click Open.
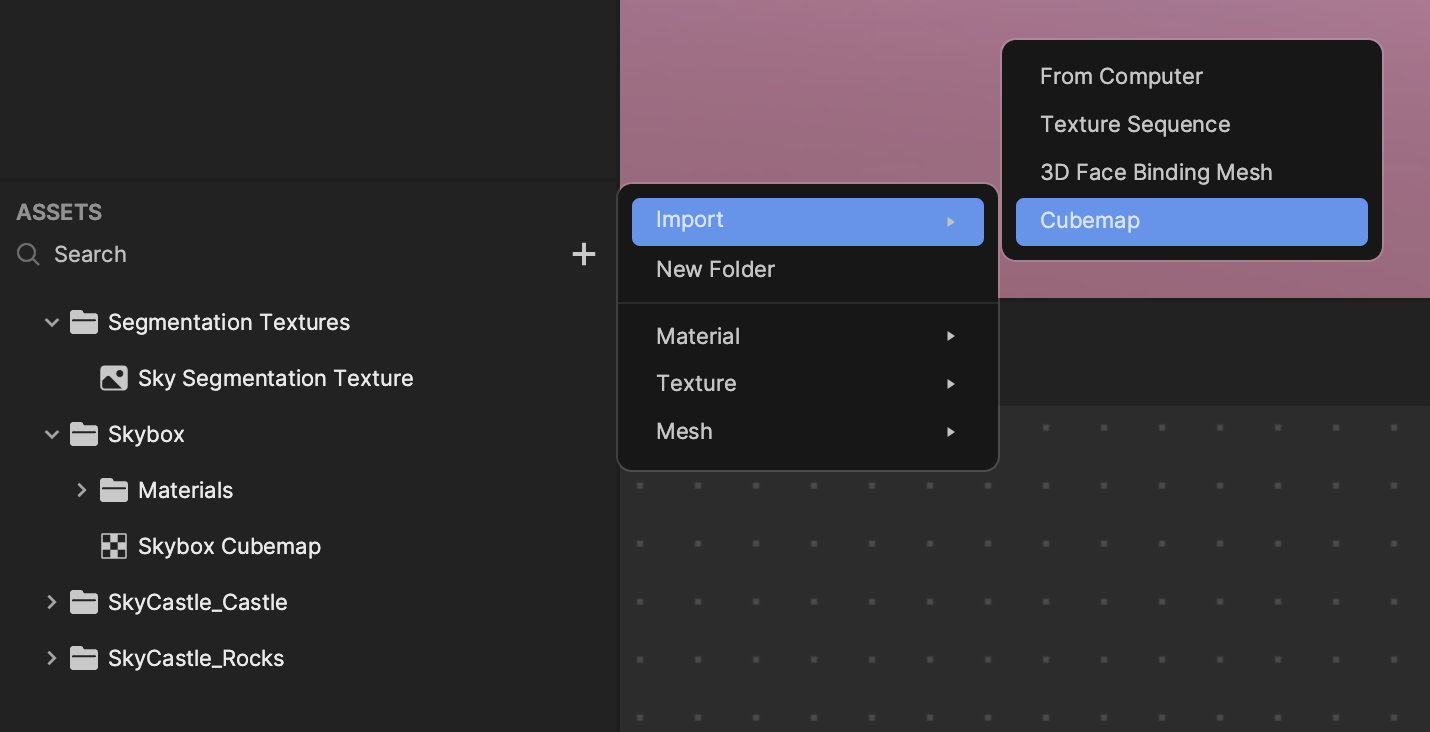
When preparing your cubemap texture, the ratio of the image should be 2:1. For example, the cubemap image in this template is 1024×512 px, which is the maximum supported dimensions.
Once you’ve imported a cubemap texture, you can find it in the Textures folder.
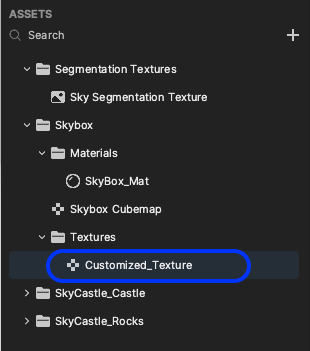
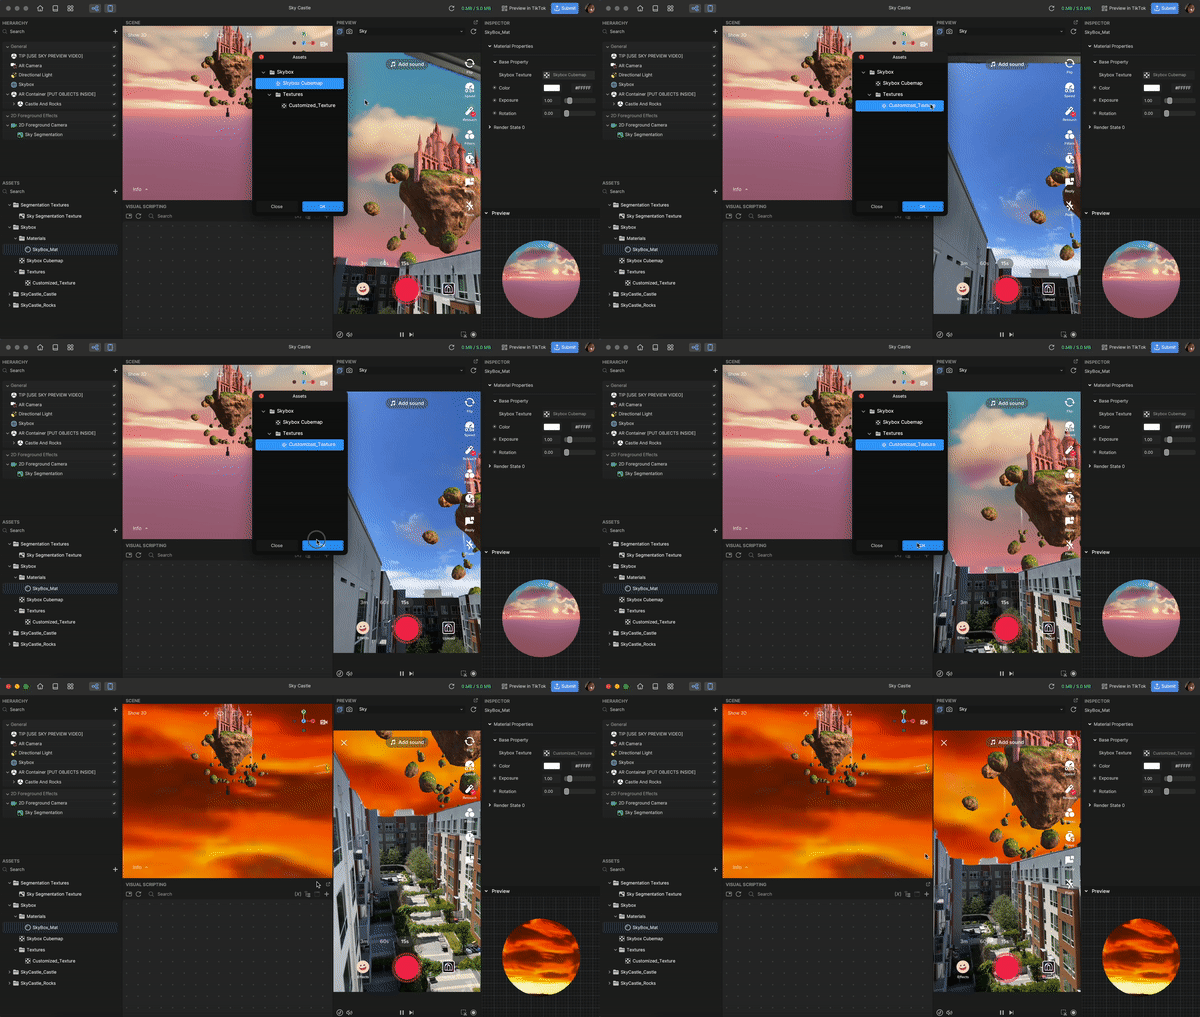
Now you can assign your newly imported customized texture to SkyBox_Mat, which is the material assigned to Skybox. Under the Skybox and Materials folder, select SkyBox_Mat. In the Inspector panel, click the Skybox Texture field, select your customized texture, and click OK.
Customize Your AR Container
Want to add objects, like birds, to your environment? Try browsing for 3D objects in the Asset Library!
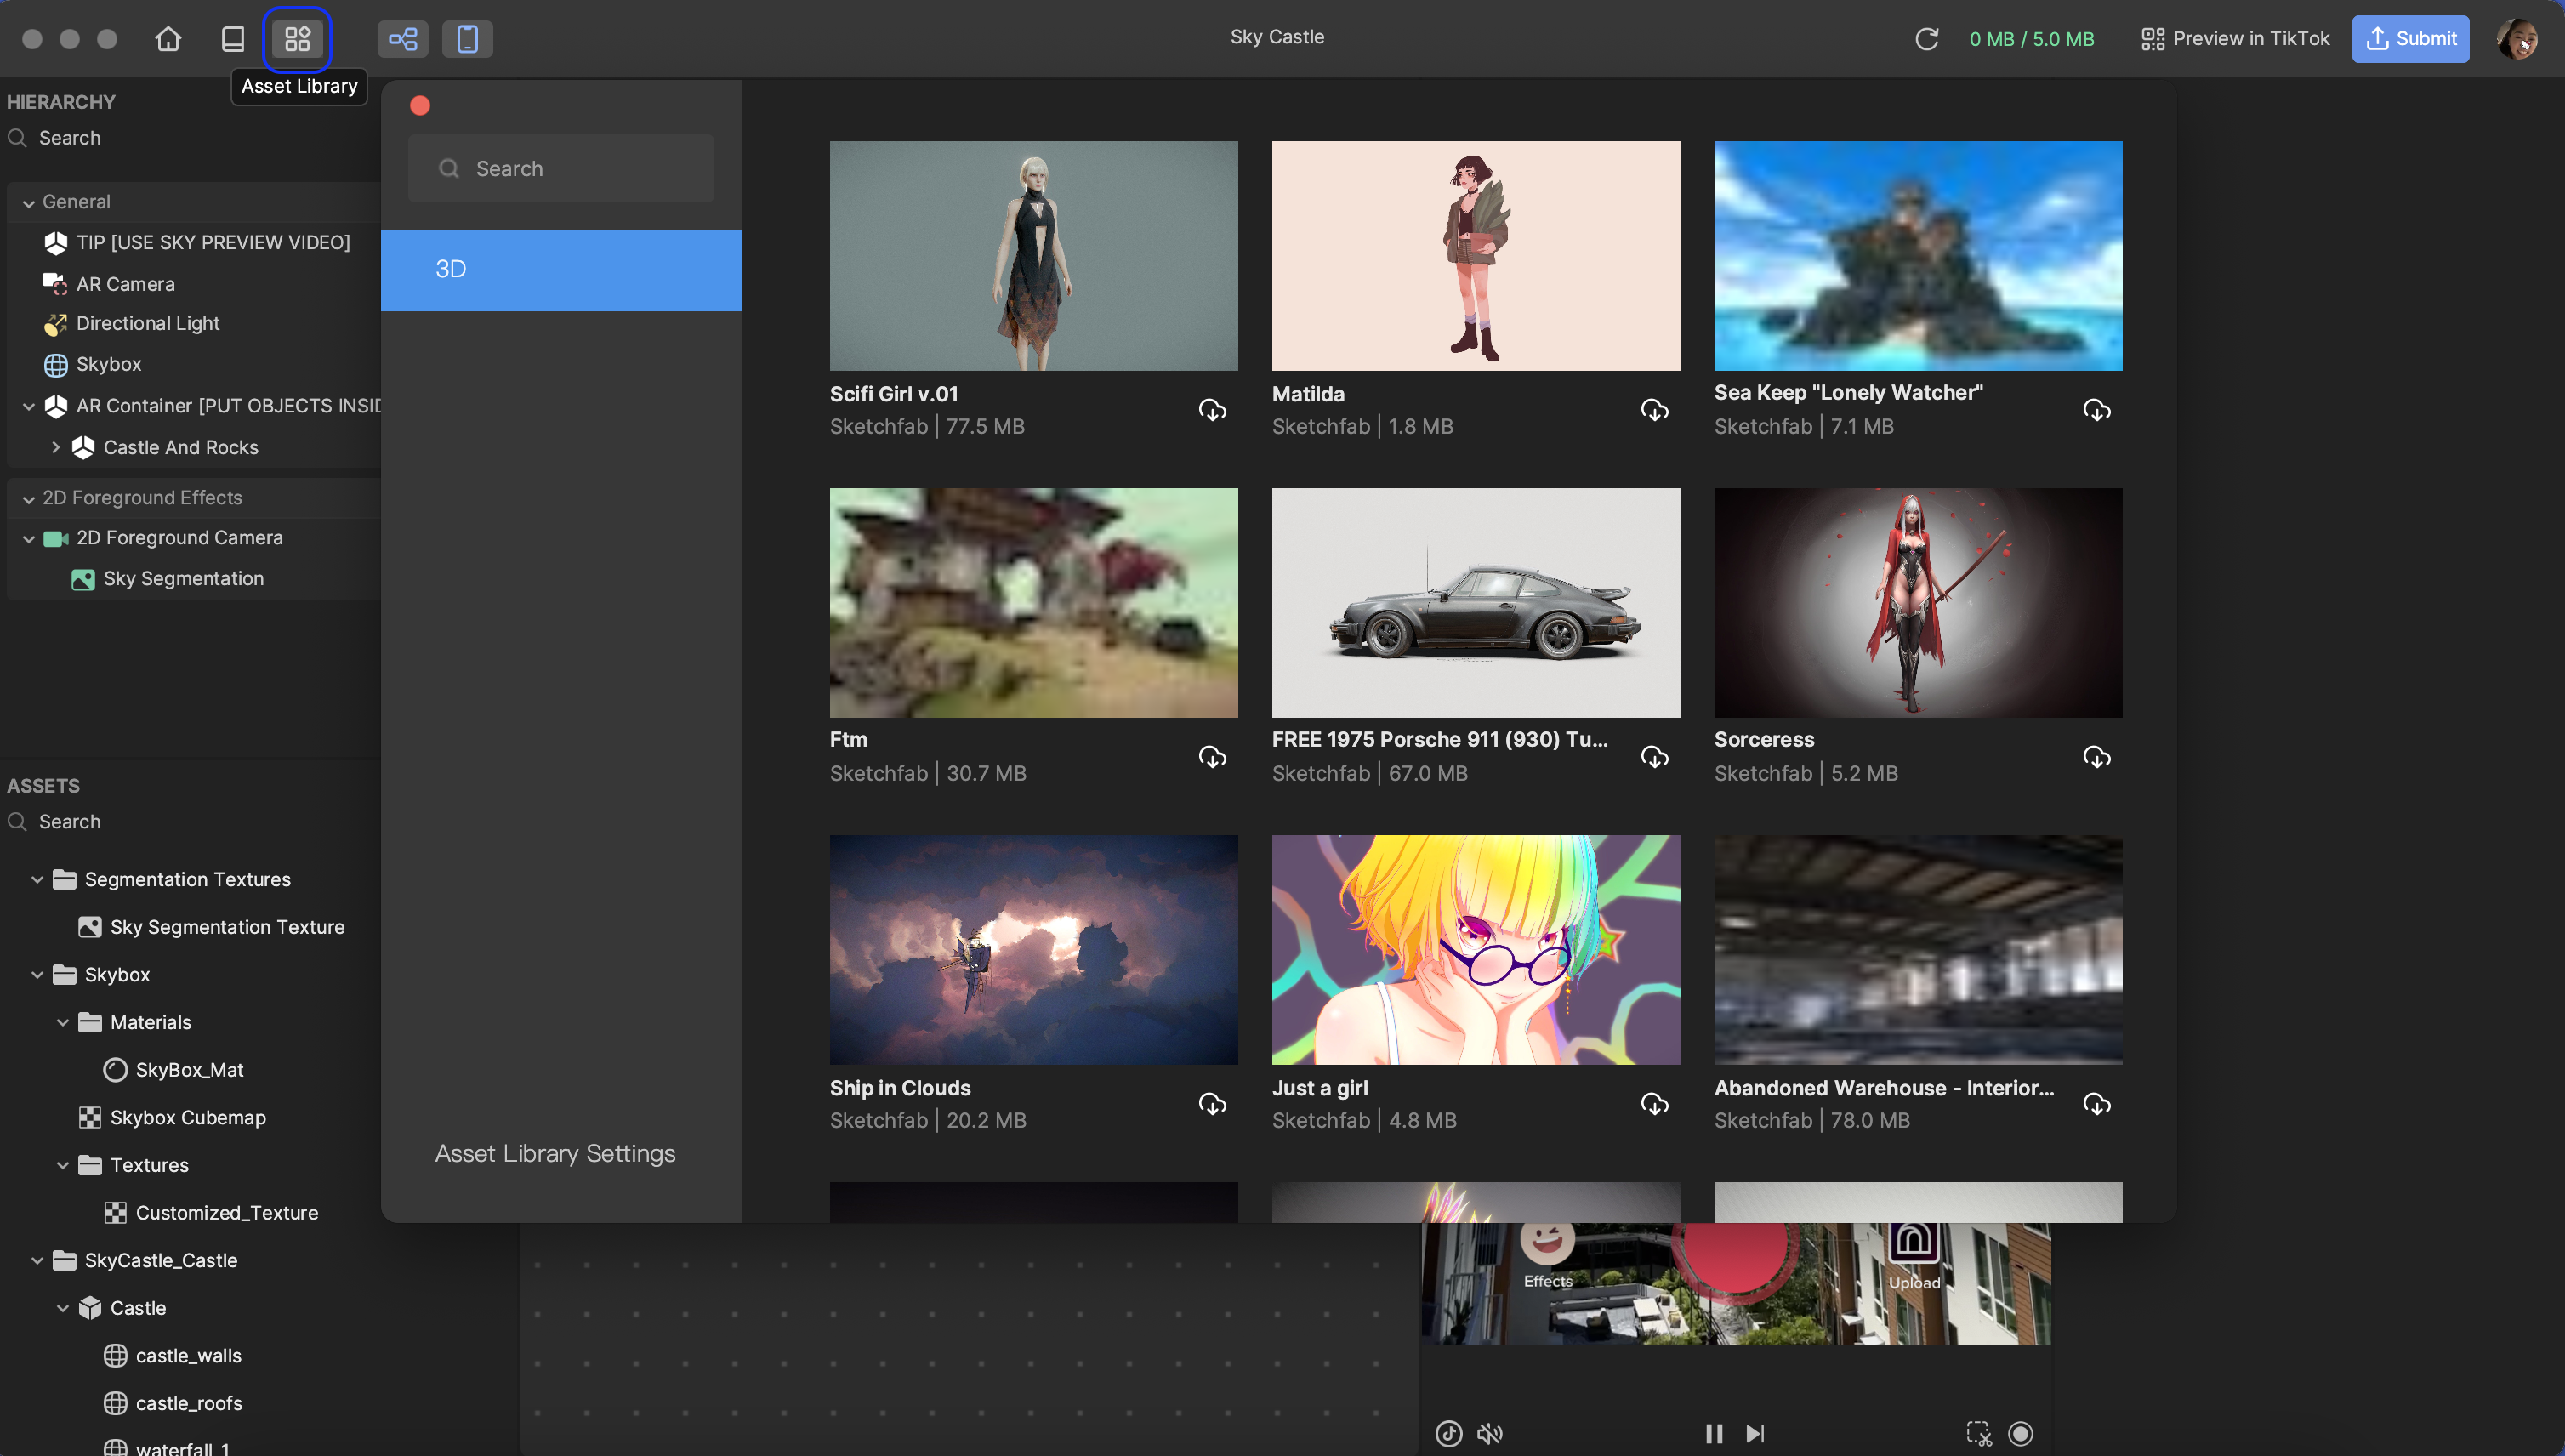
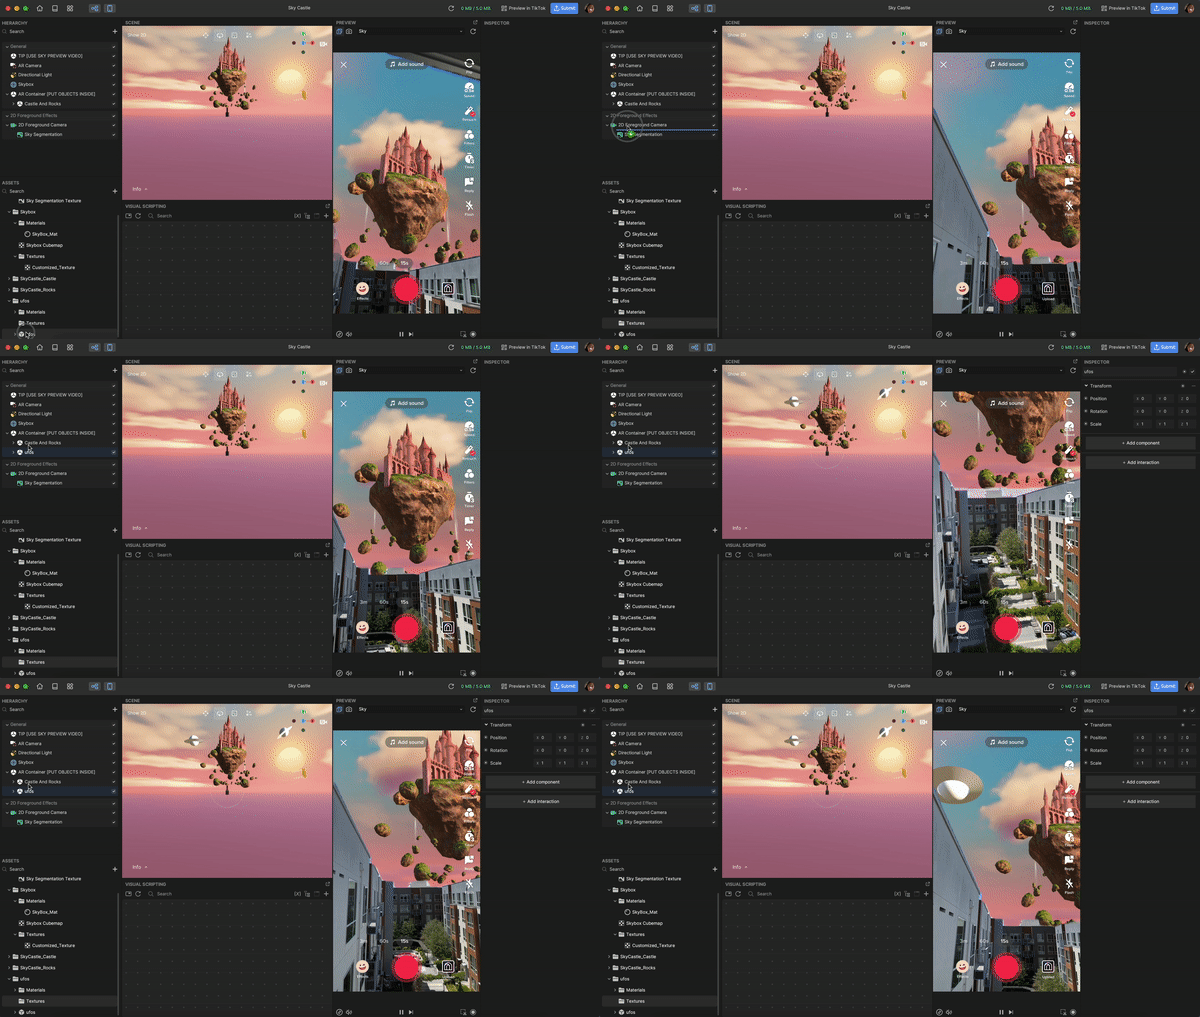
Drag and drop your imported object to AR Container [PUT OBJECTS INSIDE] to have it appear floating in your environment. For example, if you import UFOs in the Assets panel, make sure to drag the file to AR Container [PUT OBJECTS INSIDE] in the Hierarchy panel.
