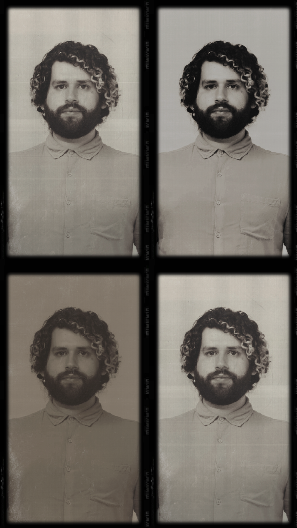
Vintage Shots
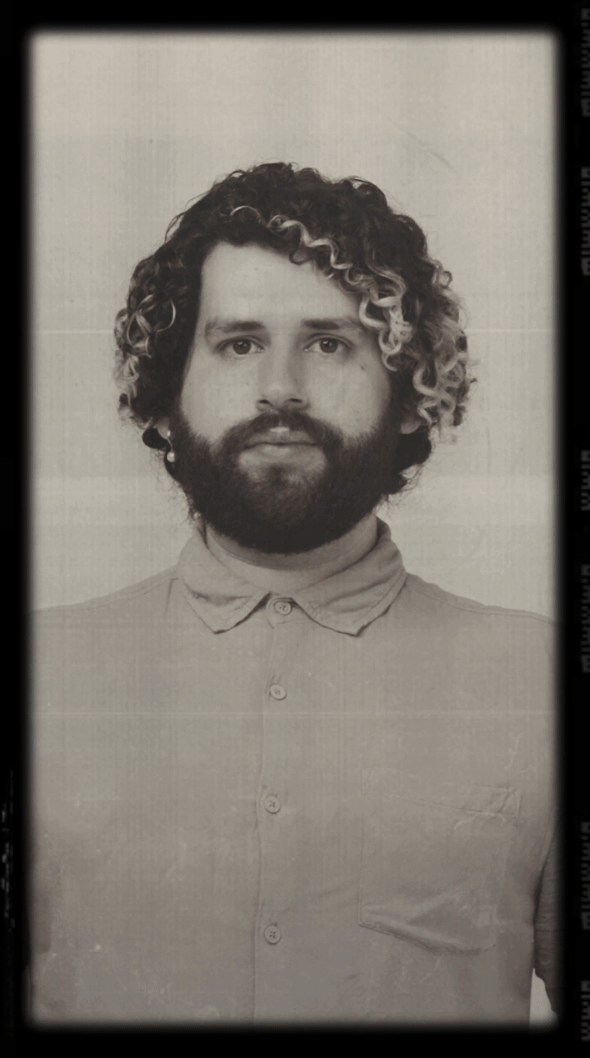
The Vintage Shots effect takes four snapshots of your camera feed, then subsequently displays each snapshot as a vintage-style image. This template was created by @felipesalves3.

How to Use This Template
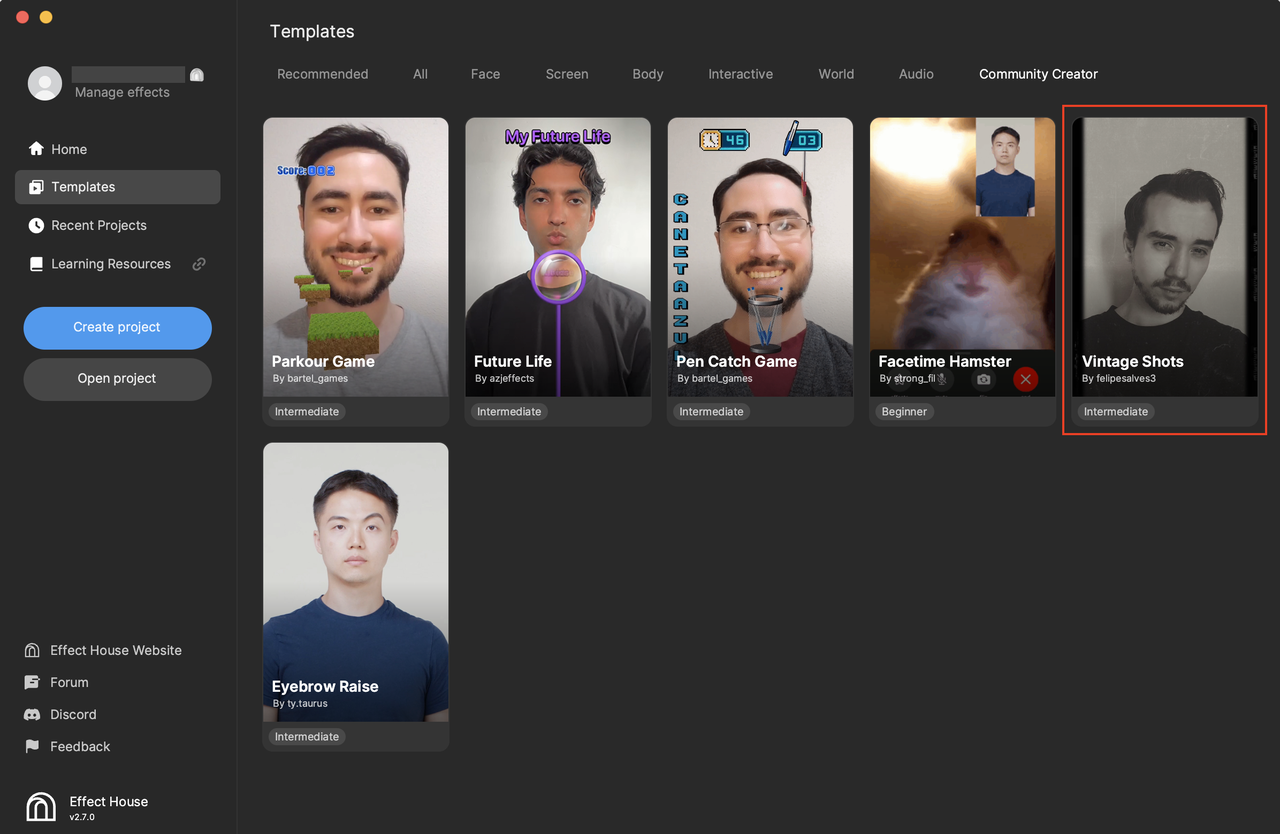
Open Effect House, go to Templates, click the Community Creator tab, and select the Vintage Shots template.
This effect creates a vintage camera look by composing grain, paper print images, and 4 LUT textures. It utilizes the Snapshot node to take 4 photos with 1-second intervals between each shot.
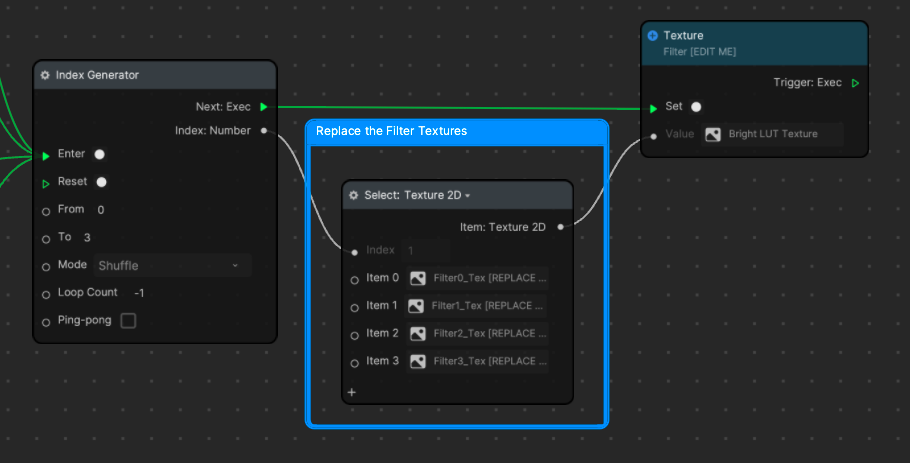
The effect generates unique combinations of textures for each photo by using shuffled animation sequences and an Index Generator node.
Replace the Textures
The filter textures, also known as LUTs, are changed after each shot by triggering the Index Generator node that is connected to a select node containing the 4 LUT textures.
Start by replacing the 4 filter textures in the Assets panel.
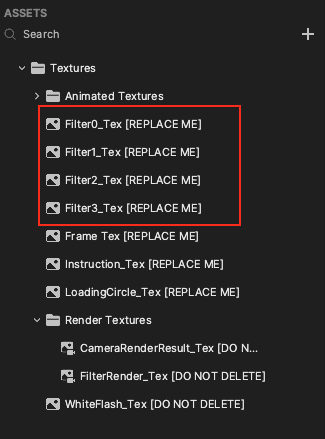
In the Visual Scripting panel, insert the new filter textures into the Select: Texture 2D node.
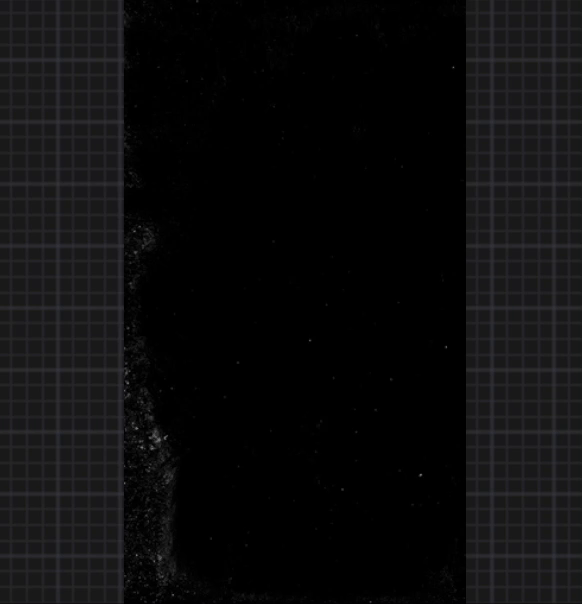
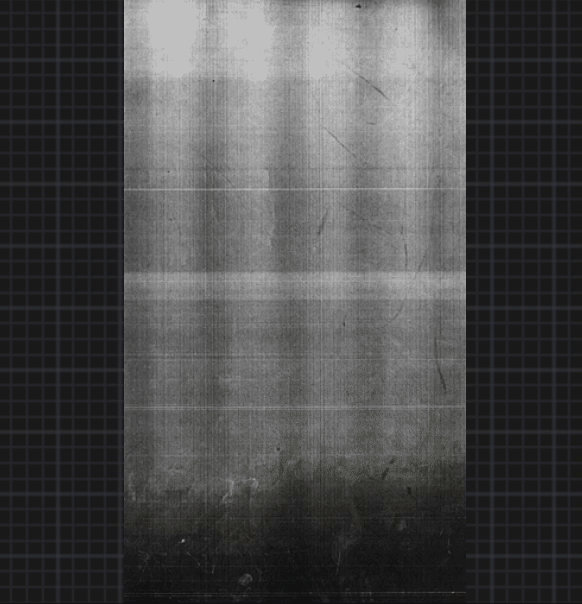
Then go back to the Assets panel, and expand the Animated Textures folder to view the Grain_tex and Print_tex animated textures, which create the vintage look. You can replace these by importing your own animated textures. Learn more about animated textures.
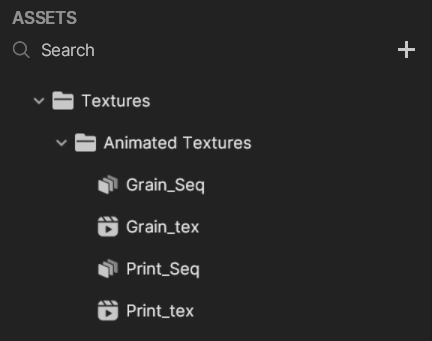
Grain_Seq
Print_Seq
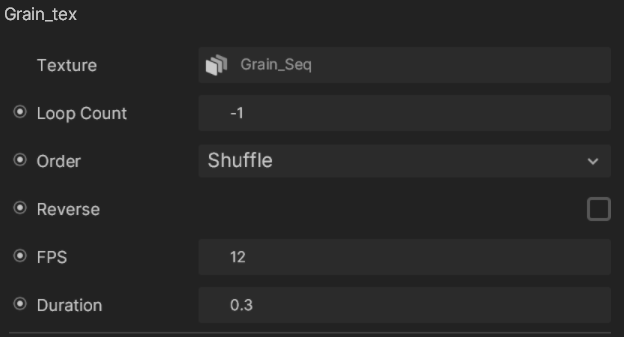
Click the Grain_tex animated texture, then go to the Inspector panel. Make sure the Order is set to Shuffle.
Then go to the Hierarchy panel and select Grain Texture Sequence [EDIT ME].
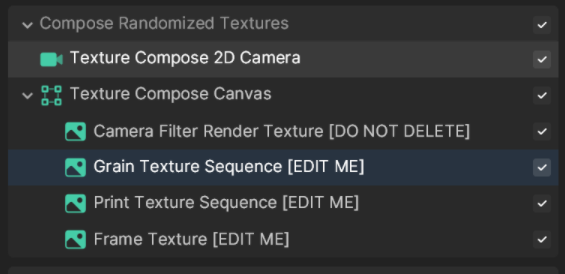
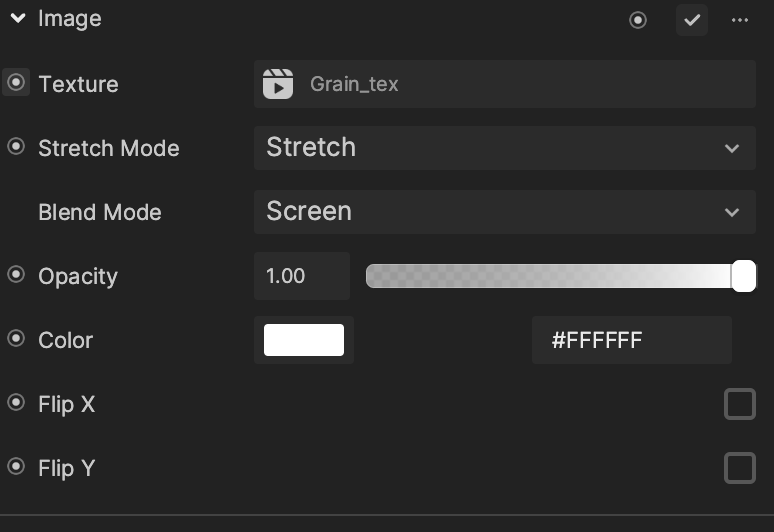
Go to the Inspector panel, and click on the Image component's Texture field. Make sure the Grain_tex animated texture is selected. Repeat the process for the Print Texture Sequence [EDIT ME] and Frame Texture [EDIT ME] objects, with the Print_tex and Frame Tex [REPLACE ME] textures, respectively.
If you imported your own animated textures to use in place of the built-in Grain_tex and Print_tex assets, assign them to the Texture properties of the Grain Texture Sequence [EDIT ME] and Print Texture Sequence [EDIT ME] objects.
Modify the Animations with Visual Scripting
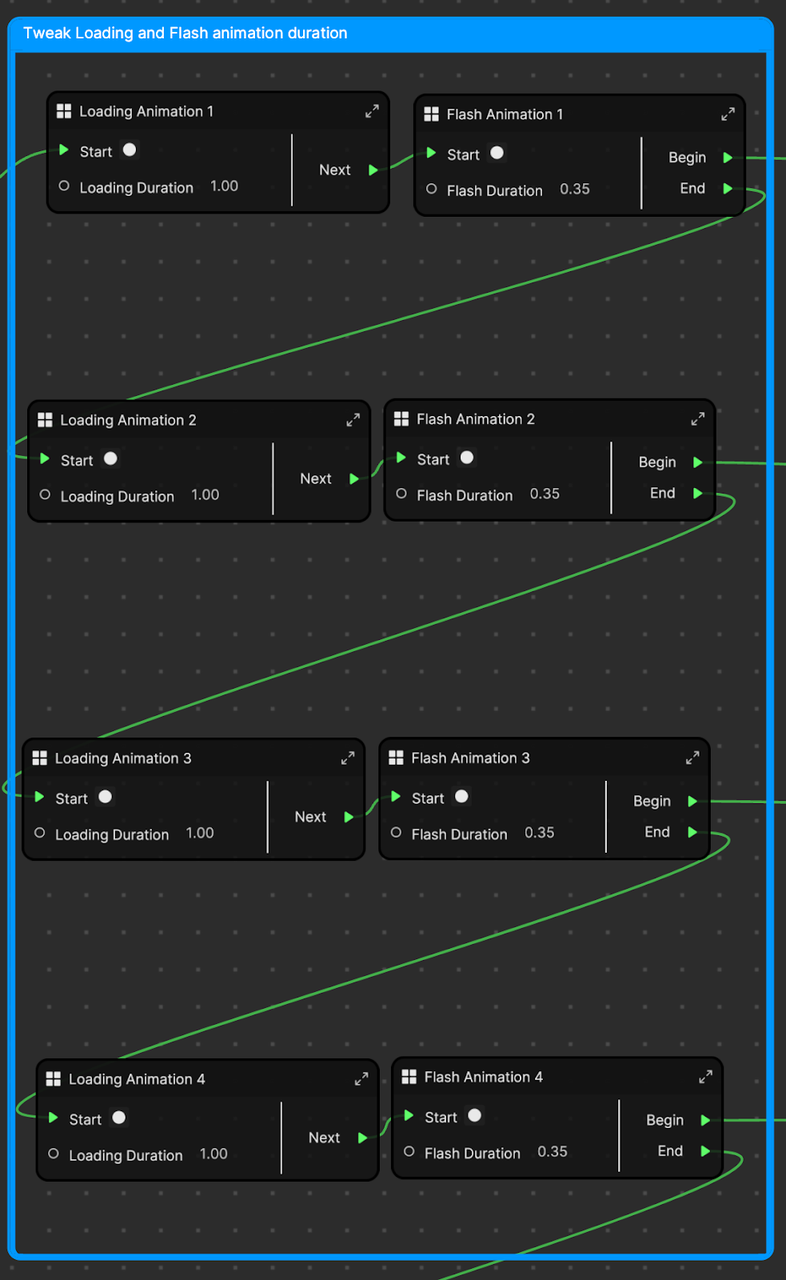
Before each snapshot, the effect displays a 1 second loading animation followed by a camera flash effect. The duration of these animations and the loading circle texture can be modified.
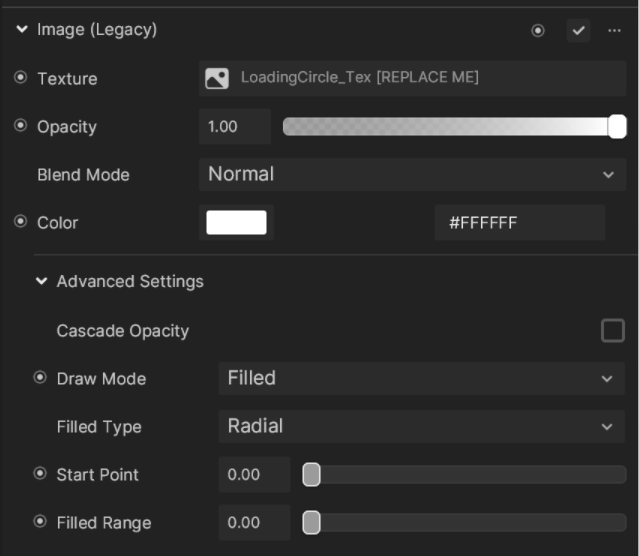
In the Hierarchy panel, select Loading Animation Texture [EDIT ME].
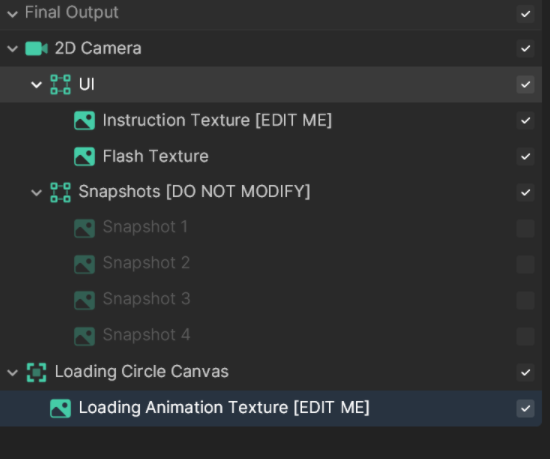
Then go to the Inspector panel, click the Image component's Texture field, and replace the LoadingCircle_Tex [REPLACE ME] texture with your own texture. Do not alter the Advanced Settings.
In the Visual Scripting panel, modify the Loading Duration and Flash Duration values for each Loading Animation and Flash Animation subgraph to your liking.
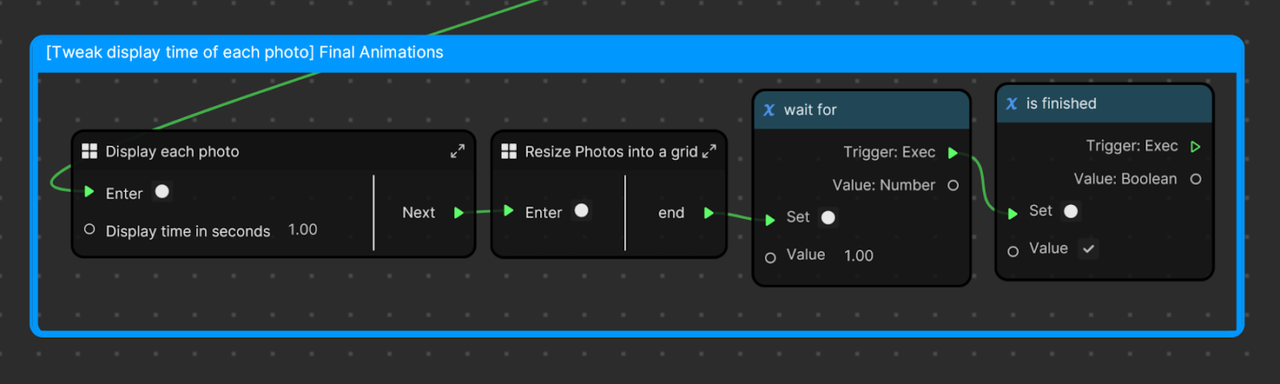
Once all the snapshots are taken, the effect displays them by turning on the visibility of each snapshot image with 1 second between each photo. You can modify the Display each photo subgraph's Display time in seconds.
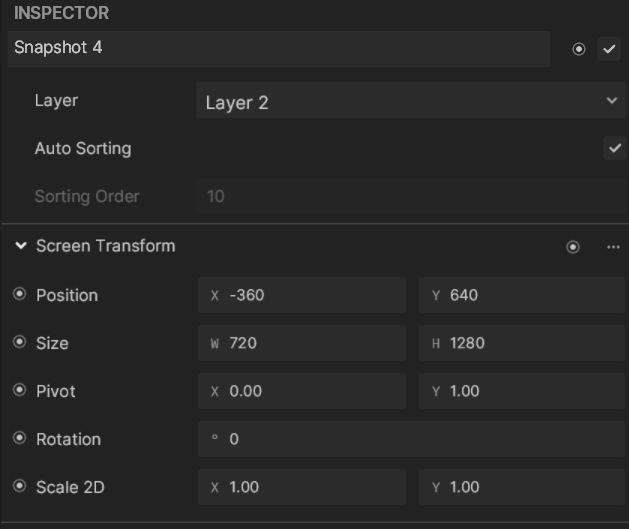
The Snapshot objects have their pivot points moved to each of the 4 corners of the canvas.
The Resize photos into a grid subgraph changes the size of each snapshot image to a quarter of its original size, so the effect can display all 4 images in a 2x2 grid.
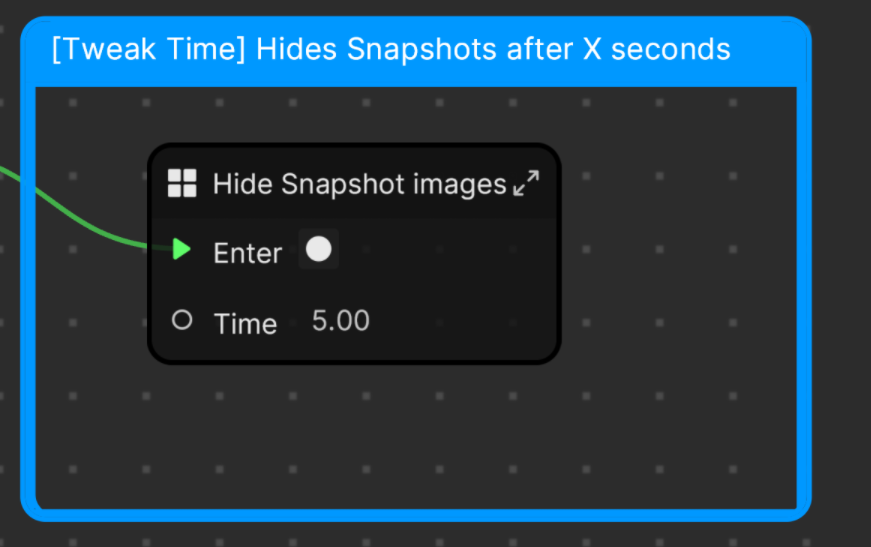
The last subgraph hides the Snapshot images after 5 seconds, so you can see the camera feed again.