Rainbow Shadow
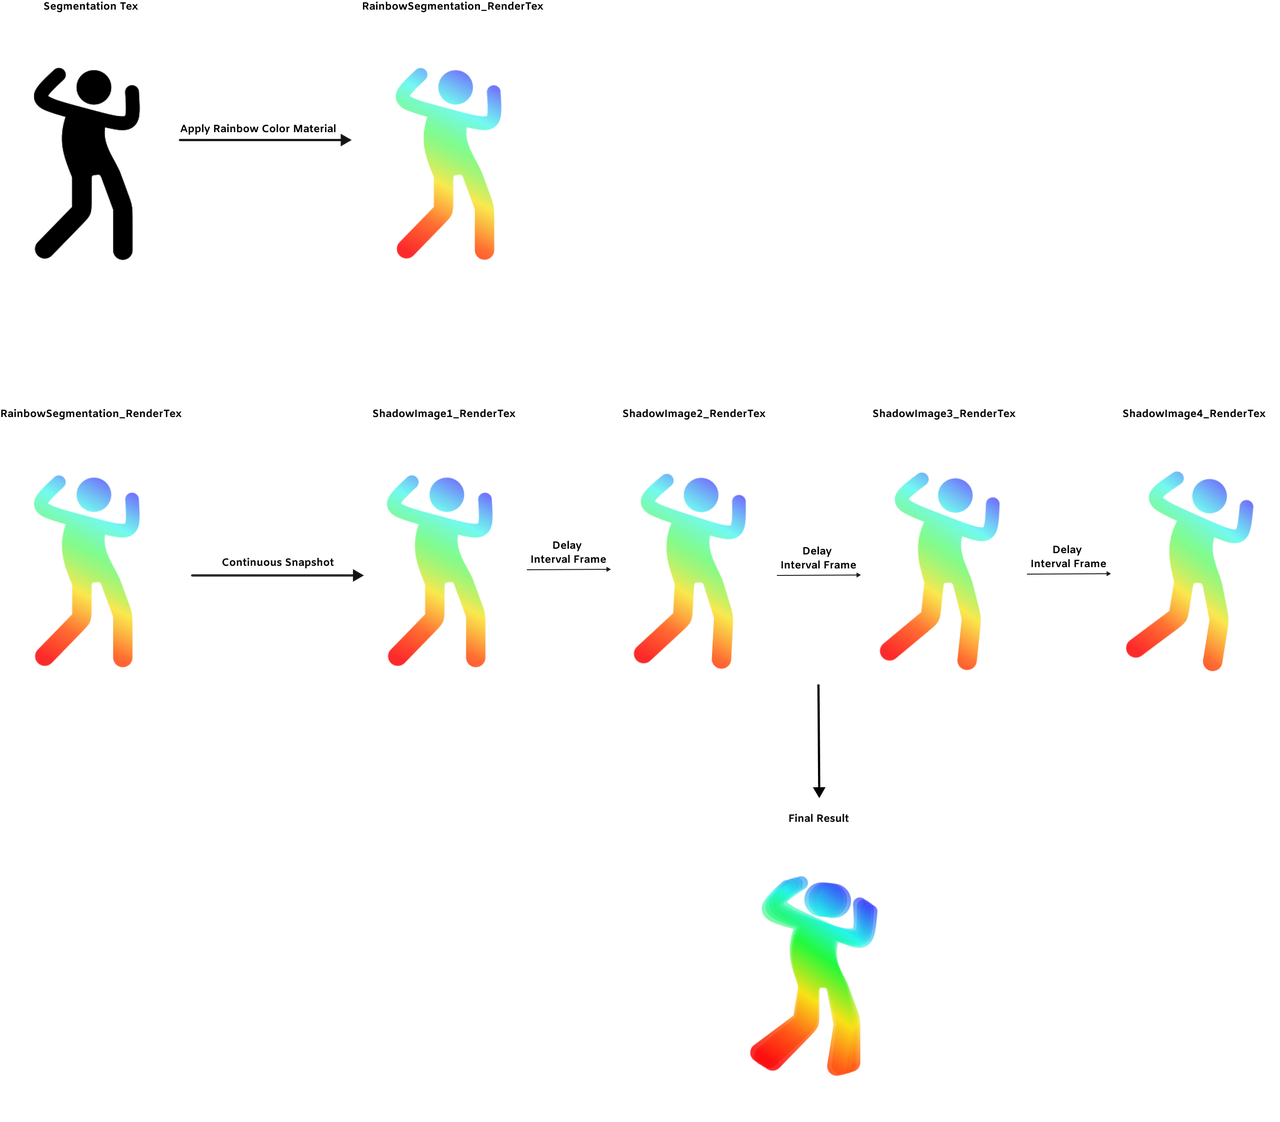
The Rainbow Shadow template uses Material Editor and Visual Scripting, along with camera feedback, to create a delayed frame effect.

So how does this work? Below is a diagram to explain the usage of the provided textures and overall logic of this project.
How to Use This Template
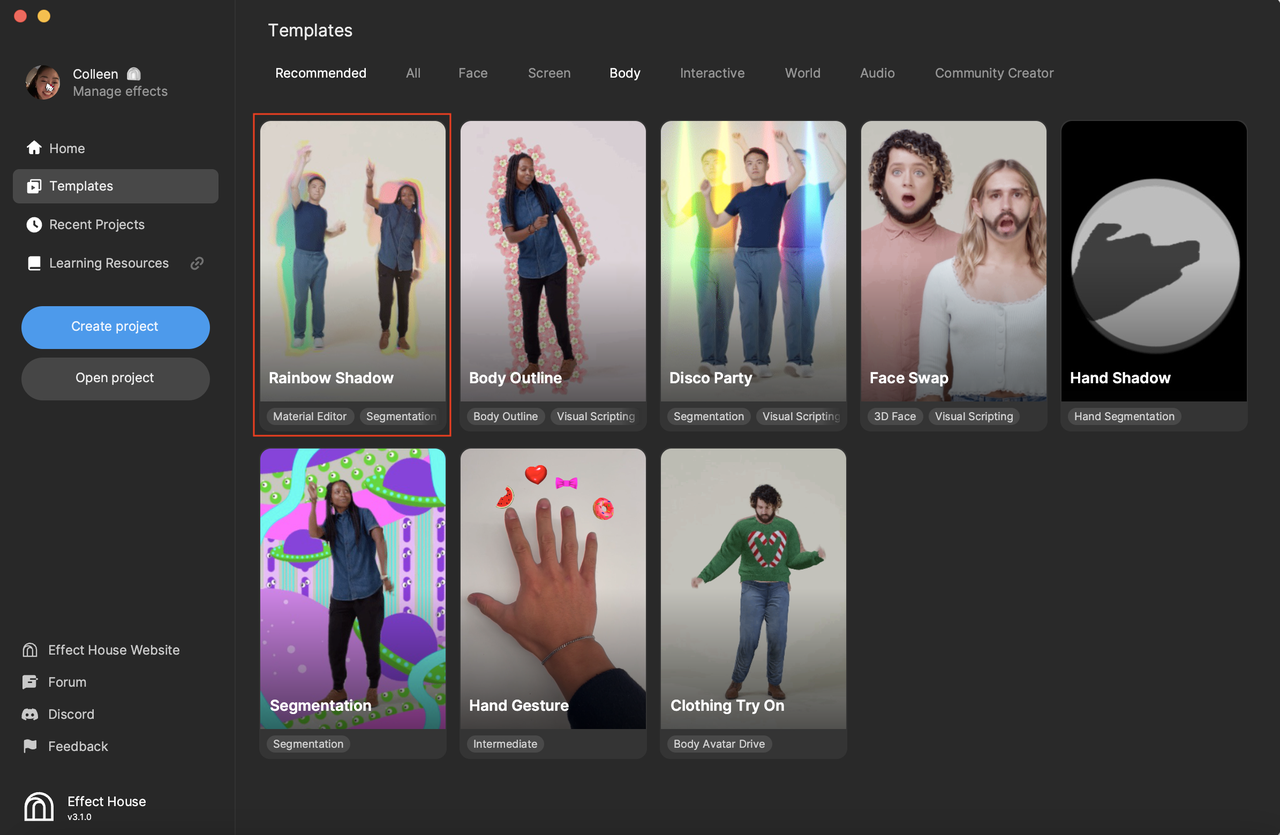
Open Effect House, go to Templates, click the Screen tab, and select the Rainbow Shadow template.
Hierarchy
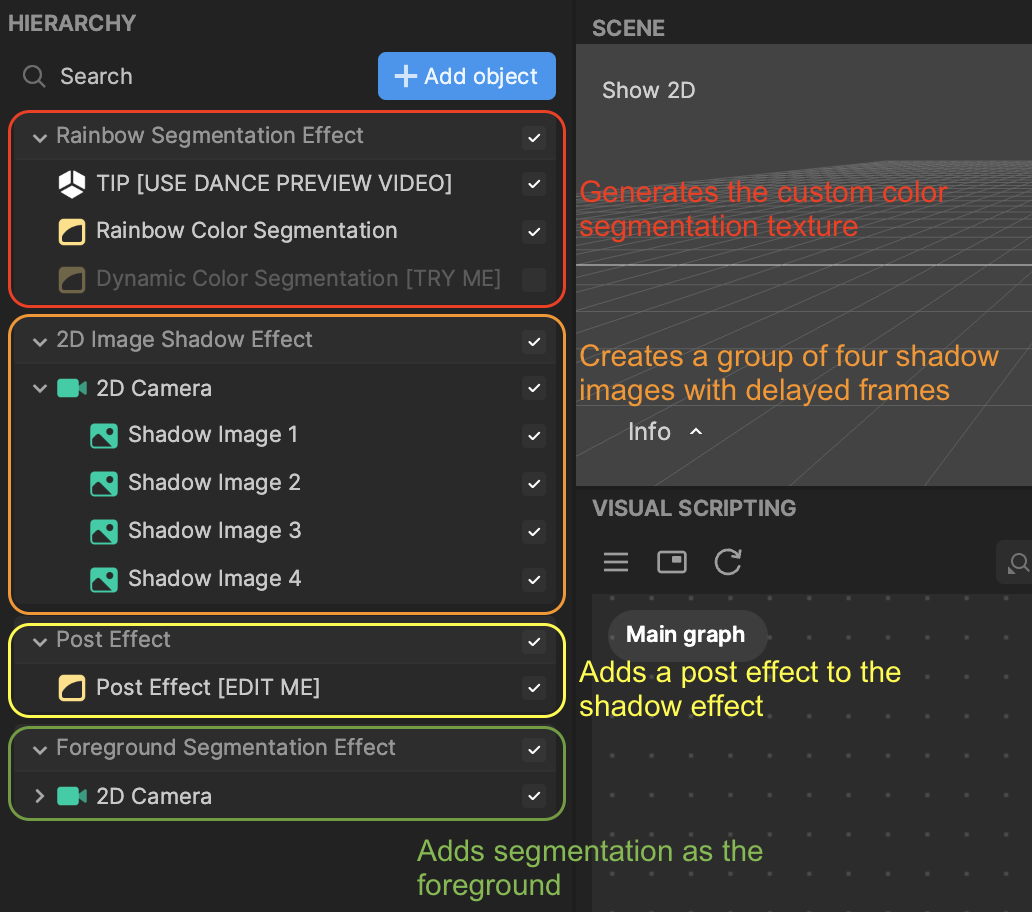
Let's start by looking at the four render groups in the Hierarchy panel.
Rainbow Segmentation Effect
In this render group, custom materials are being applied to the segmentation texture.
It is recommended that you only apply one effect from this render group-either Rainbow Color Segmentation or Dynamic Color Segmentation. The result is rendered in RainbowSegmentation_RenderTex.
Rainbow Color Segmentation applies a rainbow color that slightly changes with time to the segmentation texture based on UV.

Dynamic Color Segmentation applies a solid color that changes with time to the entire segmentation image.

2D Image Shadow Effect
The 2D Image Shadow Effect is responsible for delaying the shadow effect. This render group is composed of four images that hold the continuous snapshots of RainbowSegmentation_RenderTex. Between each snapshot are interval frame delays to create the final delayed effect.
Post Effect
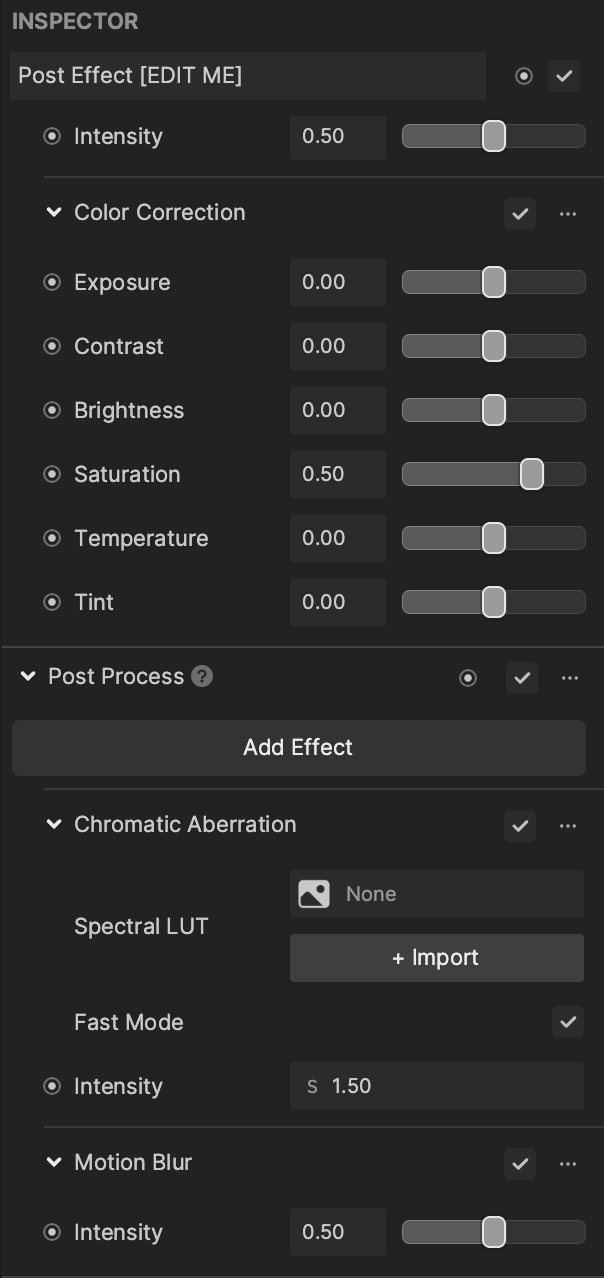
This render group applies chromatic aberration and motion blur to the shadow effect. Adjust the properties for this post effect in the Inspector panel.
Foreground Segmentation Effect
This render group creates a segmentation foreground to cover the body and only show the delayed frame effect.
Customize the Effect
You are encouraged to tweak the properties of the different objects and assets to create your desired effect! Here are some ways you can personalize this effect.
Materials
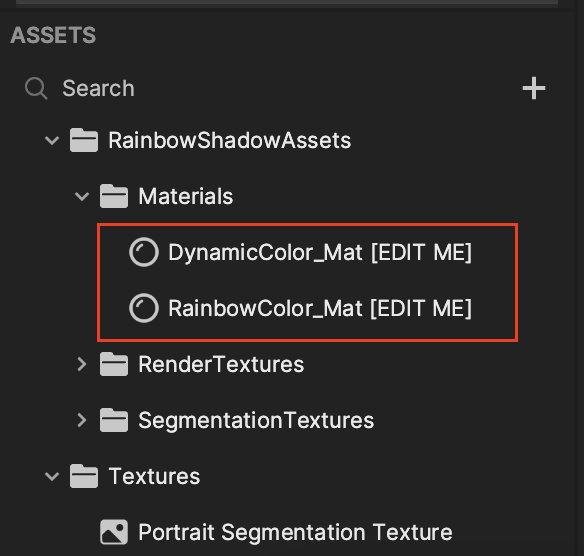
After enabling Rainbow Color Segmentation or Dynamic Color Segmentation in the Rainbow Segmentation Effect render group, you can play with the properties of the default material.
In the Assets panel, go to the Material folder and click the respective material. For example, if you enabled Rainbow Color Segmentation, click the RainbowColor_Mat material.
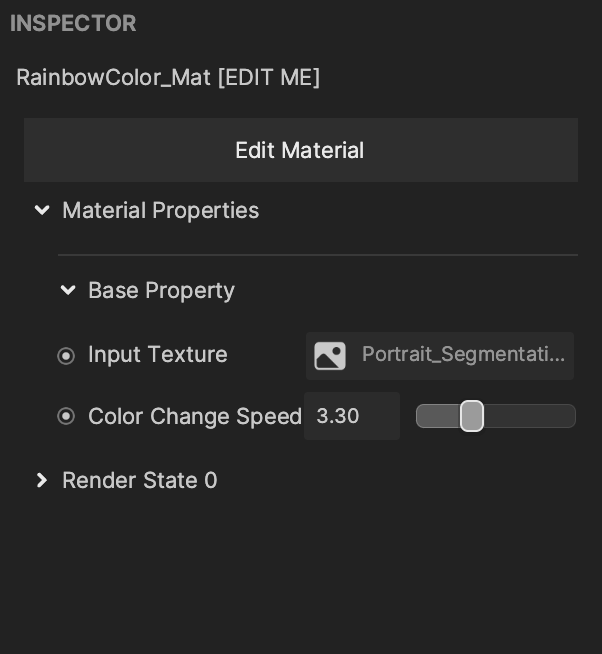
Now go to the Inspector panel and play around with the different properties, like Color Change Speed, of the material!
Image
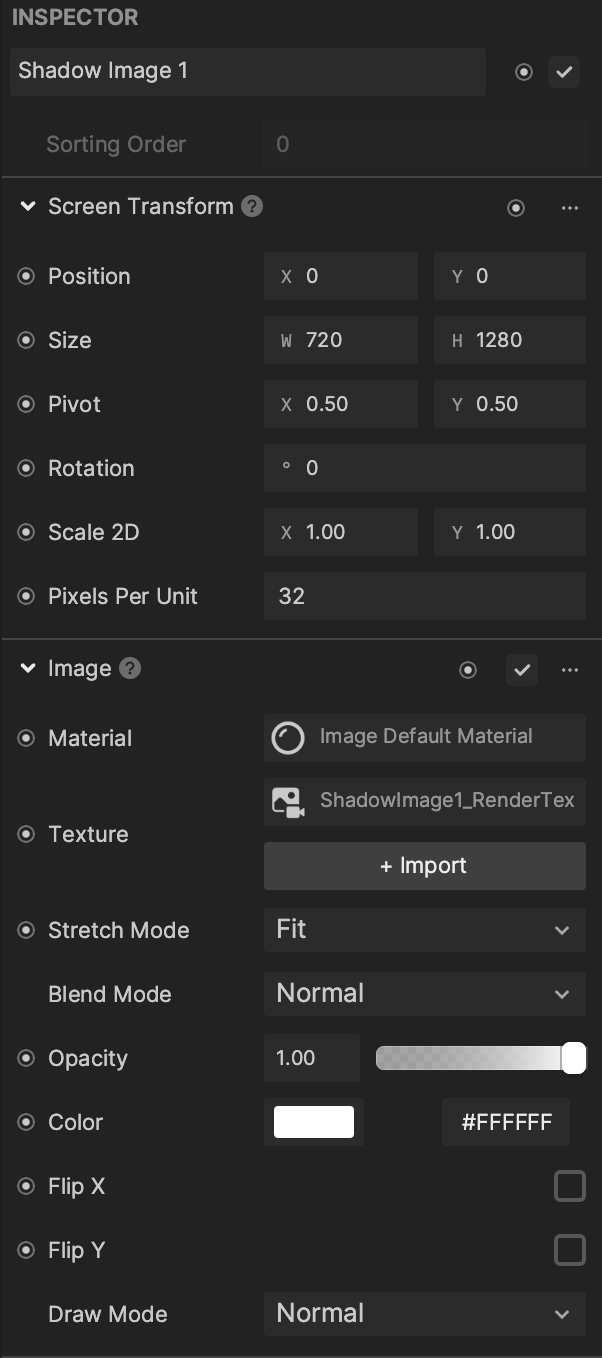
You can modify each Image object under the 2D Image Shadow Effect render group by simply clicking an image, like Shadow Image 1.
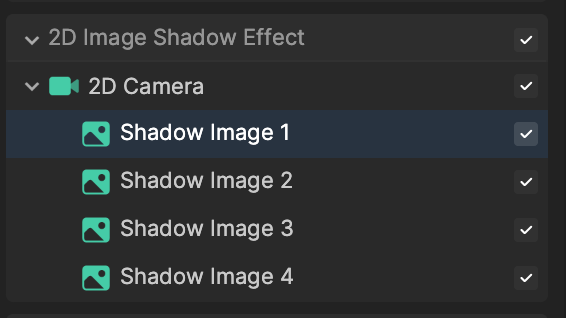
Then locate its properties in the Inspector panel. Here you can adjust key properties like Blend Mode.
You can also control the interval delay time in Visual Scripting by changing the Interval Frame value. The larger the Interval Frame value, the more laggy the effect of the shadow. Take a close look at the rainbow shadows in the following demos to notice the difference.
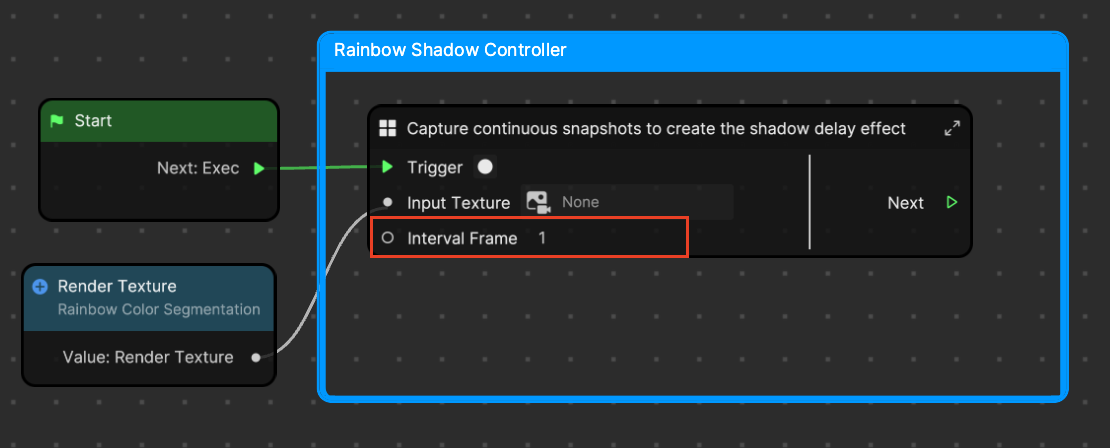
Here the Interval Frame value is set to 2.

And here the Interval Frame value is set to 10. You can noticeably see the delay of the shadows.

Post Effect
Play around with the different post effect properties by clicking Post Effect in the Hierarchy panel and customizing the various properties in the Inspector panel.
For example, you can experiment with the many built-in LUT textures!
