User Media Texture
The User Media Texture is now called Image Picker Texture starting in Effect House 4.9.0. Refer to the Media Picker guide.
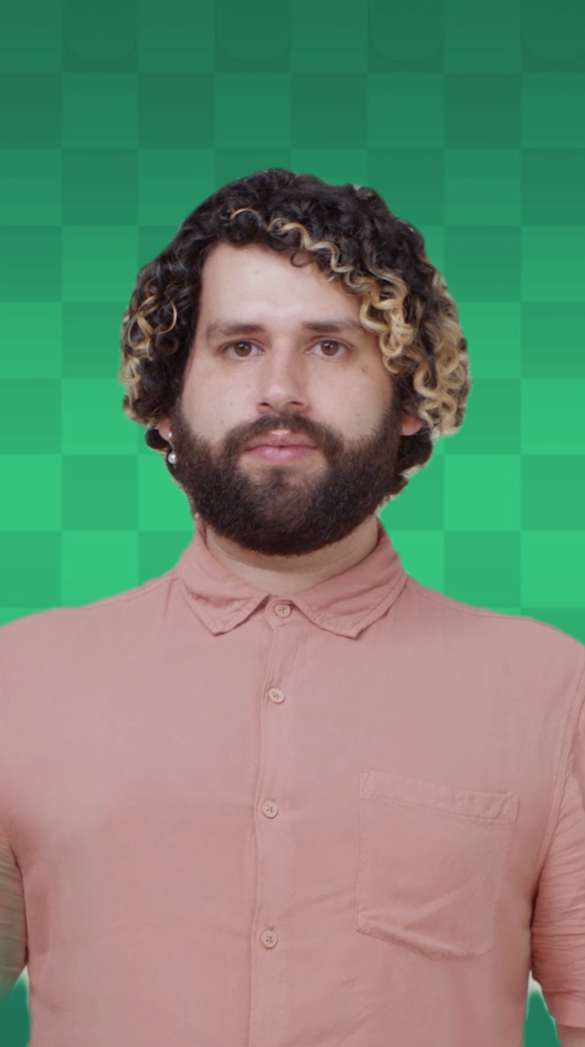
User Media Texture is an asset that allows TikTok creators to incorporate images from a camera roll into effects. For example, you can use User Media Texture to create an effect with a custom image as the background, similar to the Green Screen effect on TikTok.
Add User Media Texture
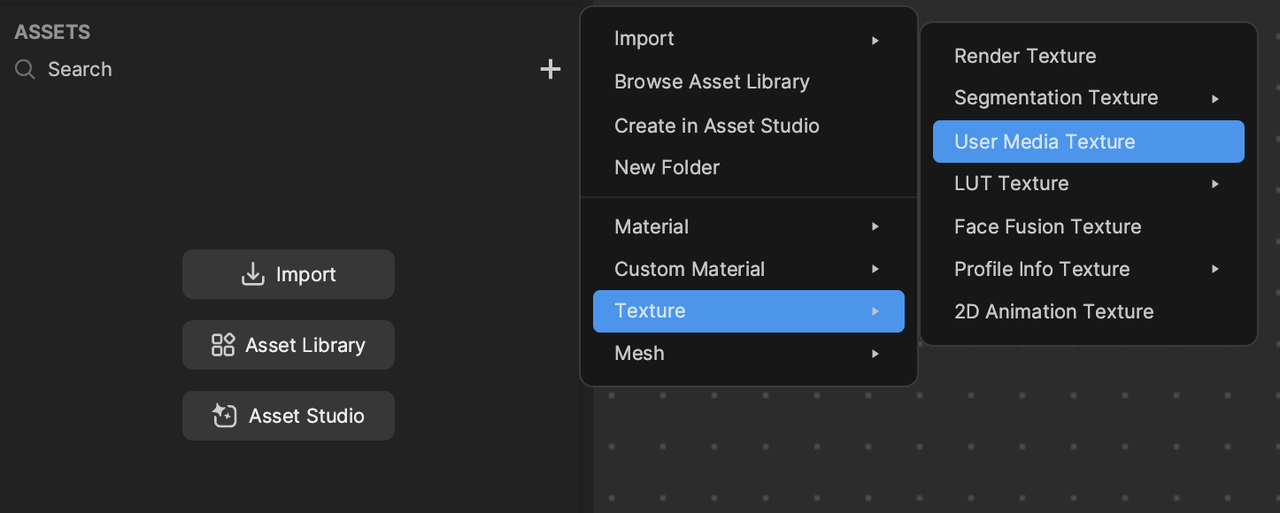
To add User Media Texture:
- Go to the Assets Panel
- Click the Add button [+]
- Go to Texture
- Select User Media Texture. You can use up to 8 User Media Textures in one project file.
Currently, User Media Texture supports only images and not video.
Apply User Media Texture to an Image Component
User Media Texture can be applied anywhere a Texture property is indicated. The simplest use case requires a Screen Image object.
To add a Screen Image object:
- Go to the Hierarchy panel
- Click the Add button [+]
- Go to 2D
- Select Screen Image

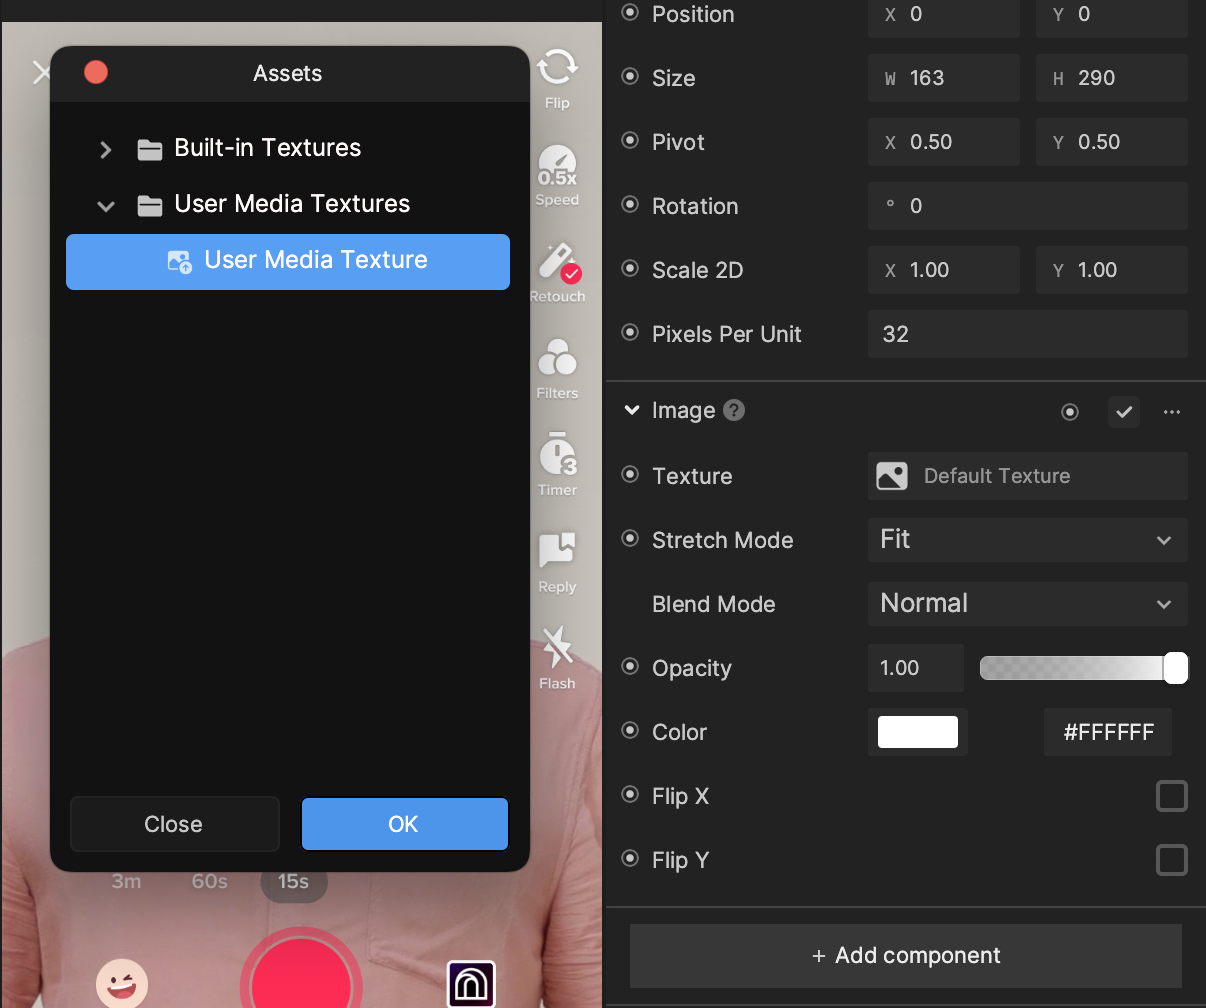
- Go to the Inspector panel
- Click the Image component's Texture field
- Select your newly added User Media Texture
- Click OK
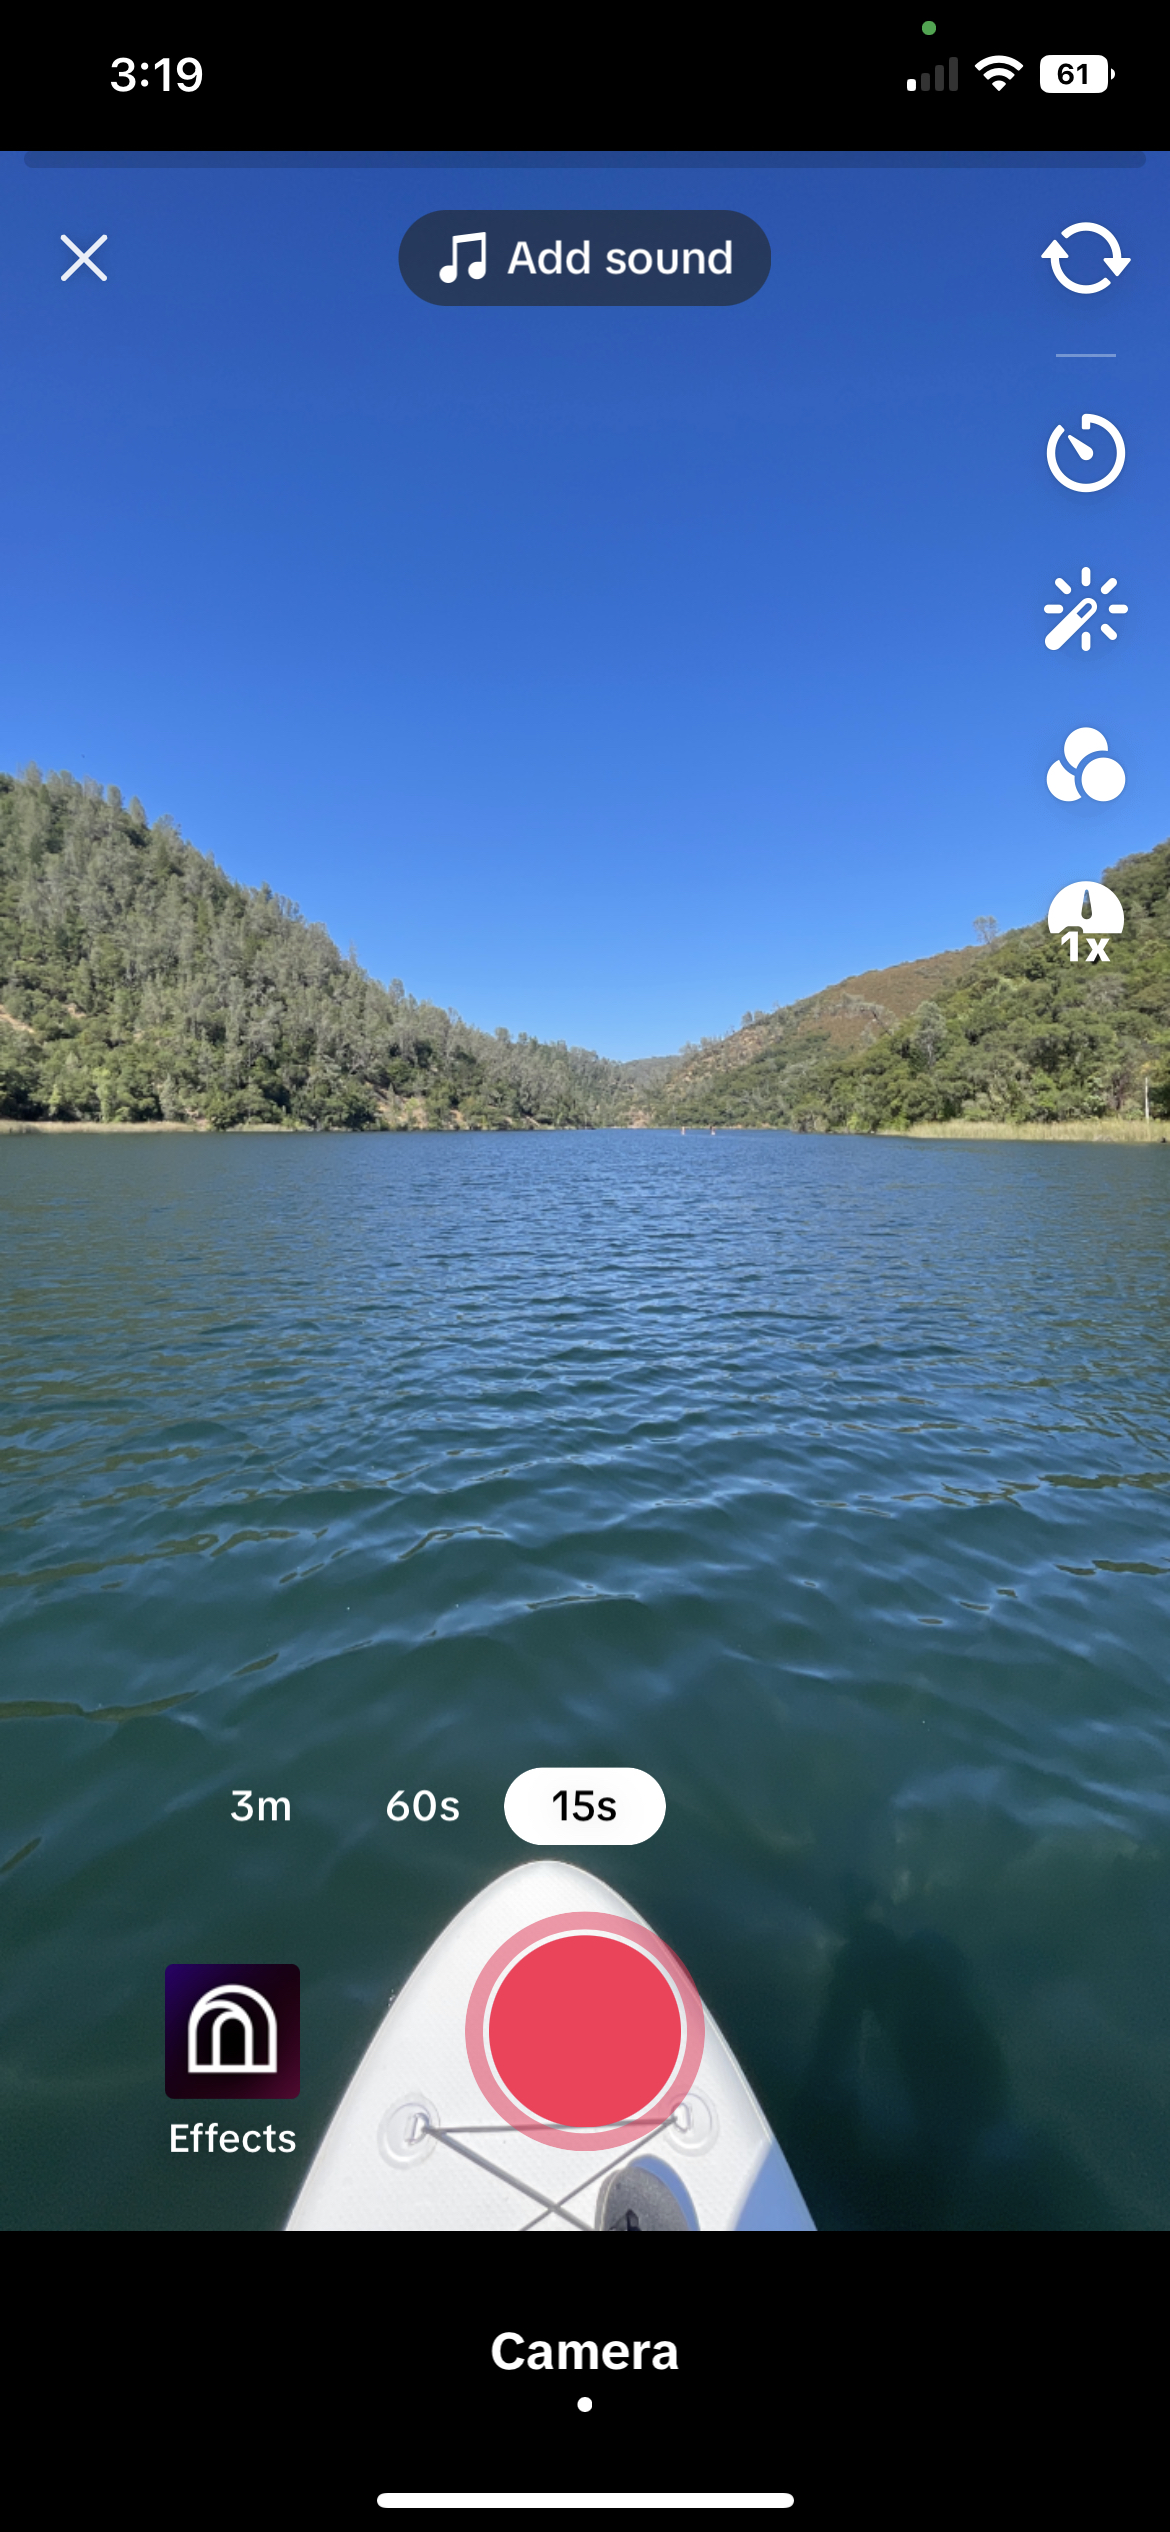
- By default, a green checkered pattern fills the 2D Scene panel and preview.
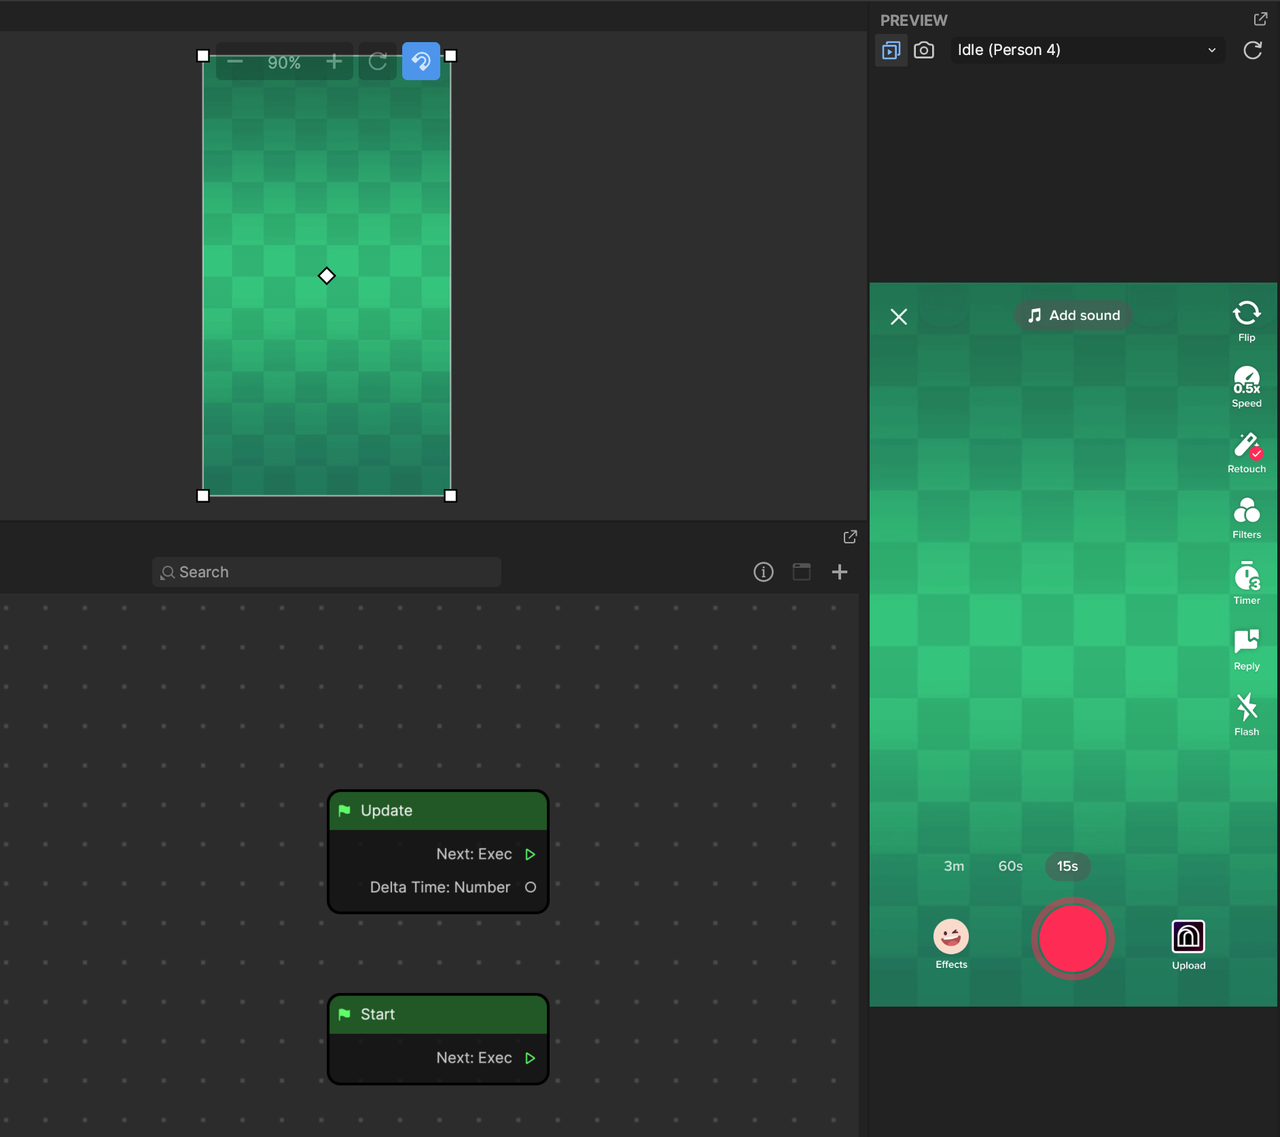
The green checkered pattern is a default texture that you can change.
Change the Default Texture
To change the default green checkered pattern texture:
- Go to the Assets panel
- Click the User Media Texture asset
- Go to the Inspector panel
- Click Default UM Texture
- Choose from an available texture or add your own
- Choose a Segmentation type. If Portrait, Subject, or Head are selected, you'll have the option to change the default green checkered pattern from your mobile device.
Click the Preview in TikTok button in the titlebar to display the preview QR code. Then open the TikTok app on your mobile device and scan the QR code using the scanner function in the Friends tab. Learn more about how to preview in TikTok.
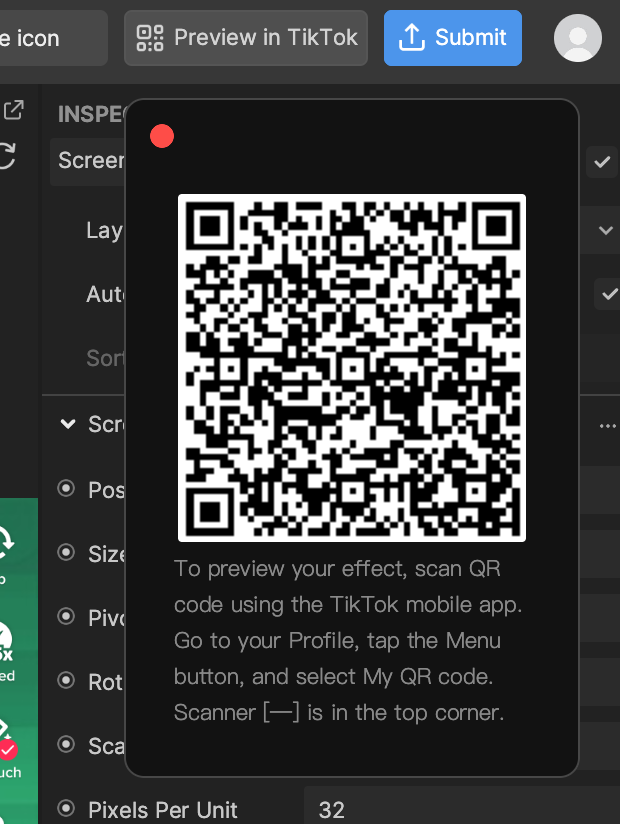
Once your effect preview is opened in TikTok, you can choose an image from your camera roll to apply to the User Media Texture. The green checkered pattern is replaced with your chosen image.
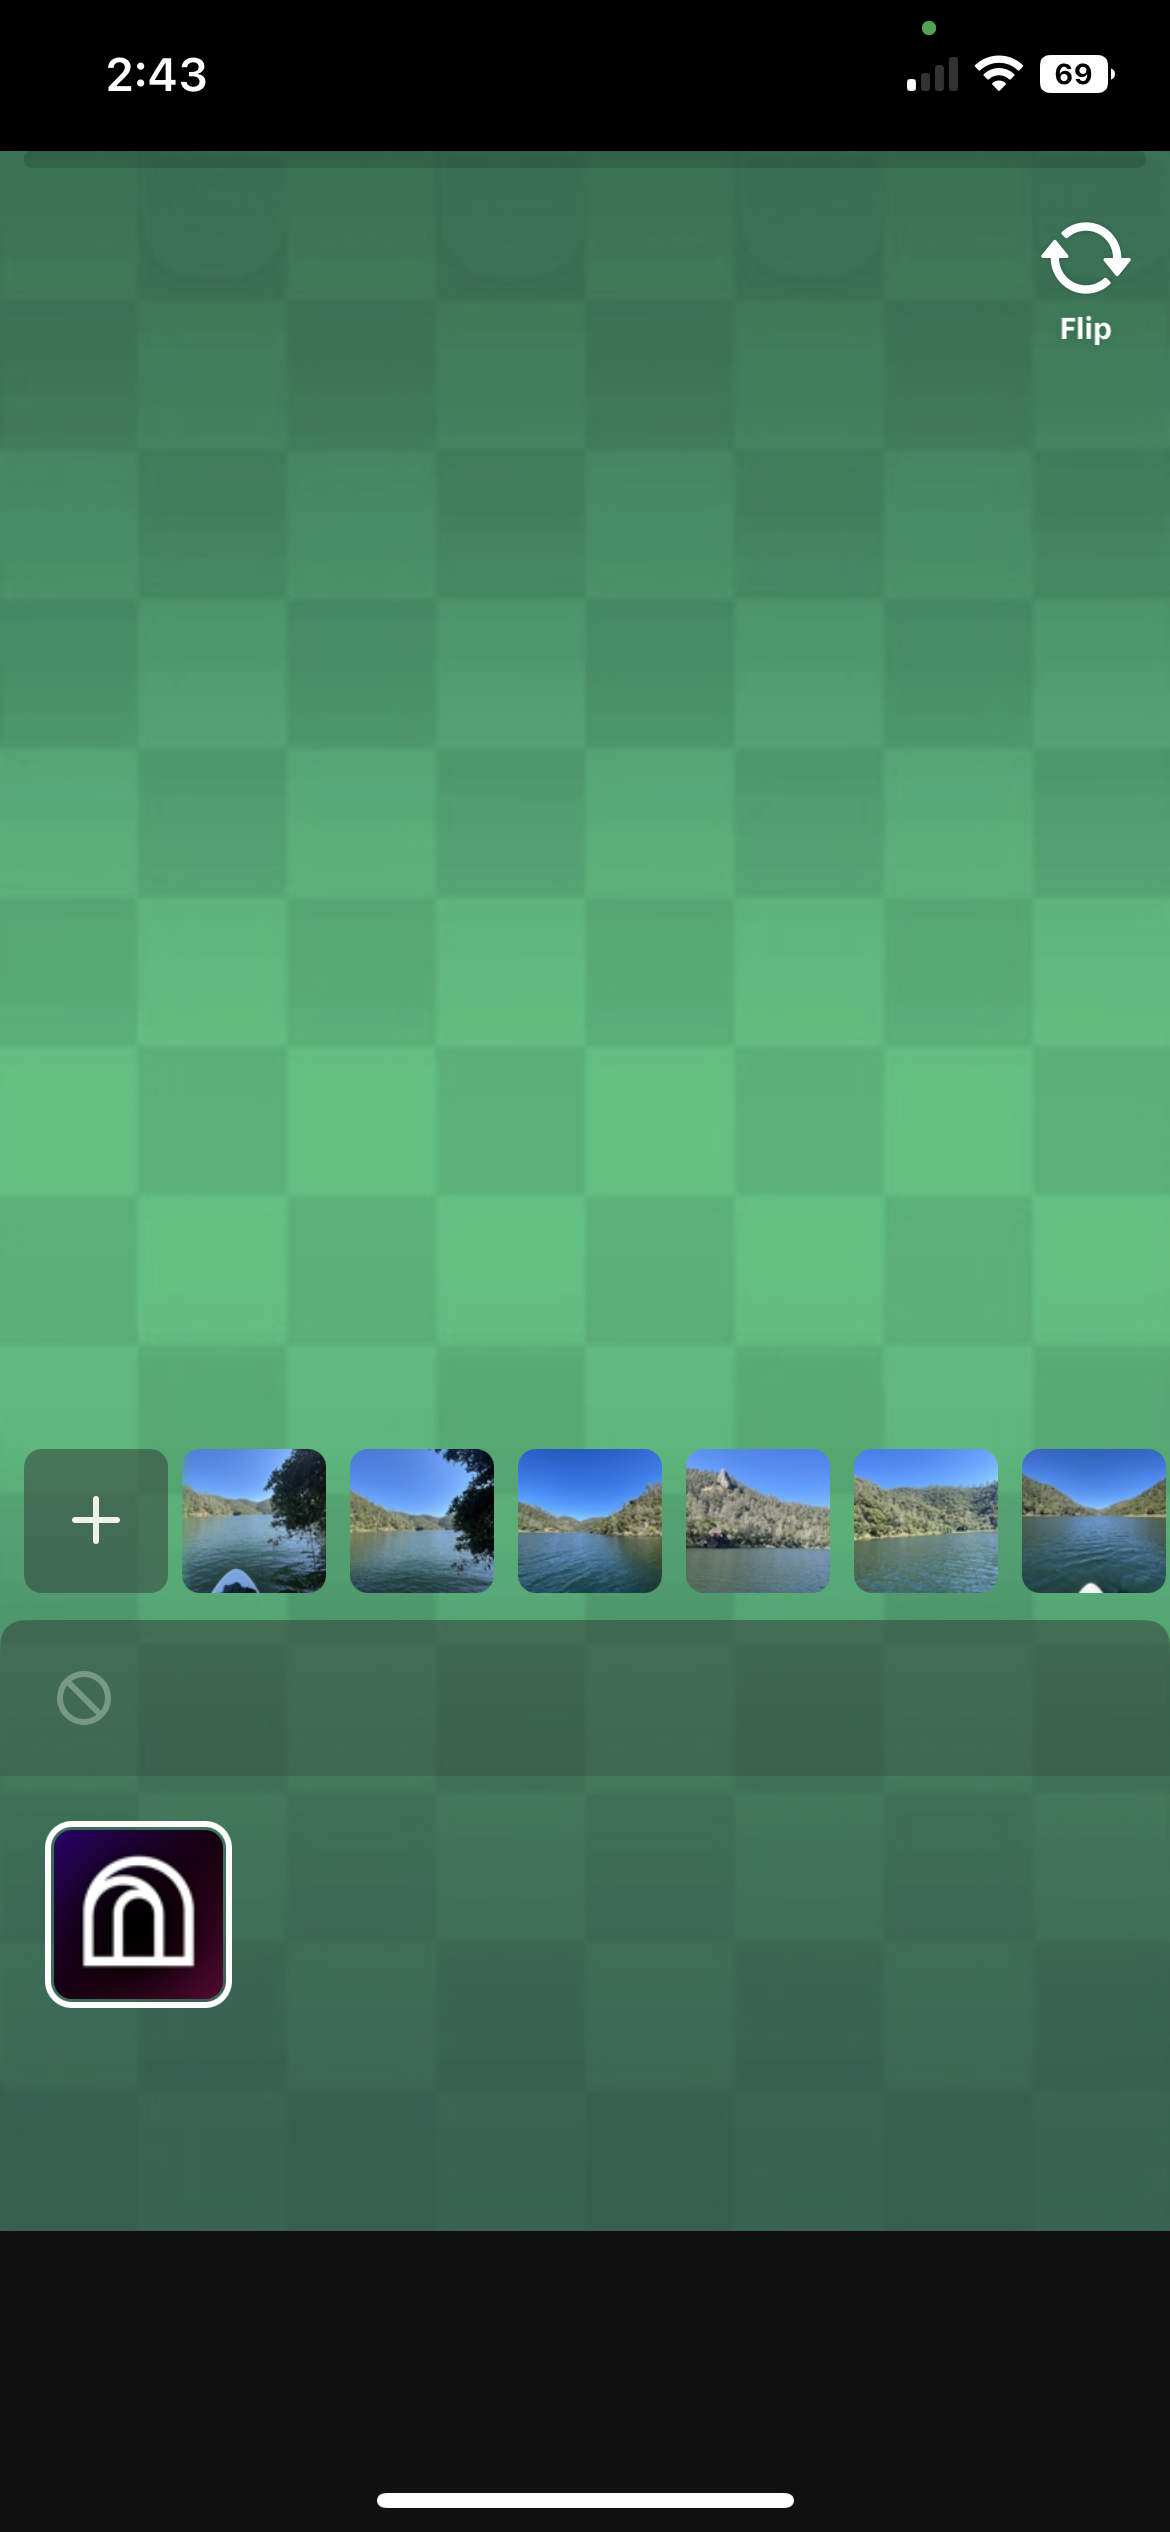
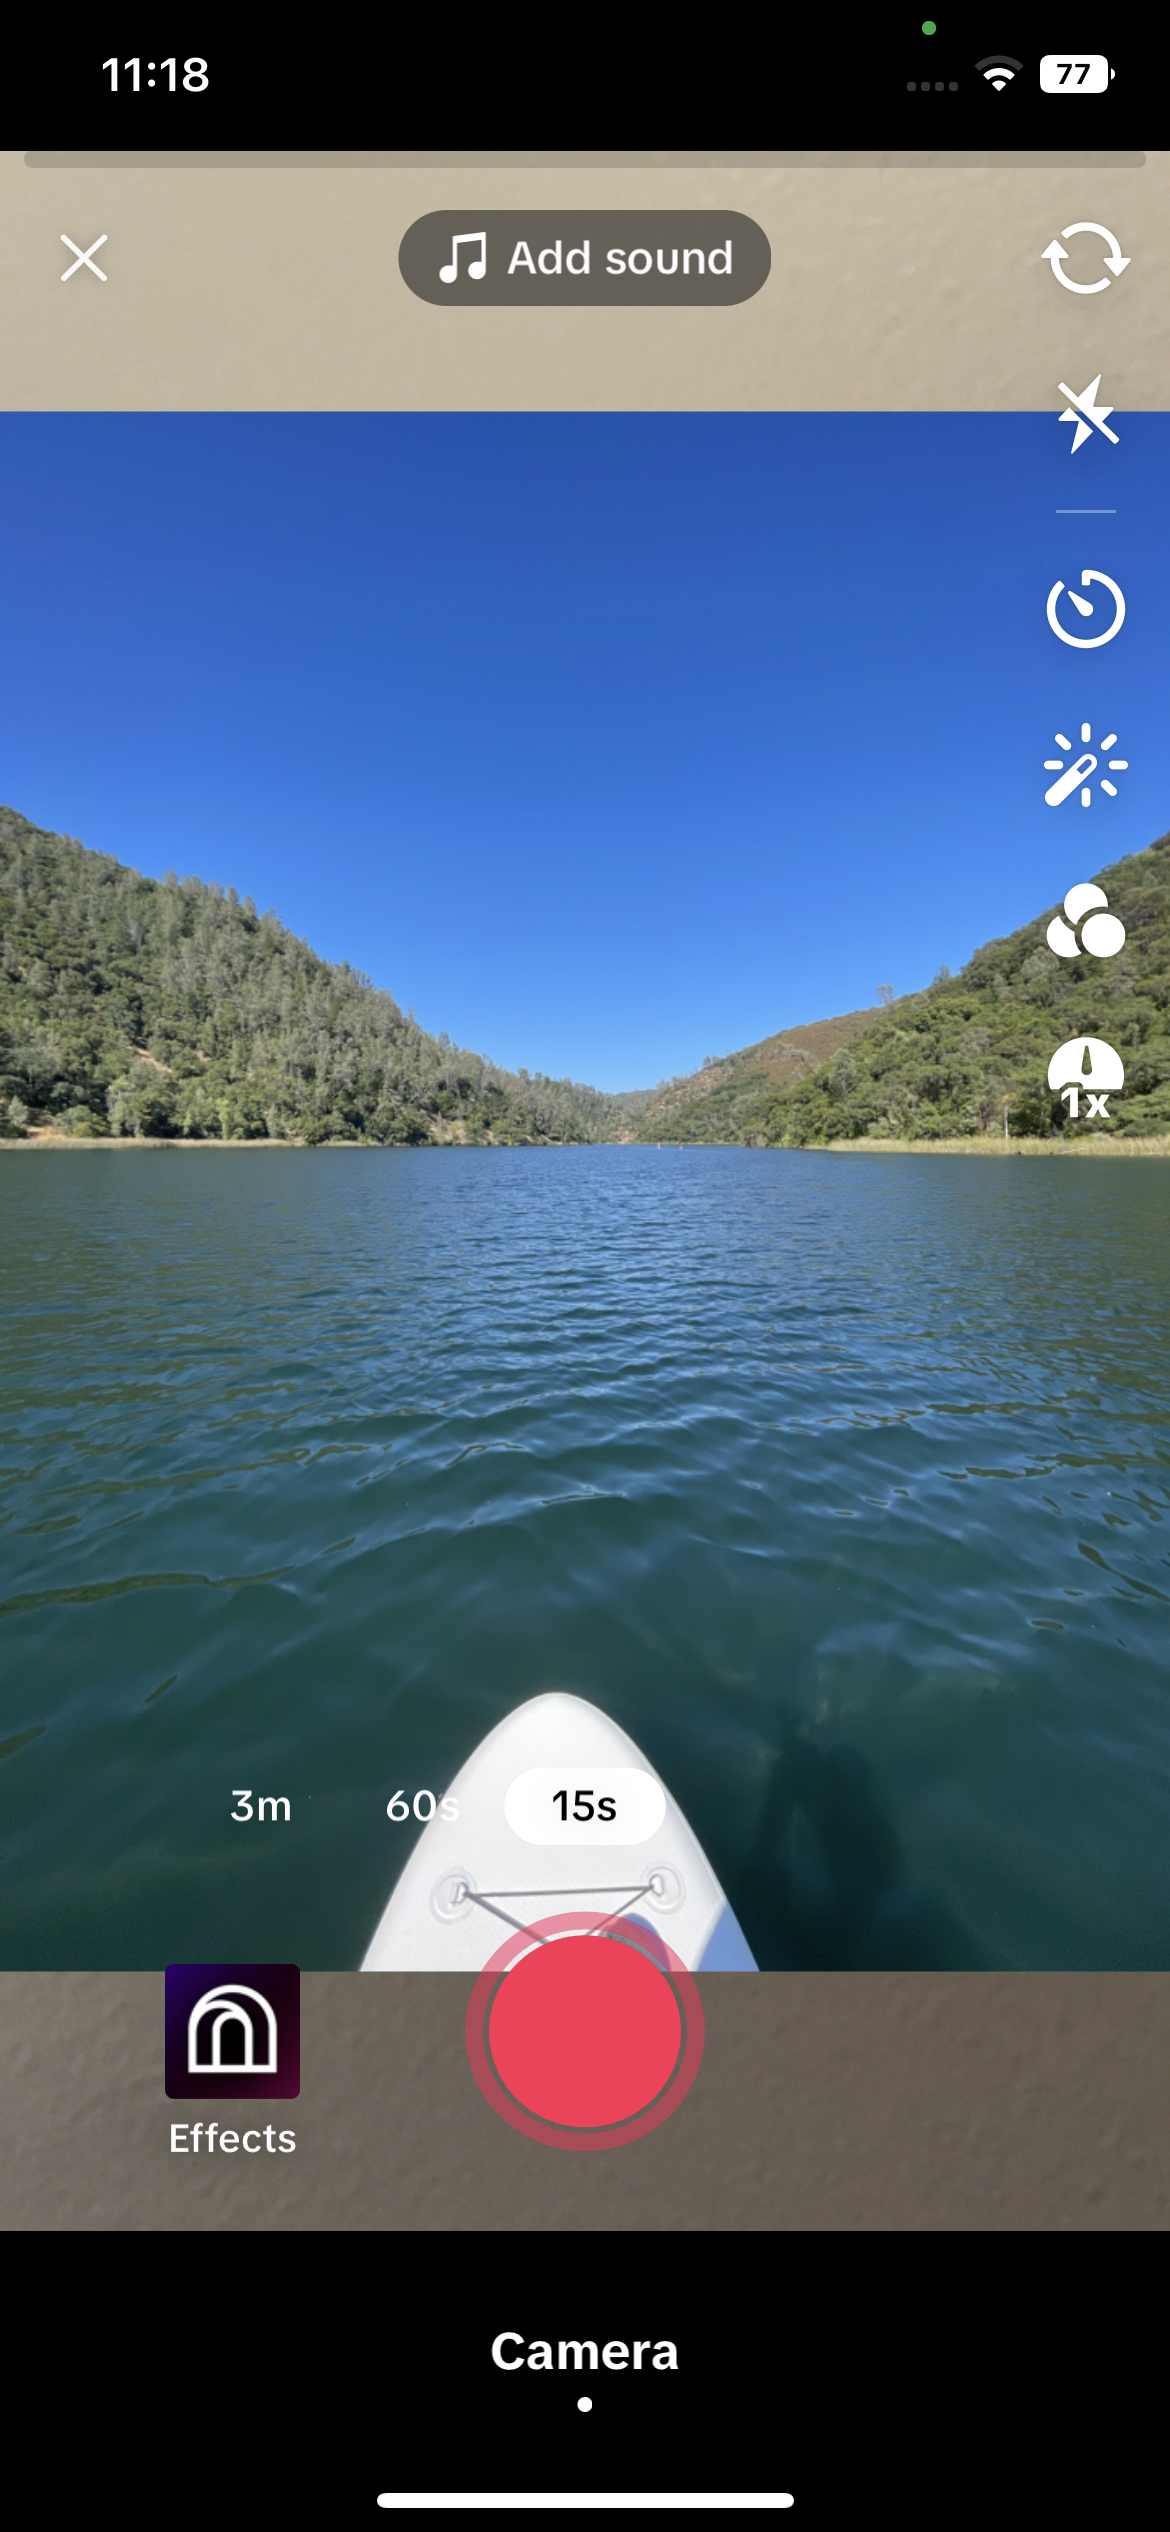
The selected camera roll image uses its original aspect ratio and does not necessarily fill the entire screen. If you want your camera roll image to fill the screen, make sure it is cropped to match your device's fullscreen dimensions.
User Media Texture Use Cases
As User Media Texture is an asset that can be applied anywhere there is a Texture property, it can be used in a variety of different scenarios, including, but not limited to, the following examples.
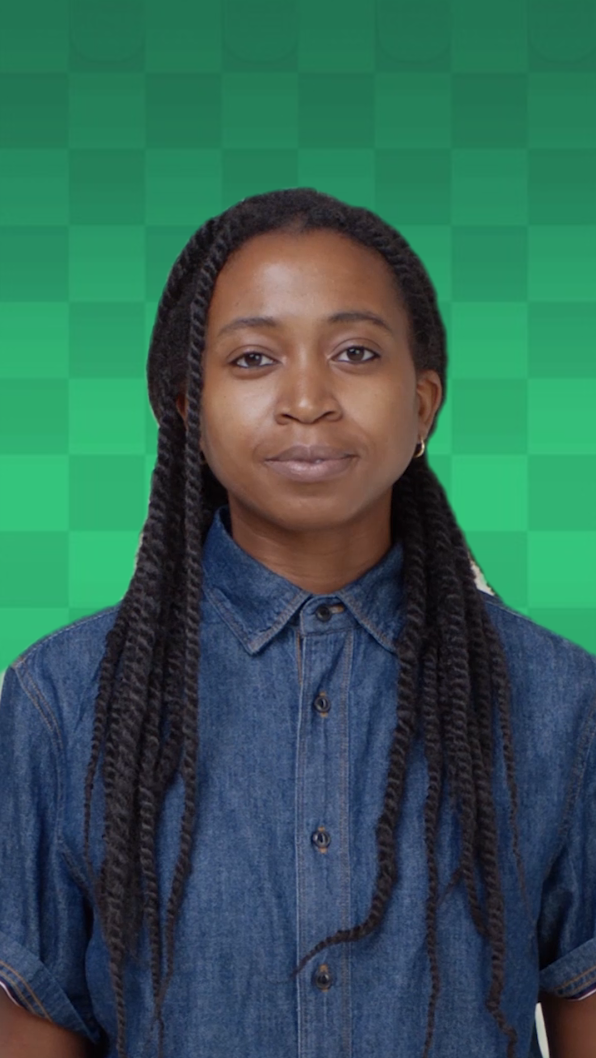
Portrait Segmentation
To make an effect with a custom image from your camera roll as the background, you can use portrait segmentation.
To add a Portrait Segmentation object:
- Go to the Hierarchy panel
- Click the Background object
- Go to the Inspector panel
- Click the Image component's Texture field
- Select User Media Texture
- Click OK
Learn more about portrait segmentation.
Face Mask
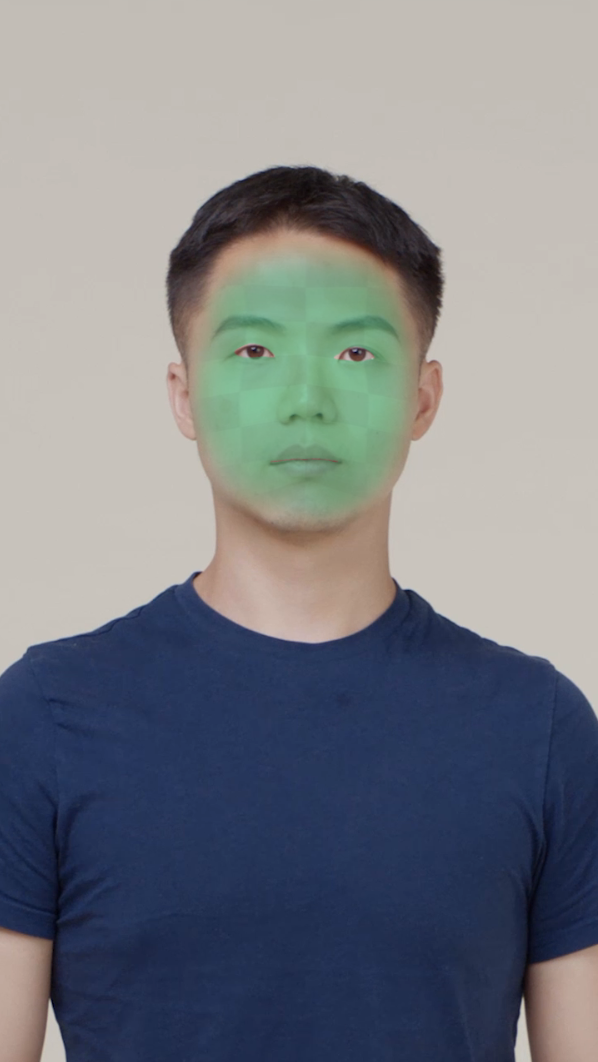
You can also use User Media Texture to apply an image from your camera roll to the face.
To add a Face Mask object to the Hierarchy panel:
- Go to the Inspector panel
- Click the Face Mask component's Texture field
- Select User Media Texture
- Click OK
Learn more about face masks.
Materials
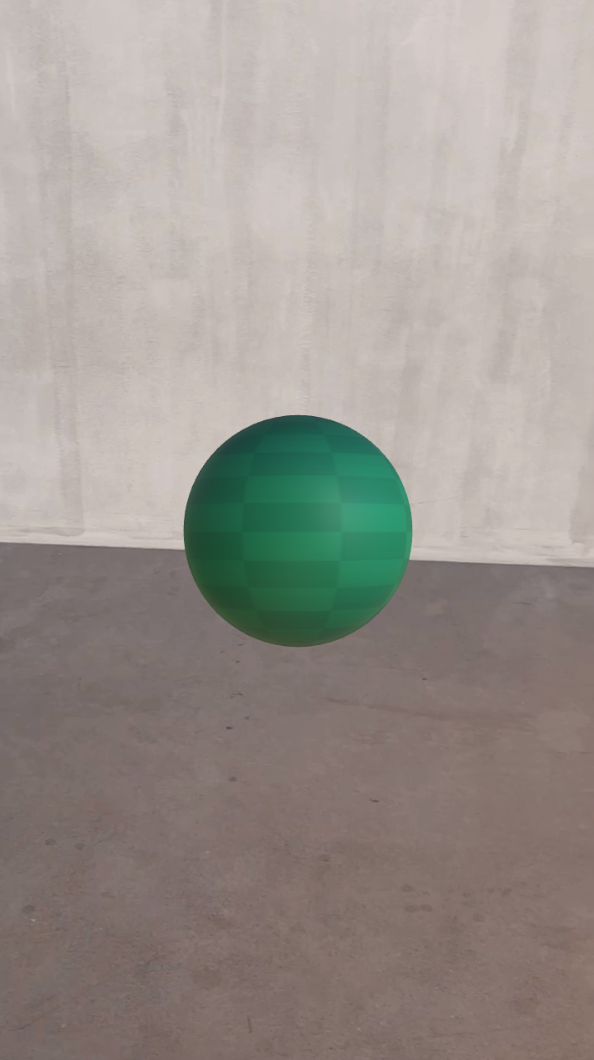
User Media Texture can also be applied to materials on 3D objects. For example, add a Standard PBR material to the Assets panel. Then go to the Inspector panel, check Texture On under Albedo, and then click the Texture field. Select User Media Texture and then click OK. Learn more about standard PBR materials.
Then add a Sphere object to the Hierarchy panel. With the Sphere object selected, go to the Inspector panel and click the Mesh Renderer component's Material property. Select Standard PBR and then click OK.
Use Visual Scripting with User Media Texture
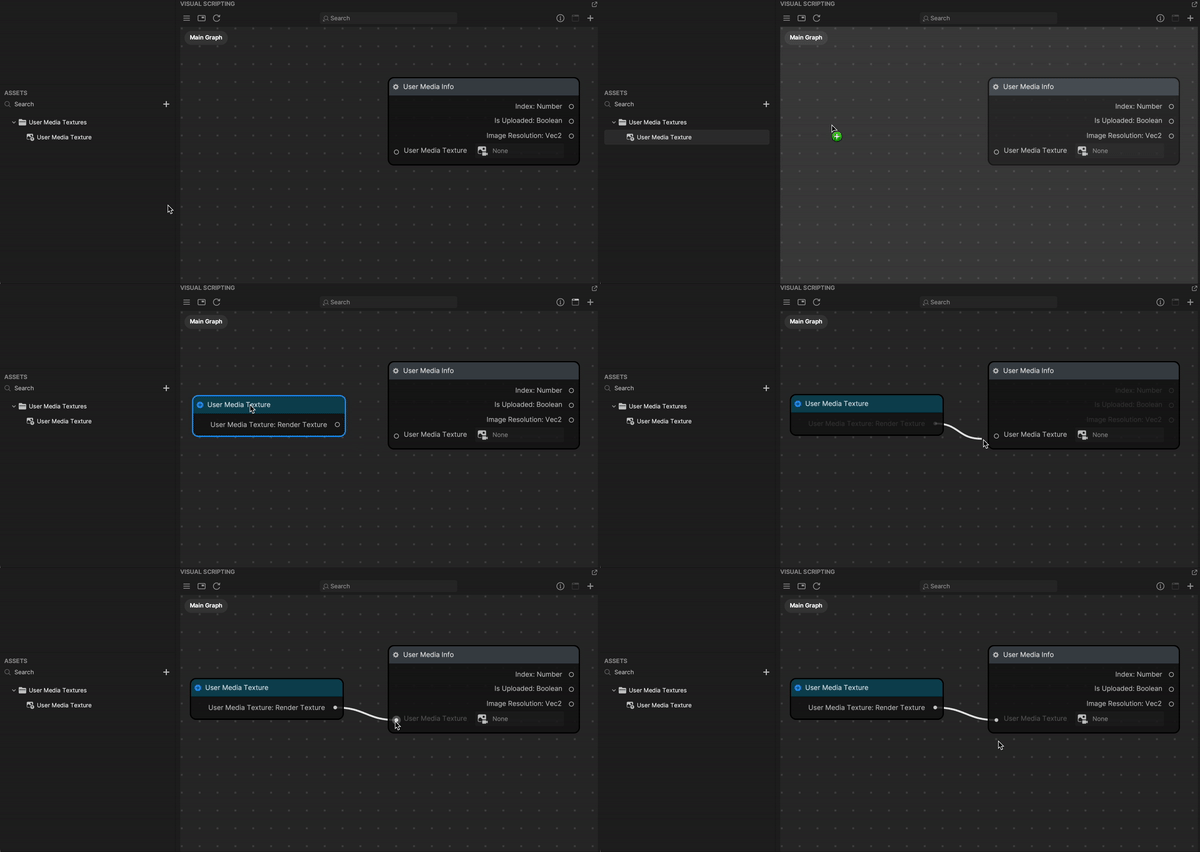
You can retrieve image indexes and information using the User Media Info node. This allows you to manipulate User Media Texture with visual scripting. Learn more about the User Media Info node.
