Segmentation Texture
A Segmentation Texture is an image or picture that is applied to the segmented area. It is always used in conjunction with a Segmentation object.

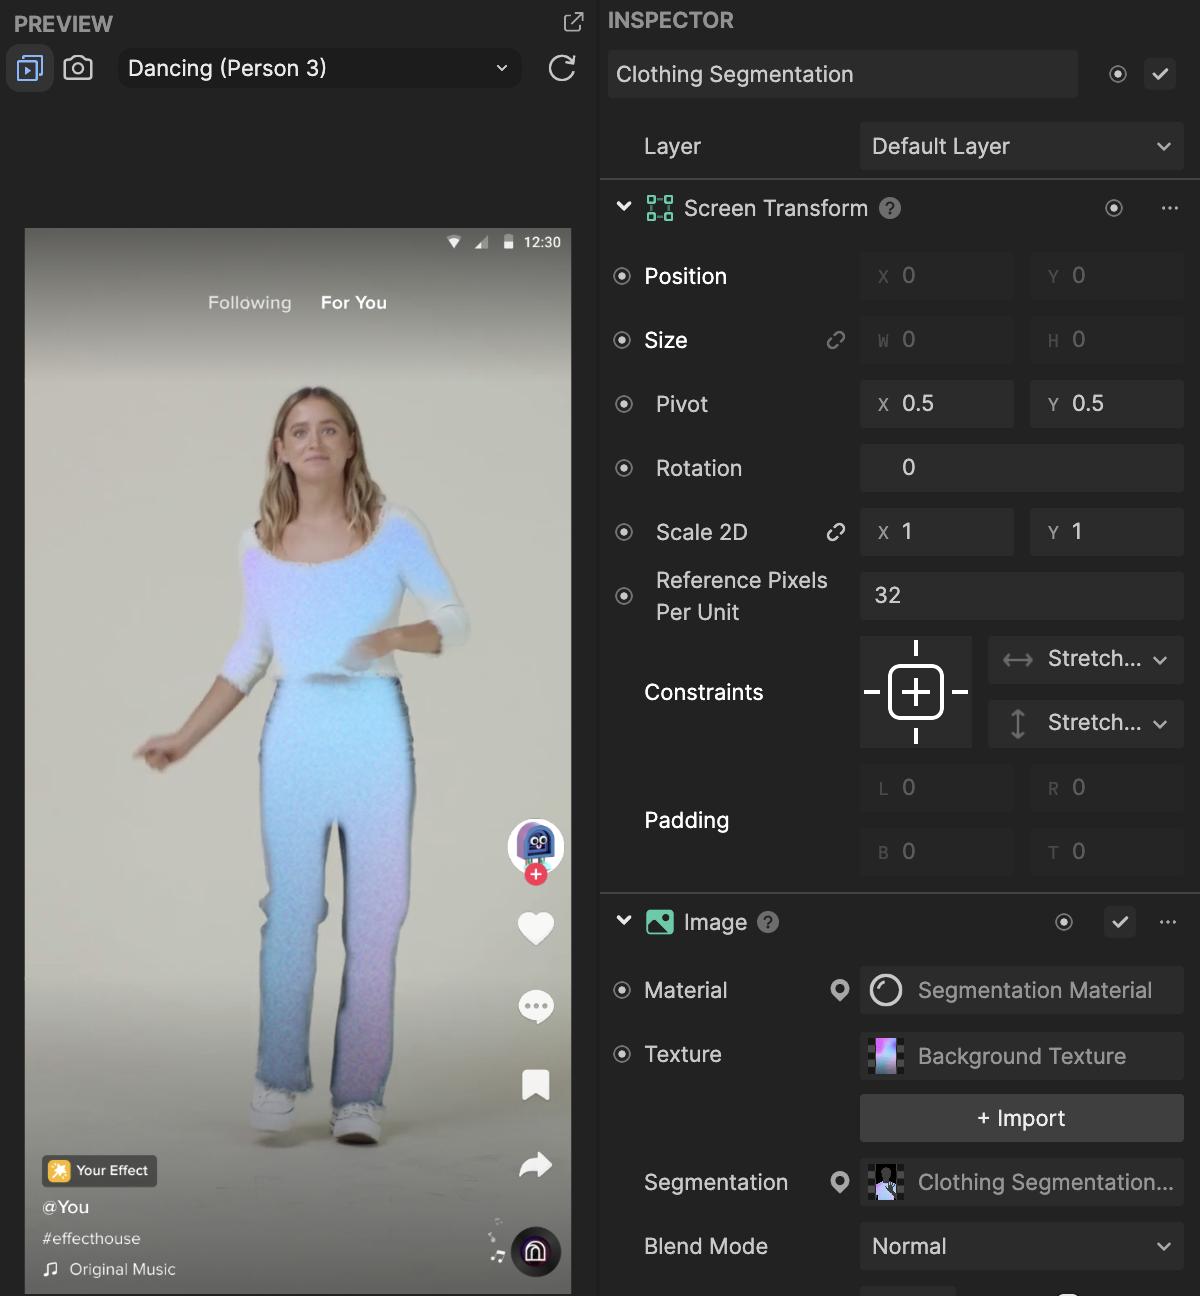
The corresponding Segmentation Texture is added to the Assets panel whenever a Segmentation object is added to the Hierarchy panel. For example, when Clothing Segmentation is added to the Hierarchy panel, a Clothing Segmentation Texture is automatically added to the Assets panel.
Segmentation Textures can be customized to create unique patterns or visuals that get applied to the segmented area. For example, you can import your own image and apply it to a Clothing Segmentation Texture to create your own unique clothing design!
Create a New Segmentation Texture
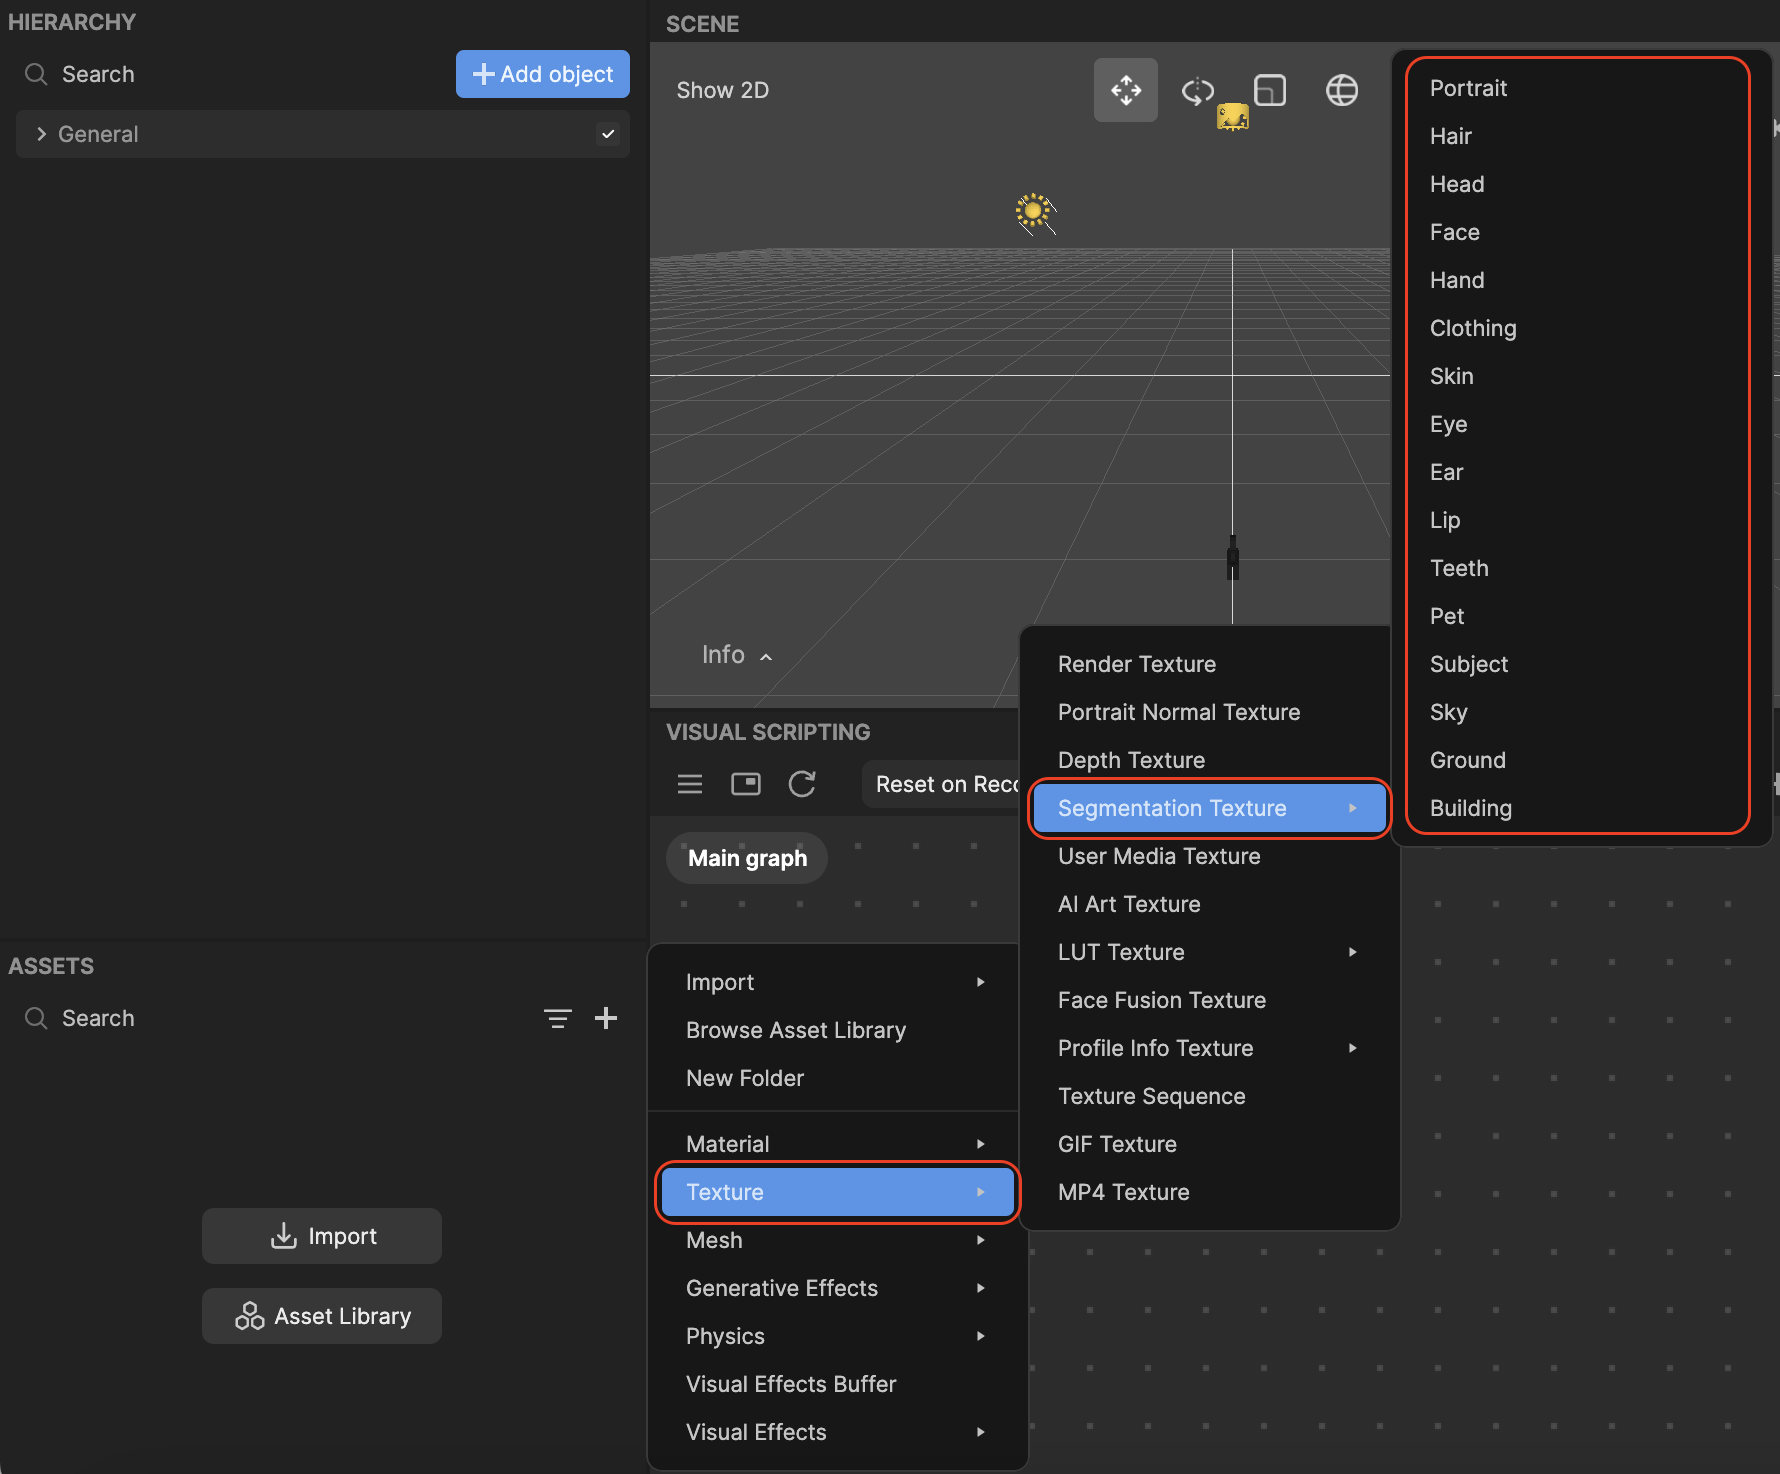
To create a new Segmentation Texture:
- Go to the Assets panel
- Click the Add asset button [+]
- Go to Texture
- Select Segmentation Texture, and then choose one of the supported segmentation types

Type: Currently supported segmentation types:
- Portrait
- Hair
- Head
- Face
- Hand
- Clothing
- Skin
- Eye
- Ear
- Lip
- Teeth
- Pet
- Subject
- Sky
- Ground
- Building
To import your own texture to use:
- Go to the Assets panel
- Click the Add asset button [+]
- Go to Import
- Select From Computer. Choose your desired file.
Select the Segmentation Texture object in the Assets panel, and then go to the Inspector panel. Click on the Cutout Texture field and choose your imported texture. Modify the other properties, such as Smoothness, as desired.
New Segmentation Texture Properties
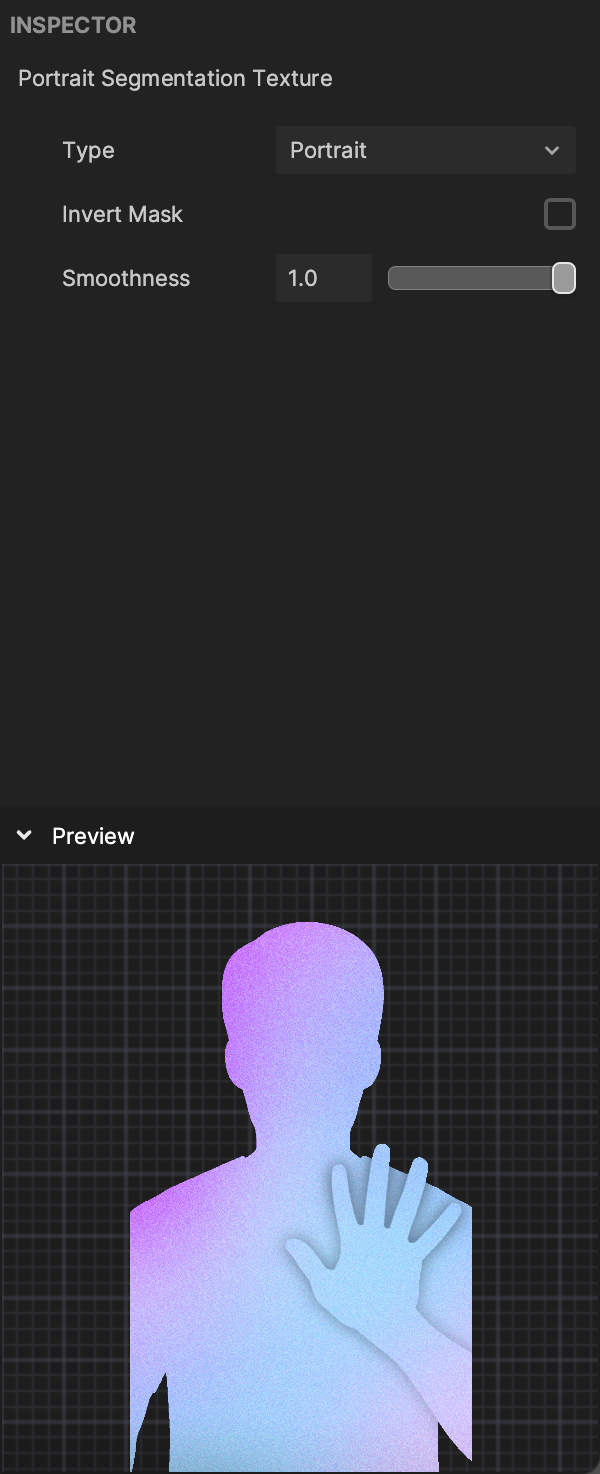
Segmentation Texture are comprised of the following properties, visible in the Inspector panel:
- Type: The area that is detected and isolated, and to which the texture is applied.
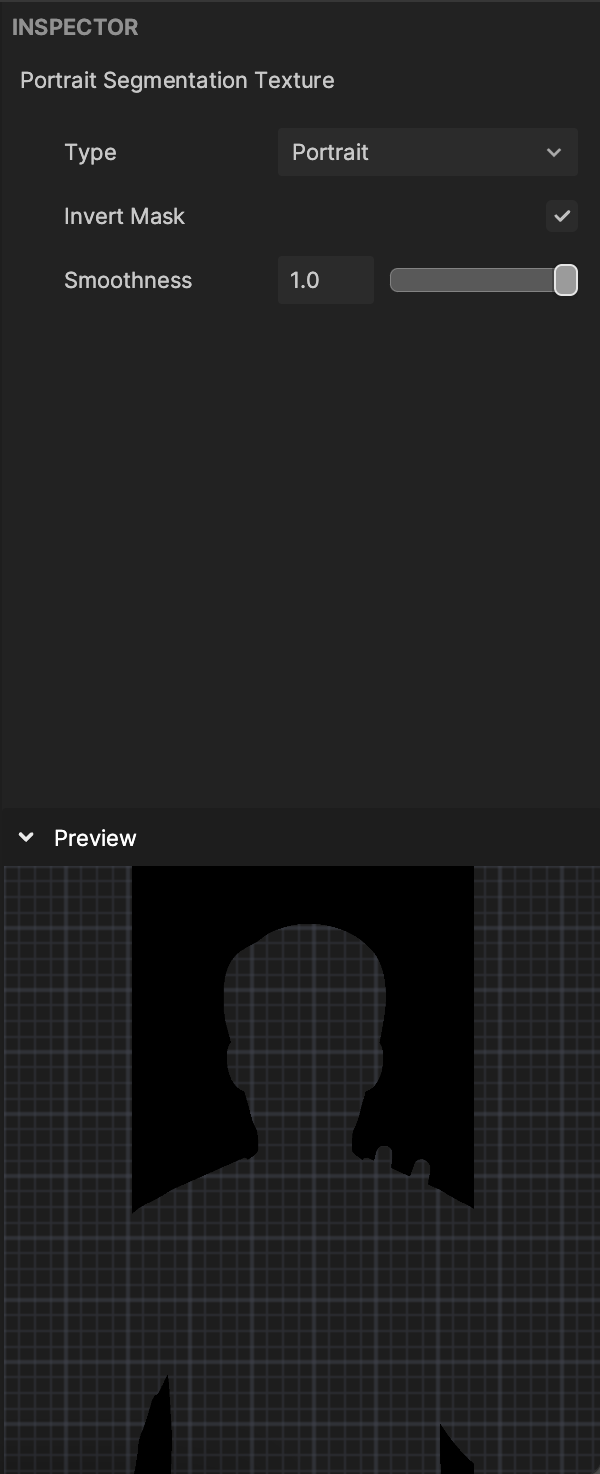
- Invert Mask: Checked to invert the mask. This applies the texture to everywhere but the selected area.
- Smoothness: Determines how smooth the edge is. The larger the value, the smoother the edge.
- Which Face: Select which hand or face the texture is applied to. Multiple selections are supported. 0 represents the first face that appears in the scene and similarly, 1 represents the second face that appears in the scene. 0 is selected by default.

