Post Process Overview
Use Post Process to improve the visual quality of the camera view and apply specific camera effects to create stylized visual effects.
Check out this tutorial to learn how to create a camera effect with post process effects!
Add Post Process
Go to the Hierarchy panel to select the Camera object. Then go to the Inspector panel and click + Add component > Post Process to add the component.
Post Process should only be assigned to objects with a Camera component.
Add a Post Process Effect
Navigate to the Post Process component and click Add Effect. Select the effect you would like to apply to the camera view.
Post Process Effects
You can add the following Post Process effects:
Bloom
Bloom creates an illusion of a bleeding light around the light source, providing a glow-like effect. Learn more.
FXAA
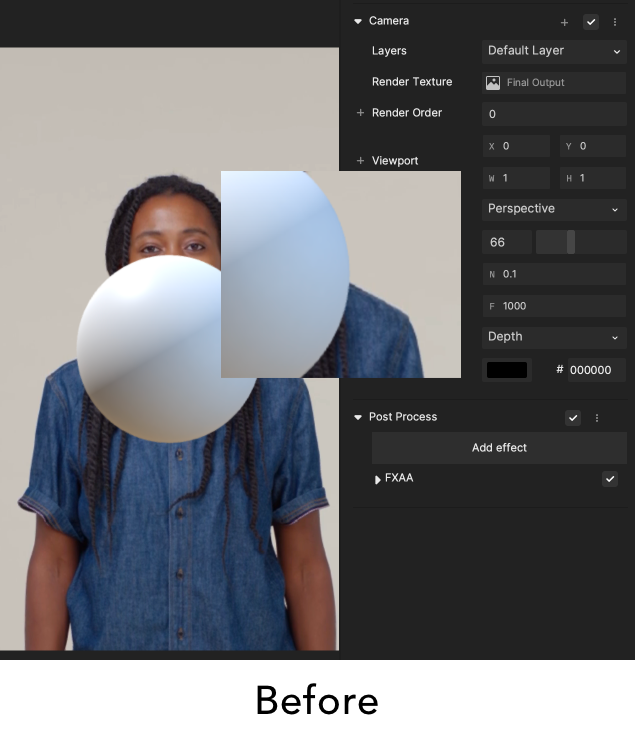
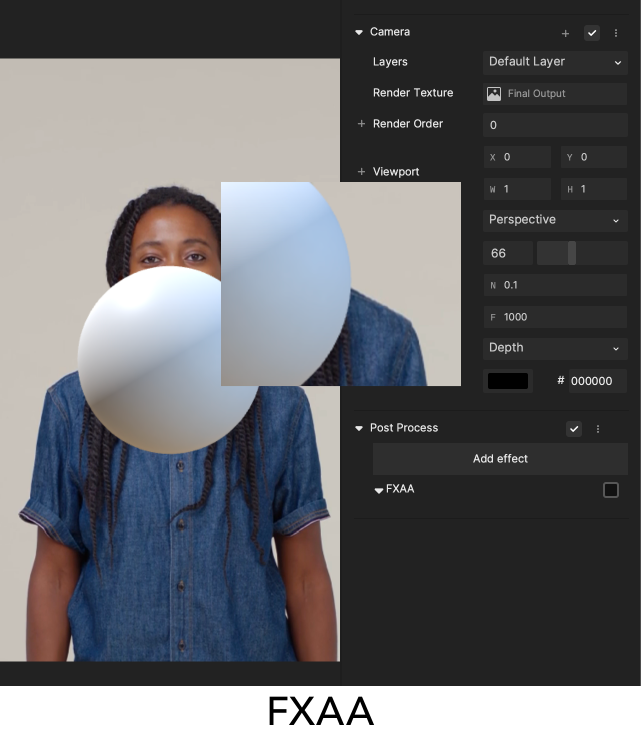
Fast Approximate Anti-Aliasing (FXAA) gives graphics a smoother appearance by reducing the appearance of aliasing, or the effect of jagged lines on the screen.


Chromatic Aberration
Chromatic Aberration, also known as color fringing, spreads colors between dark and light areas on the screen. Learn more.
Distort
Distort creates a distortion effect where you can control the strength, rotation, and more. Learn more.
Grain
Grain allows you to add noise, or random pixels, to the screen to create a textured effect. Learn more.
Vignette
Vignette creates a darkening effect from the edges of the screen to the center. Learn more.
Bokeh Blur
Bokeh Blur creates the loose blur effect for objects outside the depth of field. Learn more.
Lens Flare
Lens Flare simulates the effect of a flare caused by light passing through objects in the camera view. Learn more.
Motion Blur
Motion Blur creates a blur effect caused by the movement of objects in real time. Learn more.