2D Mask
The 2D Mask allows you to display 2D images, text or textures within a defined area, giving you more control over what is shown. Perfect for creating focused visuals or controlling the visibility of content, this feature lets you customize how and where you'd like them to appear.

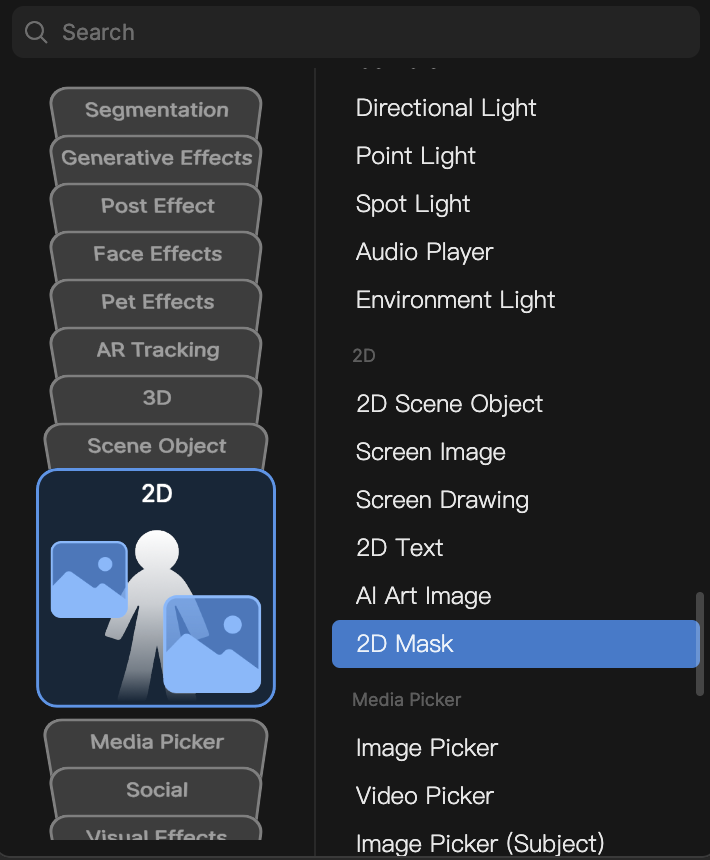
Add the 2D Mask Object
To add a 2D Mask object:
- Go to the Hierarchy panel
- Click + Add Object
- Go to 2D
- Select 2D Mask
How 2D Mask Works
Now that you have the 2D Mask added, let's explore how you can use it in your project. In the example below, we'll go over how to apply it to a Screen Image object and how you can adjust the 2D Mask settings.
To get started, add a Screen Image object. You can also use 2D Text or a texture of your choice.
- Go to the Hierarchy panel
- Click + Add Object
- Go to 2D
- Select Screen Image
Now that you've added a Screen Image to the Hierarchy panel, let's apply the 2D Mask to your Screen Image.
- Go to the Hierarchy panel
- Drag Screen Image onto the 2D Mask. The 2D Mask should now be applied to your Screen Image.

Now you can make any adjustments to the 2D Mask from the Inspector panel.
Components
The 2D Mask object is made up of the following components, found in the Inspector panel: