Use Multiple Cameras in a Render Group
Lights, camera, action! The Camera object is an essential part of any effect. In Effect House, the Camera views the objects in your scene, and then outputs what it sees into the Preview. This kind of outputting is called rendering.
Each effect requires at least one Camera to render out the scene. The Camera also renders everything in the selected Layer to the Render Texture. A project can have multiple objects rendered on different layers.
A scene can have multiple cameras. Creating a new render group automatically adds a camera to the scene. Different cameras can render the scene onto different render textures.
This guide will help you understand how to correctly render your effect. In a render group, if you want multiple cameras to render objects in a specific order, you must correctly set up the following in the scene:
- Layer of cameras and objects
- Render order of cameras
- Sorting order of objects
Add a Camera Object
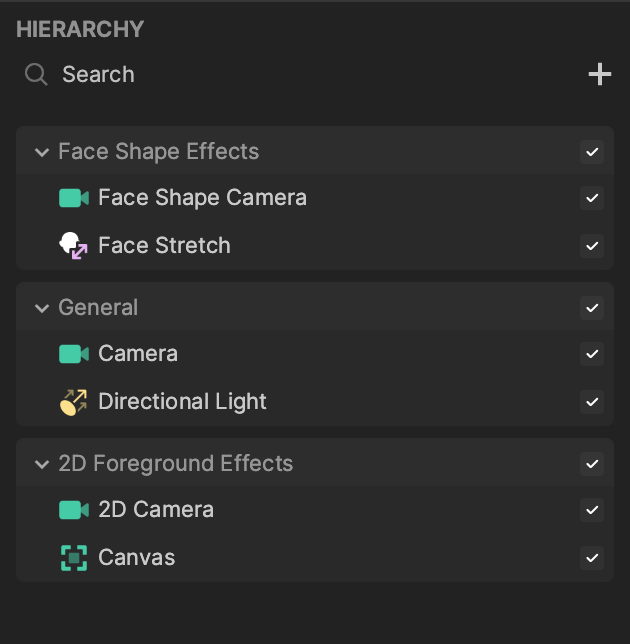
You can add a Camera object by clicking the Add button [+], going to Scene, and then selecting Camera in the Hierarchy panel.
Learn more about the Camera object and how to modify the Camera component.
Each render group automatically comes with a Camera object that is responsible for rendering objects in their respective render group. You can add more cameras in a render group and set their render order and layers to achieve your desired effect.
Configure Auto Sorting, Render Layer, and Render Order
The final render result is what you can see on your phone screen or in the Preview panel. The following three properties can affect the final result:
- The render order of objects and cameras in the scene.
- The render textures of the cameras used in the scene.
- The object’s visibility, which is affected by the object’s visibility setup and object’s position relative to the camera in the scene.
Layer
In a render group, the layer determines which objects get rendered first on which cameras’ render textures.
The configuration of layers only applies to the object in its respective render group. For example, take a look at the following case:
- In Render Group A, Object A and Camera A are set to Layer 1.
- In Render Group B, Object B and Camera B are set to Layer 1.
Object A will not appear on Camera B’s render texture even though both their layers are configured to Layer 1.
However, Object A will only appear on Camera A’s render texture because both their layers are configured to Layer 1, and they both exist in Render Group A.
An exception is made for a light object. A light object’s defined layer can be applied to all render groups. For example, if Light A is set to Layer 1, all objects set to Layer 1 are affected by Light A, regardless of the render groups they are in. Learn more about the different types of light objects: directional lights, point lights, and spot lights.
Set a Layer
For a Camera
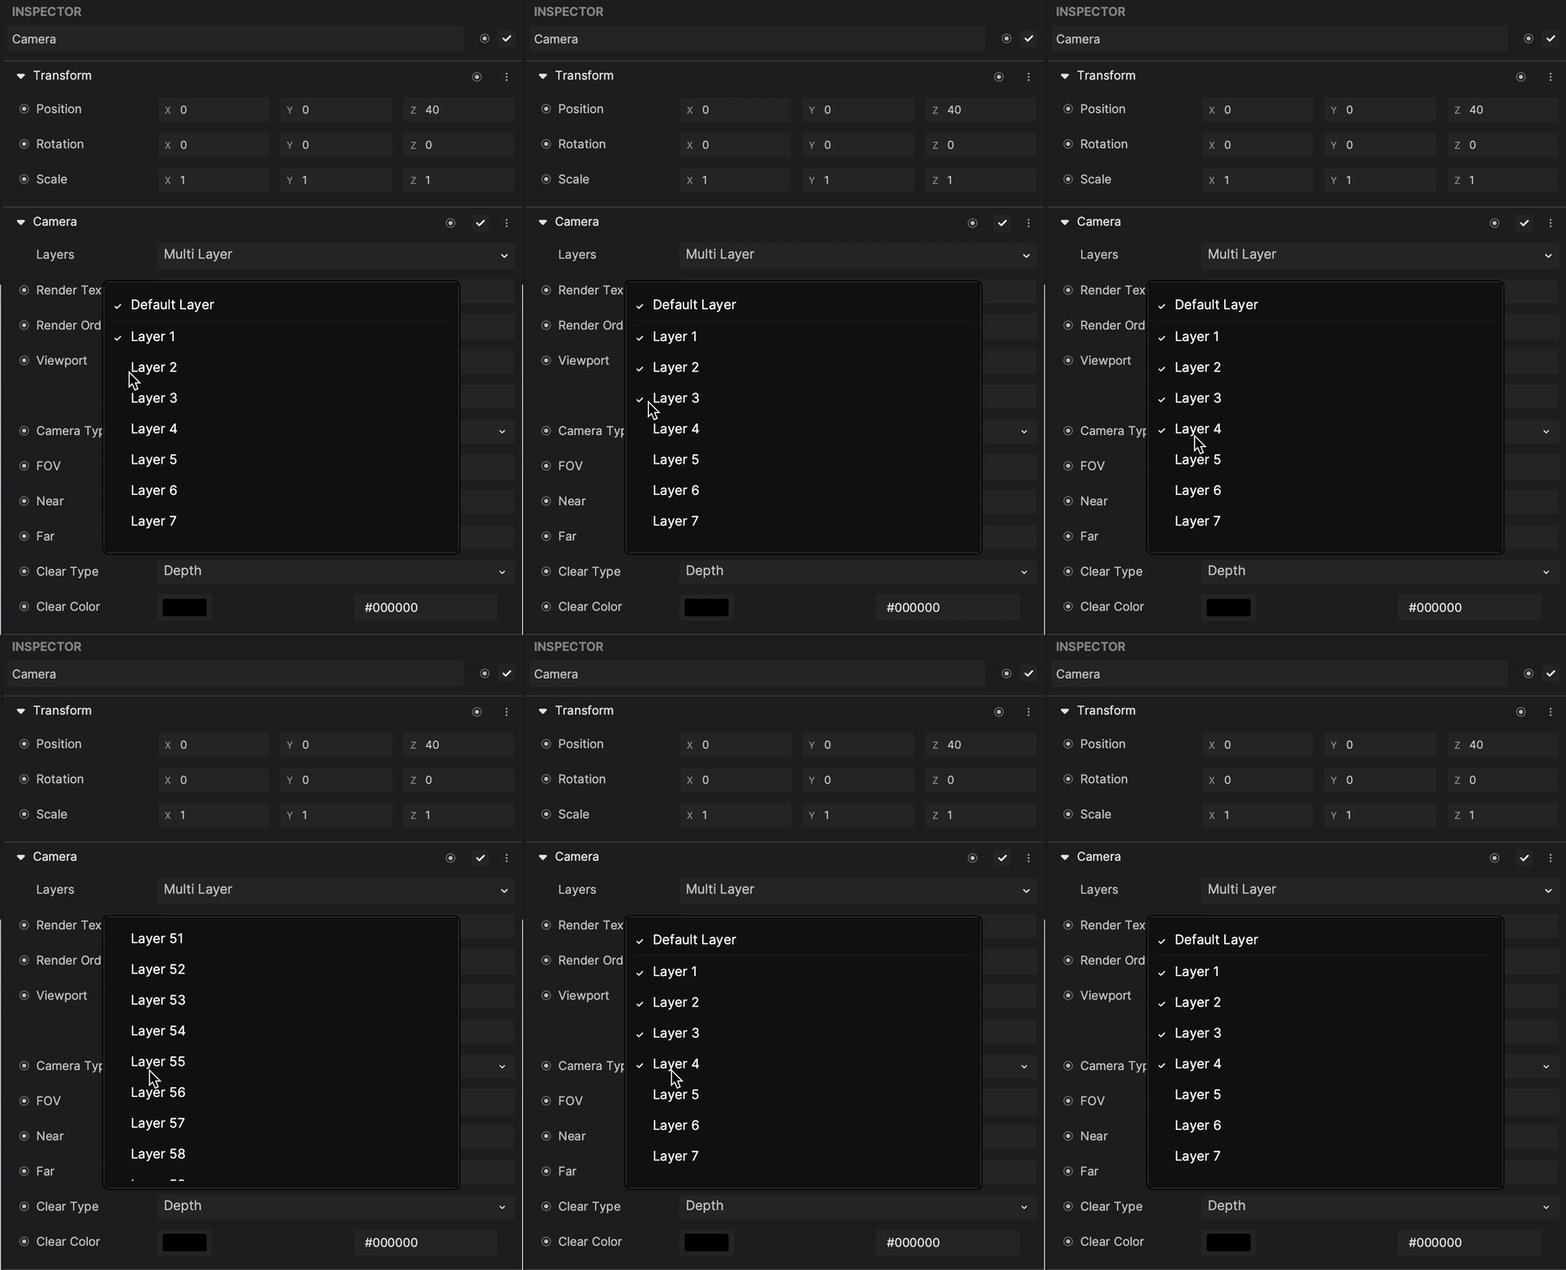
Camera components are set to render Default Layer upon creation. You can change this by selecting a new layer or multiple layers from the Layers dropdown. The camera will then render every object that is assigned to the selected layers.
For a Scene Object
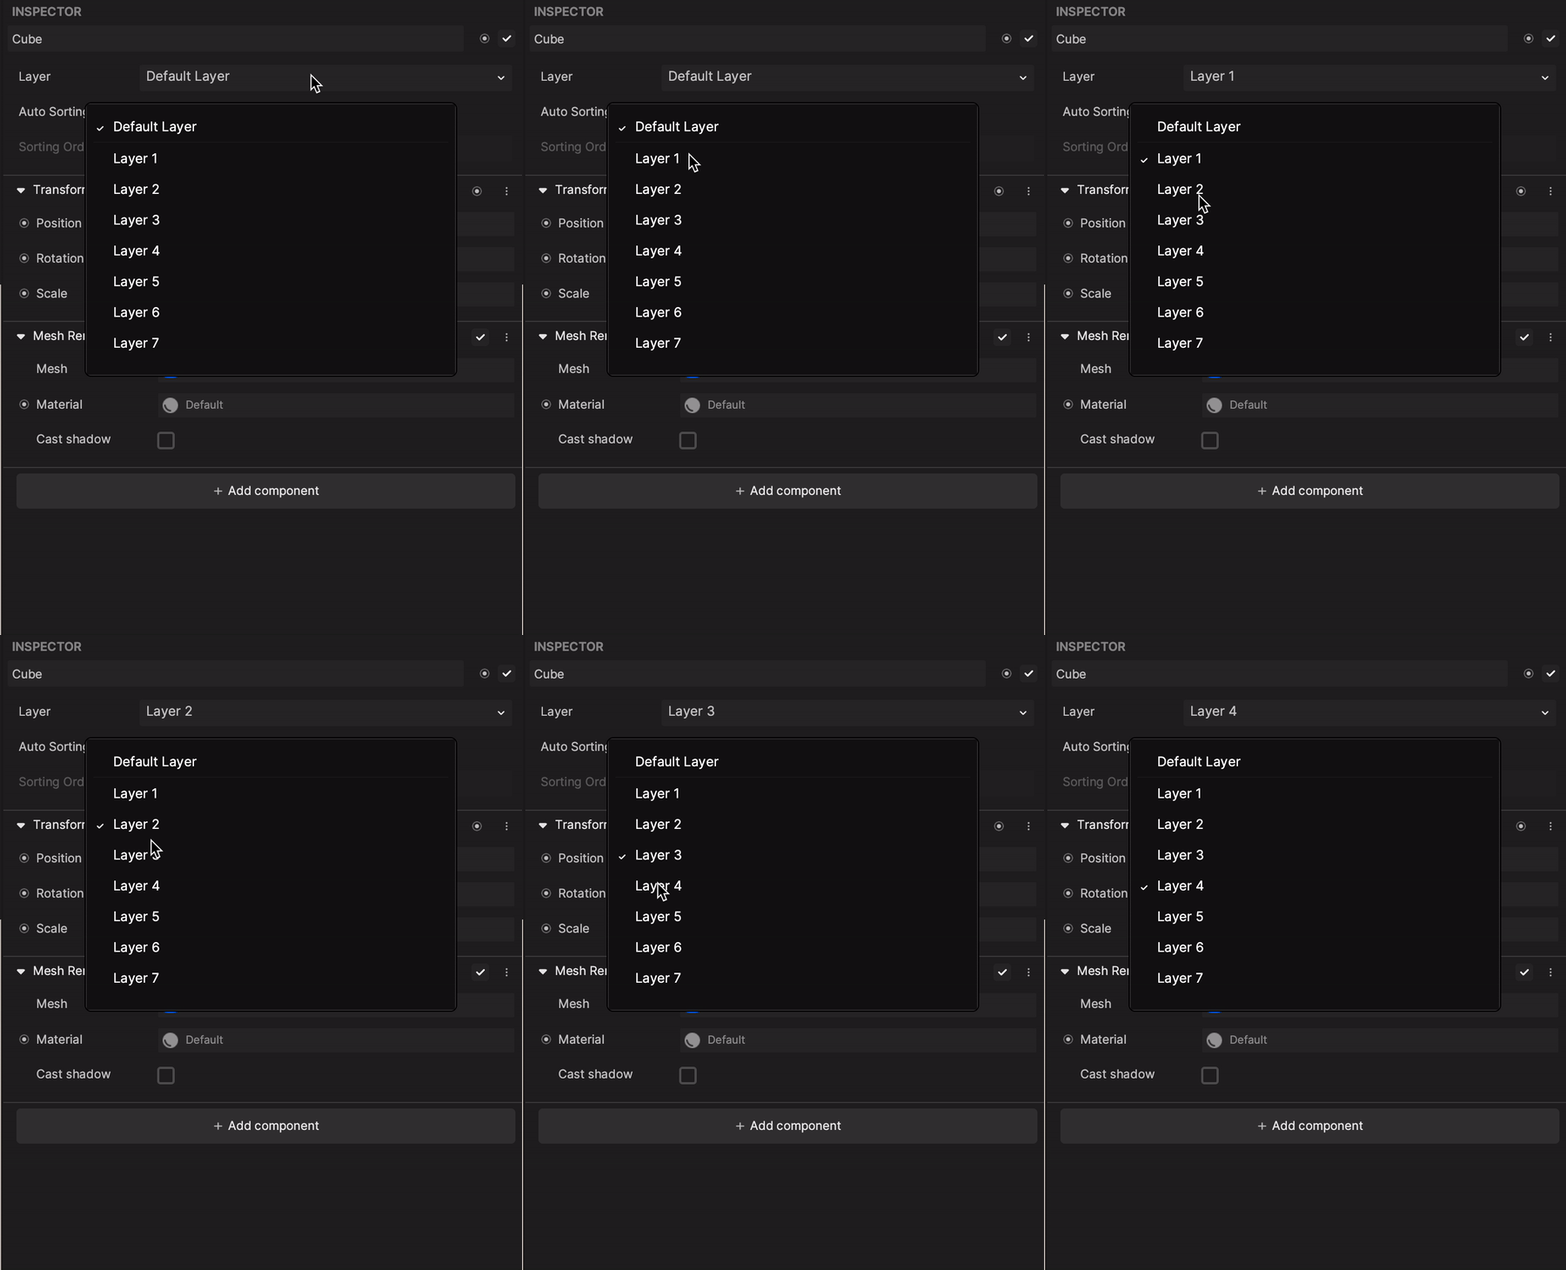
You can select which layer you want this object to be on. An object can only have one layer.
Make sure you have one camera’s layer set up to the same layer the object is on. If not, the object will be invisible from the render result.
Rename a Layer
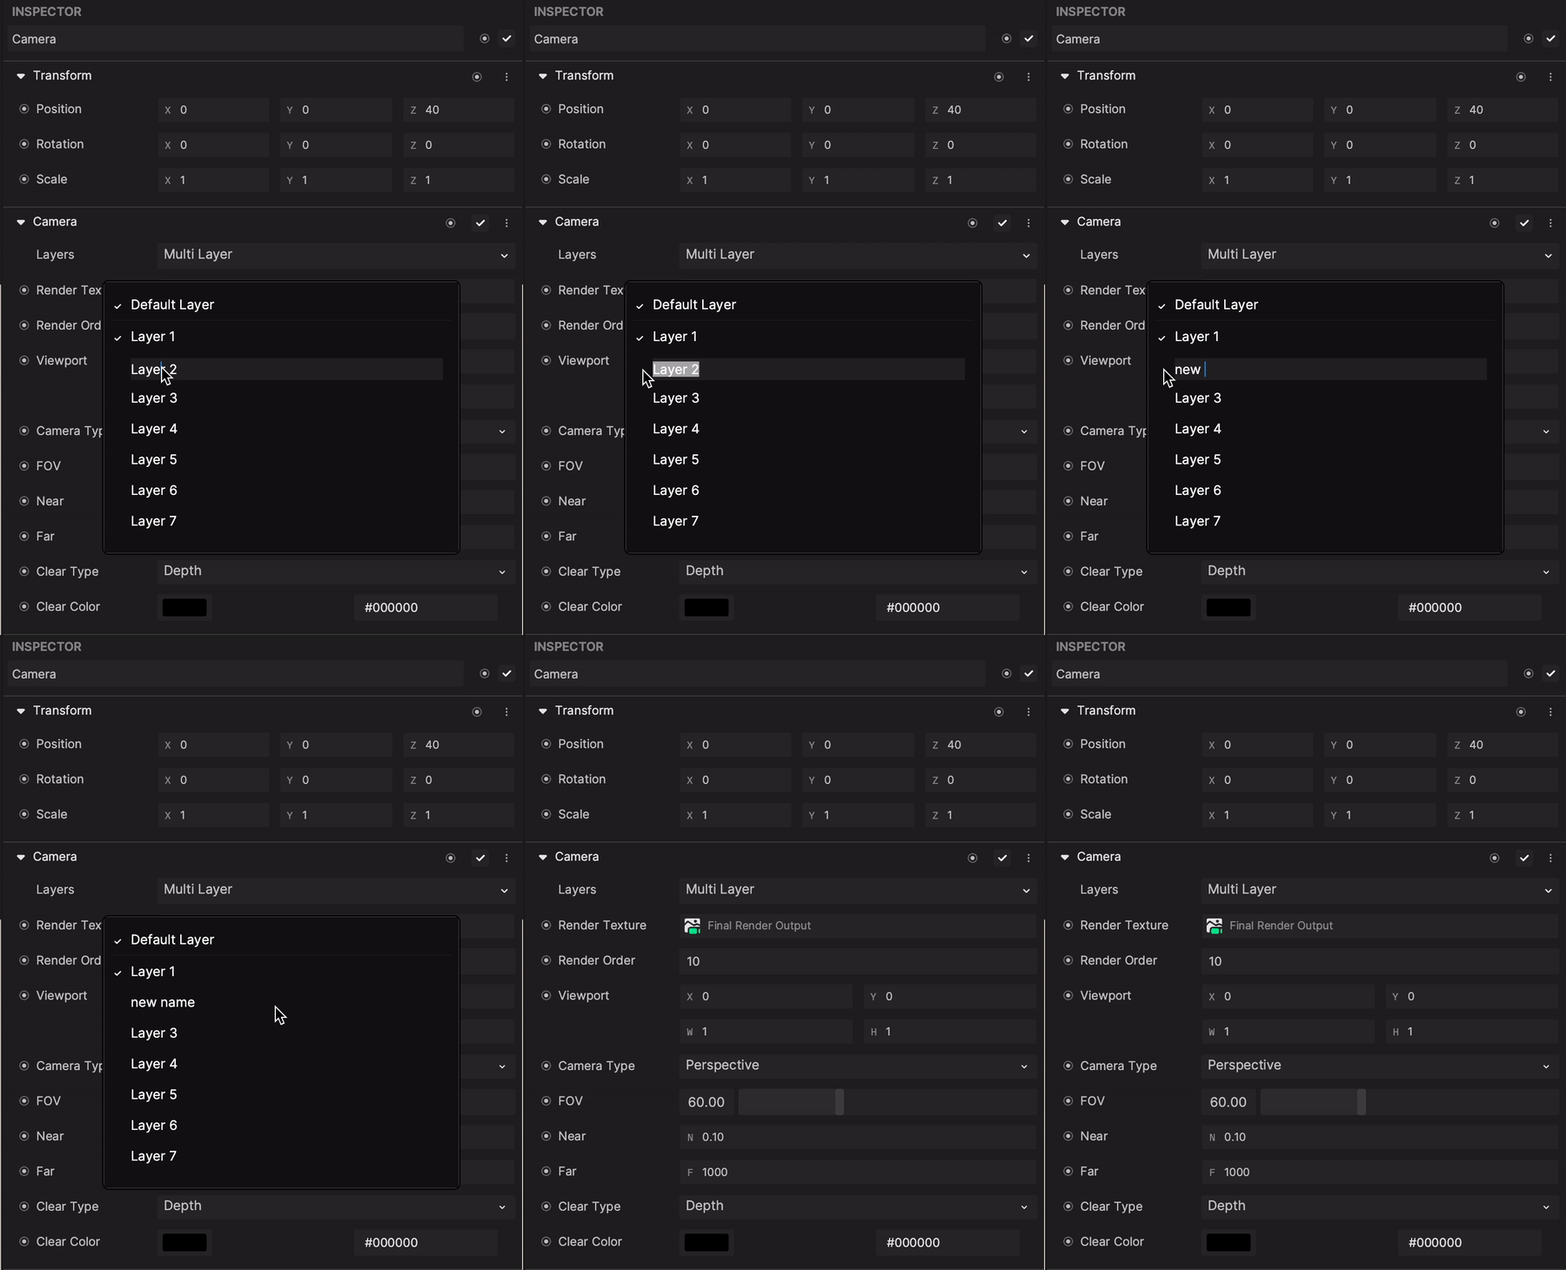
By default, there are 63 layers in a new effect. You can assign them new names by double-clicking the layer name in the dropdown.
Render Order
Camera’s Render Order
To determine the render order of an object in a render group, you should first check the Render Order property of the camera that is rendering the object. The camera’s render order determines the render order of the cameras in the Scene panel.
The camera with the largest render order value in its render group will render last.

Object’s Sorting Order
You must then set Sorting Order of the object to determine the render order of the objects that share the same camera in a render group. You can also use Auto Sorting, which determines the render order of objects that share the same camera based on their ordering in the Hierarchy panel.
The object with the largest sorting order value in its render group will render last.

If you want to render one object in different angles with multiple cameras, make sure you set different render textures to those cameras. Learn more about render textures.
For example, take a look at the following diagram:
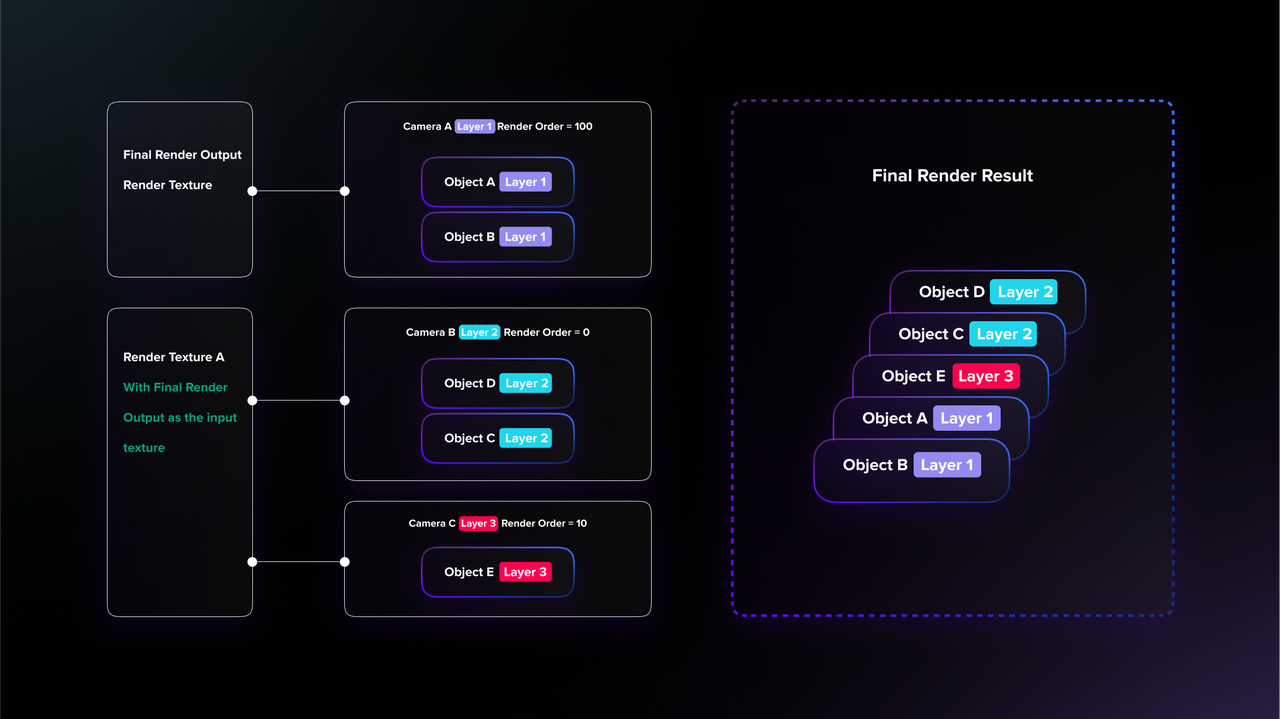
In this case, the render order of these objects looks like this:
- Camera B
- Object D
- Object C
- Camera C
- Object E
- Camera A
- Object A
- Object B